 Claude
Back to Guides claude-code
Using the
The
Using the
The
 agents
 productivity
 api
api mcp
mcp claude-code
 prompting
Running Claude Code in CI Pipelines Without Interactive Prompts
Neura Market Research July 21, 2026
2 views
Learn how to run Claude Code in CI/CD pipelines without interactive prompts. Covers authentication, permission configuration, GitHub Actions and GitLab CI integration, and troubleshooting common issues.
This guide covers how to run Claude Code in CI/CD pipelines, automated scripts, and other non-interactive environments where you cannot respond to prompts. It is for developers and DevOps engineers who want to integrate Claude Code into GitHub Actions, GitLab CI, or custom automation workflows.
What You Need
Before you start, ensure you have the following:
- A terminal or command prompt open.
- A Claude subscription (Pro, Max, Team, or Enterprise), a Claude Console account, or access through a supported cloud provider (Amazon Bedrock, Google Cloud's Agent Platform, Microsoft Foundry).
- Claude Code installed. See the installation instructions in the official quickstart guide for macOS, Linux, WSL, or Windows.
- A project directory with code you want Claude Code to work on.
- For CI pipelines, a way to authenticate non-interactively. This typically involves using an API key from the Claude Console or a cloud provider.
Understanding Non-Interactive Mode
Claude Code is primarily designed for interactive terminal sessions where you type commands and approve changes. However, it supports several modes for running tasks without a human in the loop. The key shell commands for non-interactive use are:
claude "task": Run a one-time task. Claude Code starts, executes the task described in the quoted string, and then exits. It may still prompt for approval depending on your permission mode.claude -p "query": Run a one-off query, then exit. This is similar to the one-time task but is intended for questions or analysis rather than code changes. The-pflag stands for "prompt".claude -c: Continue the most recent conversation in the current directory. This is useful in CI if you want to resume a previous session, though it is less common in automated pipelines.claude -r: Resume a previous conversation. This is also more interactive and less suited for CI.
For CI pipelines, the claude -p "query" and claude "task" forms are the most relevant. They allow you to pass a task or query as a command-line argument, bypassing the need for an interactive prompt at startup.
Setting Up Authentication for CI
Claude Code requires authentication. In an interactive session, you run claude and follow the prompts to log in via your browser. In a non-interactive environment like CI, you need to authenticate without a browser.
Using API Keys from Claude Console
The official documentation states that you can log in using a Claude Console account, which provides API access with pre-paid credits. On first login, a "Claude Code" workspace is automatically created in the Console for centralized cost tracking.
To authenticate non-interactively, you can use the ANTHROPIC_API_KEY environment variable. This is the standard method for using Anthropic's API in automated environments. Set this variable in your CI environment (e.g., GitHub Actions secrets, GitLab CI variables) to the API key from your Claude Console account.
Example for GitHub Actions:
jobs:
  claude-code:
    runs-on: ubuntu-latest
    steps:
      - uses: actions/checkout@v4
      - name: Install Claude Code
        run: curl -fsSL https://claude.ai/install.sh | bash
      - name: Run Claude Code
        env:
          ANTHROPIC_API_KEY: ${{ secrets.ANTHROPIC_API_KEY }}
        run: claude -p "analyze the codebase and list all TODO comments"
Using Cloud Provider Authentication
If your organization uses Amazon Bedrock, Google Cloud's Agent Platform, or Microsoft Foundry, you can authenticate using those provider's credentials. This typically involves setting provider-specific environment variables or using IAM roles (for AWS) or service accounts (for GCP). The official documentation mentions these as supported account types, but the exact environment variables are provider-specific and not detailed in the sources. For AWS Bedrock, you would typically set AWS_ACCESS_KEY_ID, AWS_SECRET_ACCESS_KEY, and AWS_DEFAULT_REGION, and Claude Code would use the Bedrock API. For GCP, you would set GOOGLE_APPLICATION_CREDENTIALS or use workload identity federation.
Using the apiKeyHelper Setting
For advanced scenarios, you can configure a custom command to generate authentication tokens dynamically. This is done through the apiKeyHelper setting in settings.json. The setting specifies a command that is run through the system shell (/bin/sh on macOS and Linux, cmd on Windows) to generate an auth value. This value is then sent as X-Api-Key and Authorization: Bearer headers for model requests.
Example in ~/.claude/settings.json:
{
  "apiKeyHelper": "/bin/generate_temp_api_key.sh"
}
You can also set the refresh interval for the token using the CLAUDE_CODE_API_KEY_HELPER_TTL_MS environment variable. This is useful in CI where tokens may expire during long-running jobs.
Configuring Permissions for Automated Runs
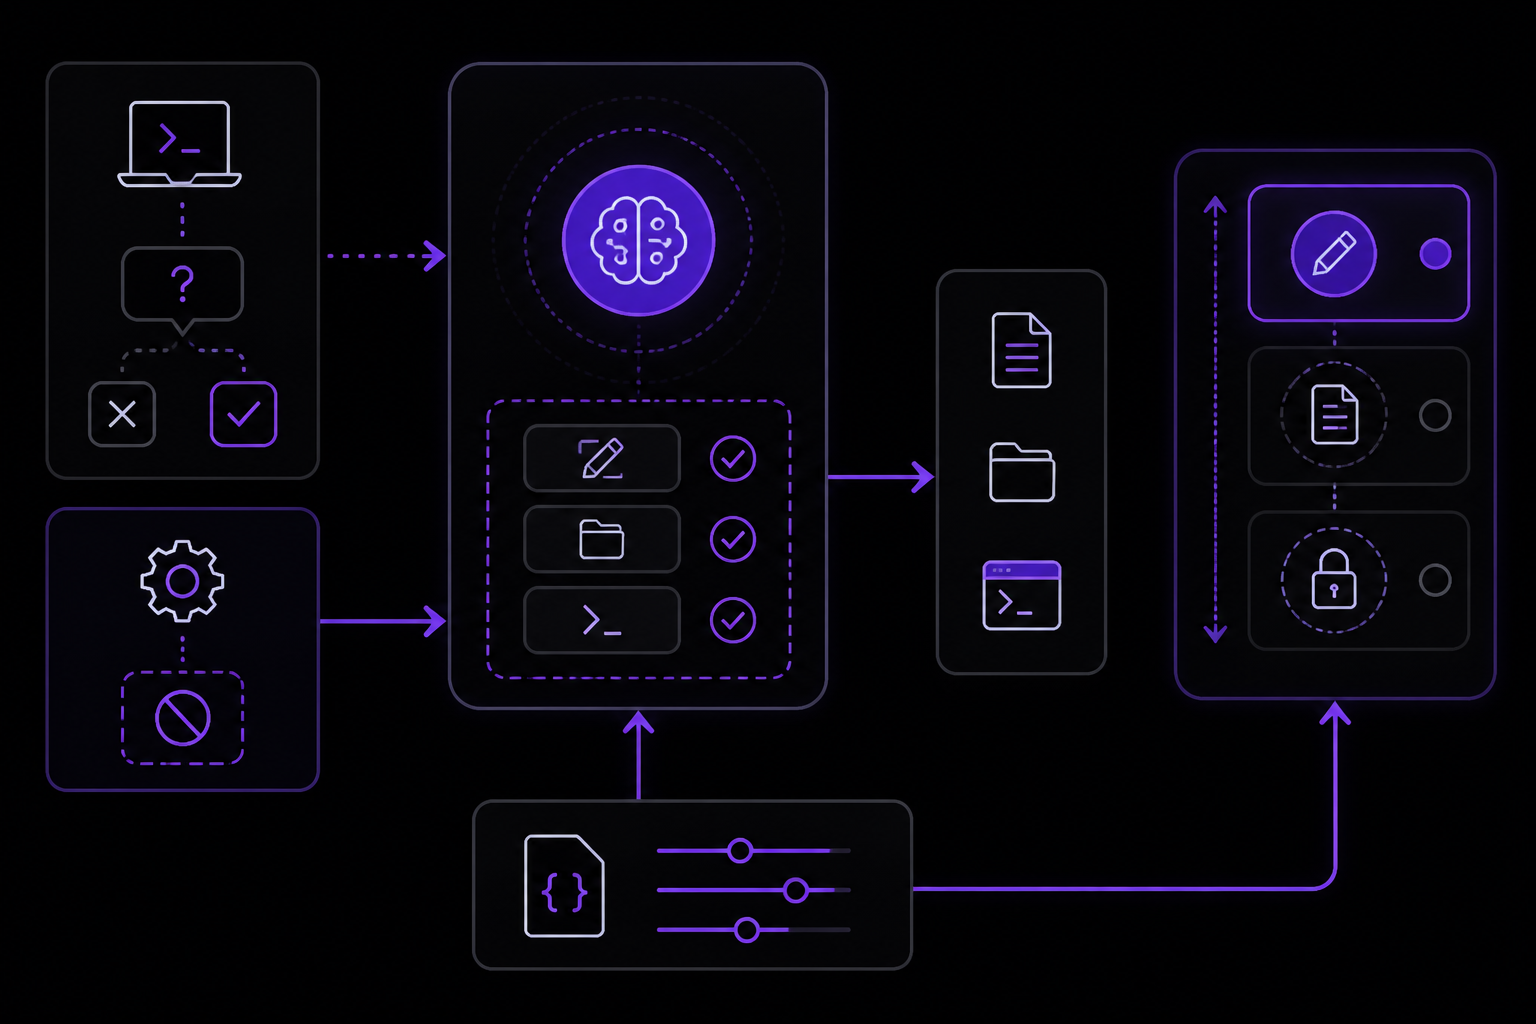
By default, Claude Code asks for approval before making file changes. In CI, you cannot approve these prompts, so you must configure permissions to allow the actions Claude Code needs to perform.
Permission Modes
The official documentation describes several permission modes that you can cycle through with Shift+Tab in an interactive session. For non-interactive use, you configure these via settings files.
acceptEdits: Auto-approves file edits. This is the mode you want for CI if Claude Code needs to modify files.plan: Claude proposes changes without editing. Useful for review-only pipelines.auto: Runs a background safety check and blocks risky actions, returning to prompts only after repeated blocks. This is a middle ground.
Configuring Allow and Deny Rules
You can define fine-grained permission rules in settings.json using the permissions key. This is the most reliable way to run Claude Code non-interactively because you can pre-approve specific commands and deny dangerous ones.
Example from the official documentation:
{
  "permissions": {
    "allow": [
      "Bash(npm run lint)",
      "Bash(npm run test *)",
      "Read(~/.zshrc)"
    ],
    "deny": [
      "Bash(curl *)",
      "Read(./.env)",
      "Read(./.env.*)",
      "Read(./secrets/**)"
    ]
  }
}
In this example:
allowlists commands that Claude Code can run without asking.Bash(npm run lint)allows runningnpm run lintexactly.Bash(npm run test *)allows any command starting withnpm run test, using*as a wildcard.Read(~/.zshrc)allows reading the zsh configuration file.denylists commands that are blocked entirely.Bash(curl *)blocks anycurlcommand.Read(./.env)andRead(./.env.*)block reading environment files.Read(./secrets/**)blocks reading anything in thesecretsdirectory.
For a CI pipeline that needs to run tests and linters, you would configure allow rules for those specific commands. You can also use the auto mode, which is configured separately (see below).
Configuring Auto Mode
The autoMode setting in settings.json allows you to customize what the auto mode classifier blocks and allows. This is read from user settings, the --settings flag, and managed settings only. It is ignored in project .claude/settings.json and local .claude/settings.local.json (before v2.1.207, local settings were also read).
The autoMode object contains four arrays:
environment: Prose rules describing the environment.allow: Actions that are always allowed.soft_deny: Actions that are blocked but can be overridden.hard_deny: Actions that are always blocked.
You can include the literal string "$defaults" in any array to inherit the built-in rules at that position.
Example:
{
  "autoMode": {
    "soft_deny": ["$defaults", "Never run terraform apply"]
  }
}
This inherits the built-in soft deny rules and adds a custom rule to never run terraform apply.
The autoMode.classifyAllShell Setting
From v2.1.193, you can set autoMode.classifyAllShell to true. When true, this suspends every Bash and PowerShell allow rule while auto mode is active, so all shell commands route through the classifier, not only rules that match arbitrary-code-execution patterns. This is useful in CI when you want the classifier to evaluate every command, even those that would normally be allowed by a pattern.
Using Settings Files for CI
Settings files are the primary mechanism for configuring Claude Code behavior. For CI, you typically want to use a combination of project-level and local settings.
Settings Scopes
Claude Code uses a scope system to determine where configurations apply. The relevant scopes for CI are:
- Project scope : Settings are stored in
.claude/settings.jsonin the repository root. These are checked into source control and shared with all collaborators. This is where you put team-wide permissions and configurations. - Local scope : Settings are stored in
.claude/settings.local.jsonat the repository root. These are not checked in (Claude Code configures git to ignore this file when it creates it). This is where you put machine-specific settings, such as API key helpers or personal overrides. - User scope : Settings are stored in
~/.claude/settings.json. These apply to all projects for a specific user. In CI, the "user" is the CI runner's system user, so this is less commonly used.
Priority Order
When the same setting appears in multiple scopes, Claude Code applies them in this priority order (highest to lowest):
- Managed settings (deployed by IT, cannot be overridden)
- Command line arguments (temporary session overrides)
- Local settings
- Project settings
- User settings
Permission rules behave differently: they merge across scopes rather than override. This means if you have an allow rule in project settings and a deny rule in local settings, both are considered, with deny taking precedence for conflicting actions.
Example CI Settings File
For a CI pipeline that runs linting and tests, you might create a .claude/settings.json file in your repository:
{
  "$schema": "https://json.schemastore.org/claude-code-settings.json",
  "permissions": {
    "allow": [
      "Bash(npm run lint)",
      "Bash(npm run test)",
      "Bash(npm run build)",
      "Read(./src/**)",
      "Read(./package.json)",
      "Read(./tsconfig.json)"
    ],
    "deny": [
      "Bash(curl *)",
      "Bash(rm *)",
      "Bash(sudo *)",
      "Write(./.env)",
      "Write(./secrets/**)"
    ]
  },
  "autoMode": {
    "environment": ["Running in CI pipeline, no human available"],
    "allow": ["$defaults"],
    "soft_deny": ["$defaults"],
    "hard_deny": ["$defaults", "Never modify CI configuration files"]
  },
  "env": {
    "CLAUDE_CODE_ENABLE_TELEMETRY": "1"
  }
}
The $schema line enables autocomplete and validation in editors that support JSON schema. The env section sets environment variables for the Claude Code session, such as enabling telemetry.
Running Claude Code in GitHub Actions
GitHub Actions is one of the officially supported CI/CD interfaces for Claude Code, alongside GitLab CI.
Basic Workflow
Here is a basic GitHub Actions workflow that installs Claude Code, authenticates, and runs a task:
name: Claude Code Analysis

on:
  push:
    branches: [main]
  pull_request:
    branches: [main]

jobs:
  analyze:
    runs-on: ubuntu-latest
    steps:
      - uses: actions/checkout@v4

      - name: Install Claude Code
        run: curl -fsSL https://claude.ai/install.sh | bash

      - name: Verify Installation
        run: claude --version

      - name: Run Code Analysis
        env:
          ANTHROPIC_API_KEY: ${{ secrets.ANTHROPIC_API_KEY }}
        run: claude -p "Analyze the codebase for potential bugs and security issues. List any findings with file paths and line numbers."
This workflow:
- Checks out the repository.
- Installs Claude Code using the official install script.
- Verifies the installation by printing the version.
- Runs a one-off query asking Claude to analyze the codebase. The
-pflag ensures Claude exits after providing the analysis.
Running Tasks That Modify Files
If you want Claude Code to make changes (e.g., fix linting errors), you need to configure permissions to allow file writes. You also need to ensure the CI runner has git configured to commit changes.
name: Claude Code Auto-Fix

on:
  pull_request:
    branches: [main]

jobs:
  fix:
    runs-on: ubuntu-latest
    permissions:
      contents: write
      pull-requests: write
    steps:
      - uses: actions/checkout@v4
        with:
          ref: ${{ github.head_ref }}

      - name: Install Claude Code
        run: curl -fsSL https://claude.ai/install.sh | bash

      - name: Configure Git
        run: |
          git config user.name "Claude Code"
          git config user.email "claude-code@users.noreply.github.com"

      - name: Run Claude Code Fix
        env:
          ANTHROPIC_API_KEY: ${{ secrets.ANTHROPIC_API_KEY }}
        run: |
          claude "Fix all ESLint errors in the src directory. Run npm run lint after fixing to verify."

      - name: Commit and Push Changes
        run: |
          git add -A
          git diff --quiet && echo "No changes to commit" || git commit -m "Auto-fix ESLint errors"
          git push
This workflow:
- Checks out the pull request branch.
- Installs Claude Code.
- Configures git with a user name and email for commits.
- Runs Claude Code with a task to fix ESLint errors. The task includes running
npm run lintto verify the fixes. - Commits and pushes any changes back to the branch.
Note: This requires the contents: write permission on the job, and the GitHub token must have push access to the branch. For pull requests from forks, this may not work without additional configuration.
Running Claude Code in GitLab CI
GitLab CI is also officially supported. The approach is similar to GitHub Actions.
Example .gitlab-ci.yml
stages:
  - analyze

claude-code-analysis:
  stage: analyze
  image: ubuntu:latest
  before_script:
    - apt-get update && apt-get install -y curl git
    - curl -fsSL https://claude.ai/install.sh | bash
  script:
    - claude -p "Analyze the codebase for code quality issues. Provide a summary of findings."
  variables:
    ANTHROPIC_API_KEY: $ANTHROPIC_API_KEY  # Set in GitLab CI/CD variables
This pipeline:
- Uses an Ubuntu image.
- Installs curl and git, then installs Claude Code.
- Runs a one-off query.
- Passes the API key as a CI variable.
Advanced Configuration for CI
Using the --settings Flag
You can pass a custom settings file to Claude Code using the --settings flag. This is useful in CI when you want to use a different configuration than what is in the repository.
claude --settings /path/to/ci-settings.json -p "run tests"
This flag is mentioned in the official documentation as a way to load settings from a specific file. The settings in this file are treated as user-scope settings for the session.
Environment Variables for CI
Several environment variables can control Claude Code behavior in non-interactive mode:
ANTHROPIC_API_KEY: The primary authentication method for API access.CLAUDE_CODE_ENABLE_TELEMETRY: Set to1to enable telemetry. Useful for monitoring CI usage.CLAUDE_CODE_SKIP_PROMPT_HISTORY: Set to disable writing prompt history to disk. Useful in CI to avoid accumulating session files.CLAUDE_CODE_DISABLE_AUTO_MEMORY: Set to disable auto memory. Useful in CI to prevent Claude from reading or writing memory.CLAUDE_CODE_DISABLE_AGENT_VIEW: Set to1to disable background agents and agent view. This is typically set in managed settings but can be set as an environment variable.CLAUDE_CODE_API_KEY_HELPER_TTL_MS: Sets the refresh interval for the API key helper.DISABLE_AUTO_COMPACT: Set to disable automatic conversation compaction.DISABLE_AUTOUPDATER: Set to disable auto-updates. Useful in CI to ensure a consistent version.MAX_THINKING_TOKENS: Set to0to disable extended thinking on the Anthropic API (except on Fable 5, which cannot have thinking turned off). On third-party providers, this omits thethinkingparameter.
The --no-session-persistence Flag
In non-interactive mode, you can pass --no-session-persistence alongside -p to prevent Claude Code from writing session data to disk. This is useful in CI to avoid leaving behind session files.
claude -p "run tests" --no-session-persistence
This flag is equivalent to setting persistSession: false in the Agent SDK.
Using Managed Settings for CI
For organizations, managed settings can enforce policies across all CI runners. Managed settings are delivered through:
- Server-managed settings from Anthropic's servers or a self-hosted gateway.
- MDM/OS-level policies on macOS and Windows.
- File-based
managed-settings.jsondeployed to system directories.
On Linux (which is what most CI runners use), file-based managed settings are stored in /etc/claude-code/. You can place a managed-settings.json file there to enforce policies that cannot be overridden by user or project settings.
Example managed-settings.json for CI:
{
  "permissions": {
    "allow": [
      "Bash(npm *)",
      "Bash(git *)",
      "Read(./**)"
    ],
    "deny": [
      "Bash(curl *)",
      "Bash(rm -rf *)",
      "Write(./.env)"
    ]
  },
  "allowManagedPermissionRulesOnly": true,
  "companyAnnouncements": [
    "CI pipeline running Claude Code. All changes are automatically committed."
  ]
}
The allowManagedPermissionRulesOnly setting prevents user and project settings from defining their own permission rules, ensuring only the managed rules apply. This is important for security in CI environments.
Troubleshooting
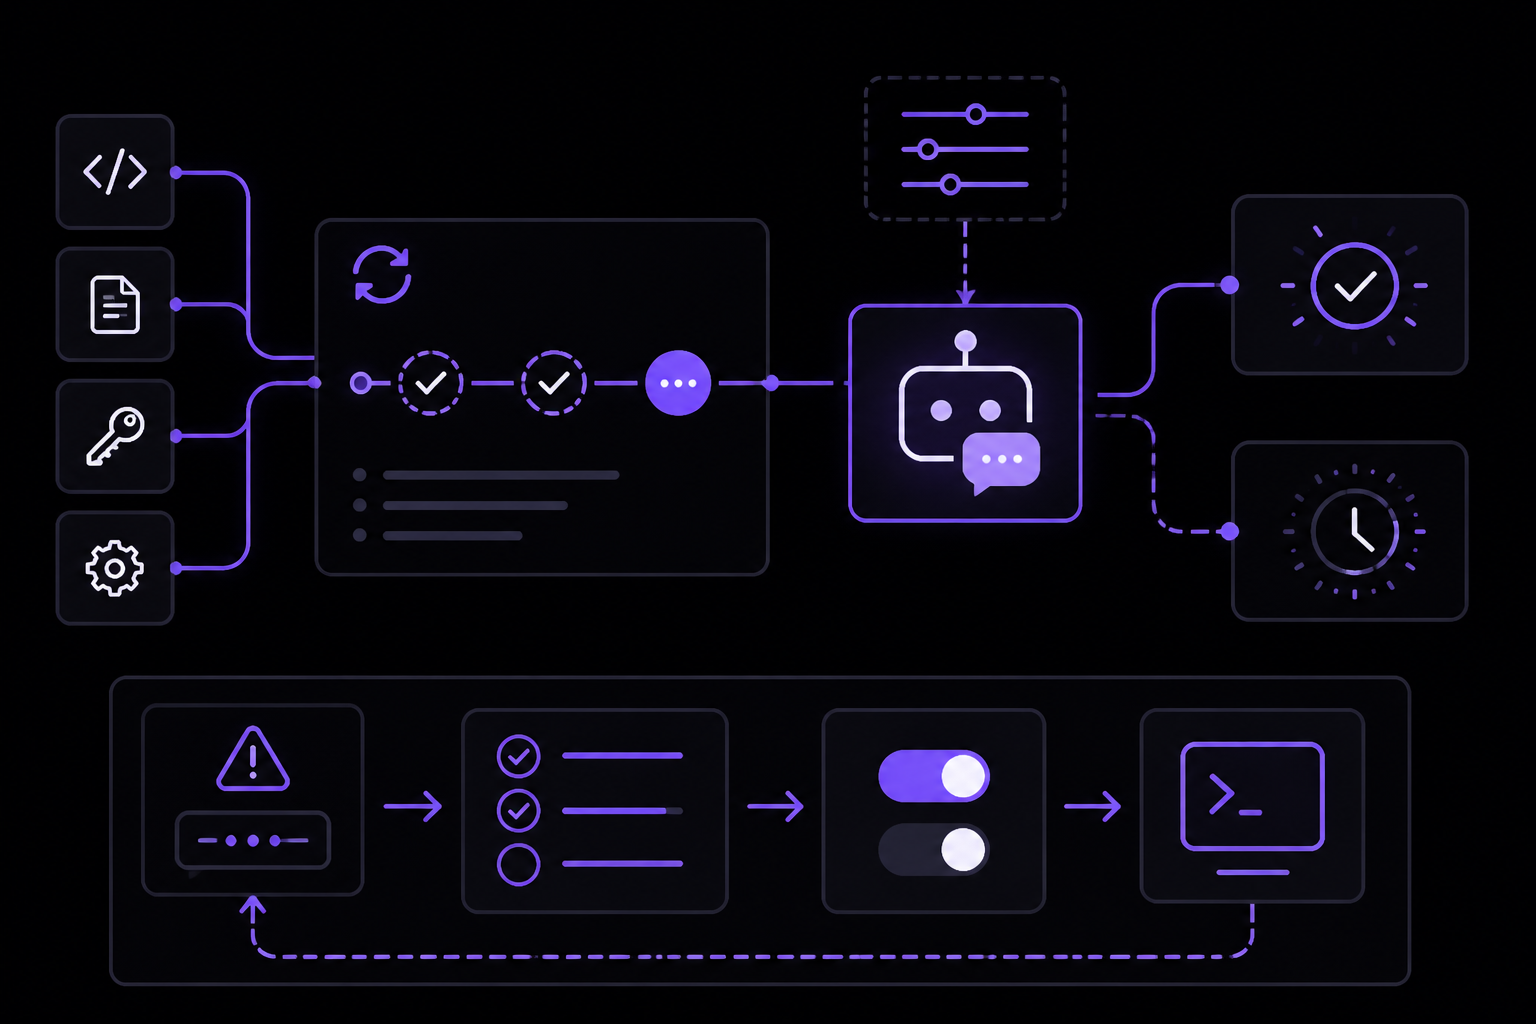
Claude Code Prompts for Approval
If Claude Code prompts for approval in CI, the pipeline will hang indefinitely. To fix this:
- Ensure you have configured
allowrules in your settings file for all commands Claude Code needs to run. - Use the
automode oracceptEditsmode to reduce prompts. - Check that your settings file is being loaded correctly. Run
claude /statusin an interactive session to see which settings sources are active.
Authentication Fails
If Claude Code cannot authenticate:
- Verify the
ANTHROPIC_API_KEYenvironment variable is set correctly in your CI environment. - For cloud providers, ensure the necessary credentials are available (e.g., AWS IAM roles, GCP service accounts).
- If using
apiKeyHelper, ensure the helper script is executable and returns a valid token.
Settings File Not Loaded
If your settings are not taking effect:
- Check the file path. For project settings, the file must be at
.claude/settings.jsonin the repository root. For local settings, it must be at.claude/settings.local.json. - Verify the JSON is valid. Run
claude doctorto check for configuration issues. - Run
claude /statusin an interactive session to see which settings sources are loaded. A source appears only if it loads with at least one setting, so a file with broken JSON won't appear.
Claude Code Exits Without Doing Anything
If Claude Code exits immediately without performing the task:
- Ensure you are using the correct command syntax. Use
claude "task"for tasks that may involve file changes, orclaude -p "query"for analysis-only queries. - Check that the task description is clear and specific. The official documentation recommends being specific: instead of "fix the bug", try "fix the login bug where users see a blank screen after entering wrong credentials".
- Verify that the working directory contains the project files. Claude Code reads project files as needed, but it needs to be started in the correct directory.
Permission Denied Errors
If Claude Code reports permission denied for a command:
- Add the command to the
allowlist in your settings file. - Use wildcards carefully.
Bash(npm run *)allows any npm run command, which may be too permissive.Bash(npm run test *)is more specific. - Remember that
denyrules take precedence overallowrules. If a command matches both, it is denied.
Version Mismatches
If you encounter unexpected behavior:
- Check the Claude Code version with
claude --version. The version number is followed by(Claude Code). - Some features require specific versions. For example,
autoMode.classifyAllShellrequires v2.1.193 or later, andaskUserQuestionTimeoutrequires v2.1.200 or later. - Consider pinning the version in CI by using a specific release channel. The
autoUpdatesChannelsetting can be set to"stable"for a version that is typically about one week old and skips versions with major regressions.
Going Further
Now that you can run Claude Code in CI pipelines, explore these advanced topics from the official documentation:
- How Claude Code works : Understand the agentic loop, built-in tools, and how Claude Code interacts with your project. This knowledge helps you write better prompts for CI tasks.
- Best practices : Get better results with effective prompting and project setup. The official documentation recommends being specific with requests and using step-by-step instructions.
- Common workflows : Step-by-step guides for common tasks like refactoring, writing tests, and updating documentation.
- Extend Claude Code : Customize with CLAUDE.md, skills, hooks, MCP, and more. You can create custom skills that are tailored to your CI workflows.
- Managed settings : For enterprise deployments, learn how to deploy managed settings via MDM, Group Policy, or file-based delivery to enforce policies across all CI runners.
- Server-managed settings : If your organization uses a self-hosted Claude apps gateway, you can deliver managed settings remotely at sign-in.
For community support, join the Anthropic Discord for tips and troubleshooting from other developers running Claude Code in CI.
Comments
More Guides
View allagentsClaude Code Quickstart: Install, Setup, and Automate Desktop Tasks
Learn how to install, configure, and start using Claude Code to automate desktop tasks, fix bugs, manage Git workflows, and build features directly from your terminal, IDE, or desktop app.
N
Neura Market Research 1
productivityClaude Code: Complete Guide to Settings, Permissions, and Configuration
Complete guide to Claude Code settings, permissions, and configuration scopes. Learn how to manage user, project, local, and managed settings, use the /config command, and handle invalid entries.
N
Neura Market Research 4
apiBatch Processing with the Claude Message Batches API
Learn to use the Claude Message Batches API for cost-effective, high-throughput processing of multiple prompts. Covers setup, batch creation, monitoring, result retrieval, and troubleshooting with practical examples.
N
Neura Market ResearchmcpConnecting Claude to Your Database with MCP: A Complete Guide
Learn how to connect Claude Code to your database using the Model Context Protocol (MCP). This guide covers setup, configuration, querying, and advanced usage with real-world examples.
N
Neura Market Research 6
claude-codeClaude Code with GitHub Actions: Automated Code Review Setup Guide
Learn how to set up Claude Code with GitHub Actions for automated code review, issue triage, and CI/CD workflows. Covers workflow configuration, authentication, CLI flags, and best practices.
N
Neura Market ResearchpromptingClaude system prompts: patterns that actually improve output
Learn how to write Claude system prompts that produce measurably better results using hooks, settings, CLAUDE.md files, and permission rules. Covers official Anthropic patterns and community-proven techniques.
N
Neura Market Research 1
Ready-made automations for this
Workflows from the Neura Market marketplace related to this Claude resource
- Interactive GitHub API Chatbot with RAG and OpenAI Integrationn8n · $4.97 · Related topic
- Learn n8n Keyboard Shortcuts with an Interactive Hands-On Tutorial Workflown8n · $24.99 · Related topic
- Learn API Fundamentals with an Interactive Hands-On Tutorial Workflown8n · $24.99 · Related topic
- Learn n8n Expressions with an Interactive Step-by-Step Tutorial for Beginnersn8n · $14.99 · Related topic