 Claude
Back to Guides claude-code
 claude-code
 agents
 productivity
 api
api mcp
mcp claude-code
Claude Code Custom Slash Commands and Skills Explained
Neura Market Research July 21, 2026
5 views
Learn how to create custom slash commands and skills in Claude Code using CLAUDE.md files and the .claude/skills/ directory. This guide covers setup, usage, sharing, and advanced customization with hooks and MCP.
This guide explains how to create, manage, and use custom slash commands and skills in Claude Code. It covers the underlying mechanisms (CLAUDE.md files, hooks, and the skills directory), walks through setup steps, and provides real-world usage patterns. This guide is for developers who already have Claude Code installed and want to extend it with reusable, shareable workflows.
What You Need
Before you begin, make sure you have the following:
- Claude Code installed. You can install it via the native installer, Homebrew, or WinGet. The native installer is recommended and auto-updates. Homebrew installations require manual updates with
brew upgrade claude-codeorbrew upgrade claude-code@latest. WinGet installations requirewinget upgrade Anthropic.ClaudeCode. - A Claude subscription or account. You need a Claude Pro, Max, Team, or Enterprise subscription, a Claude Console account, or access through a supported cloud provider (Amazon Bedrock, Google Cloud's Agent Platform, Microsoft Foundry, or a self-hosted gateway).
- A project directory. Claude Code works best when started inside a project folder so it can read your codebase, configuration files, and any CLAUDE.md files.
- Basic familiarity with the terminal. You should know how to navigate directories, run commands, and edit text files.
- Git installed (recommended). On native Windows, Git for Windows is recommended so Claude Code can use the Bash tool. If Git for Windows is not installed, Claude Code falls back to PowerShell as the shell tool. WSL setups do not need Git for Windows.
How Custom Slash Commands and Skills Work
Claude Code supports two related but distinct customization mechanisms: slash commands and skills. Both let you define reusable prompts or workflows that you can invoke with a / prefix inside a Claude Code session.
Slash Commands
Slash commands are shortcuts that expand into a predefined prompt. When you type /my-command inside Claude Code, the system replaces it with the text you defined. This is useful for frequently used instructions like "review this code for security issues" or "write a commit message."
Slash commands are defined in a CLAUDE.md file in your project root. According to the official documentation, CLAUDE.md is a markdown file that Claude Code reads at the start of every session. You can use it to set coding standards, architecture decisions, preferred libraries, and review checklists. Slash commands are one of the things you can define in this file.
Skills
Skills are more powerful than simple slash commands. A skill packages a repeatable workflow that your team can share. For example, you could create a /review-pr skill that reviews a pull request according to your team's standards, or a /deploy-staging skill that deploys the current branch to a staging environment. Skills can include multiple steps, conditional logic, and even call external tools via the Model Context Protocol (MCP).
Skills are stored in a dedicated directory (typically .claude/skills/ in your project root) and are loaded automatically when Claude Code starts. Each skill is a file that contains the prompt or workflow definition.
Setting Up CLAUDE.md for Slash Commands
The CLAUDE.md file is the primary way to give Claude Code persistent instructions. It lives in the root of your project. Claude Code reads it at the start of every session, so any instructions or slash commands you define there are available immediately.
Creating the File
Create a file named CLAUDE.md in your project root:
touch CLAUDE.md
Defining Slash Commands
Inside CLAUDE.md, you define slash commands using a specific format. The official documentation does not prescribe a strict syntax, but the community has converged on a pattern using markdown headings and code blocks. Here is a common approach:
# Project Instructions

This project uses React with TypeScript. Follow the existing patterns for components, hooks, and styles. Run `npm test` before committing.

## Slash Commands

### /review
Review the current changes for bugs, security issues, and adherence to project conventions. Provide a summary of findings and suggested fixes.

### /test
Run the test suite and report any failures. If tests pass, suggest additional edge cases to cover.

### /deploy
Deploy the current branch to the staging environment. First run the tests, then build the project, then run the deployment script.
When you type /review inside Claude Code, it will expand to the text under that heading. The text can be as long or as short as you need. You can include multiple paragraphs, code references, or even instructions that reference other files in your project.
Best Practices for CLAUDE.md
- Keep it focused. The file is read at the start of every session, so keep instructions concise and relevant to the project.
- Use headings to organize. Group related instructions under headings. Claude Code uses headings to understand the structure.
- Include coding standards. Specify the language, framework, testing framework, and any conventions the team follows.
- List preferred libraries. If the project uses specific libraries for certain tasks (e.g., Lodash for utilities, Axios for HTTP), mention them.
- Define review checklists. Include a checklist that Claude Code should follow when reviewing code.
- Update as the project evolves. Treat
CLAUDE.mdas a living document. Update it when you adopt new tools or change conventions.
Creating Skills
Skills are more structured than slash commands. They live in a dedicated directory and can include multiple files, configuration, and even scripts.
The Skills Directory
By convention, skills are stored in .claude/skills/ in your project root. Create this directory if it does not exist:
mkdir -p .claude/skills
Skill File Format
Each skill is a file in the skills directory. The file name becomes the command name. For example, a file named review-pr.md creates a /review-pr command.
Here is an example skill file for reviewing a pull request:
# Review Pull Request

Review the current pull request for the following:

1. **Correctness**: Does the code do what it is supposed to do? Are there any logical errors?
2. **Security**: Are there any security vulnerabilities? Check for SQL injection, XSS, CSRF, and insecure data handling.
3. **Performance**: Are there any performance bottlenecks? Look for unnecessary re-renders, large loops, or expensive operations.
4. **Style**: Does the code follow the project's coding standards? Check for consistent naming, formatting, and file structure.
5. **Testing**: Are there tests for the new code? Do the existing tests still pass?

Provide a summary of findings, categorized by severity (critical, major, minor, suggestion). For each finding, include the file and line number, a description of the issue, and a suggested fix.
When you type /review-pr inside Claude Code, it will read this file and execute the instructions.
Advanced Skills with Hooks
Skills can be combined with hooks for even more power. Hooks let you run shell commands before or after Claude Code actions. For example, you could create a skill that runs linting before making changes, or auto-formats code after every file edit.
Hooks are defined in a configuration file (typically claude.json or claude.yaml in your project root). The official documentation mentions that hooks let you run shell commands before or after Claude Code actions, like auto-formatting after every file edit or running lint before a commit.
Here is an example claude.json that defines a hook to run ESLint before any file edit:
{
  "hooks": {
    "beforeEdit": [
      "npx eslint --fix {{filePath}}"
    ]
  }
}
And a hook to format code after every edit:
{
  "hooks": {
    "afterEdit": [
      "npx prettier --write {{filePath}}"
    ]
  }
}
You can reference these hooks from within a skill by including instructions that trigger them. For example, a /refactor skill could instruct Claude Code to make changes, which would automatically trigger the beforeEdit and afterEdit hooks.
Using Slash Commands and Skills in a Session
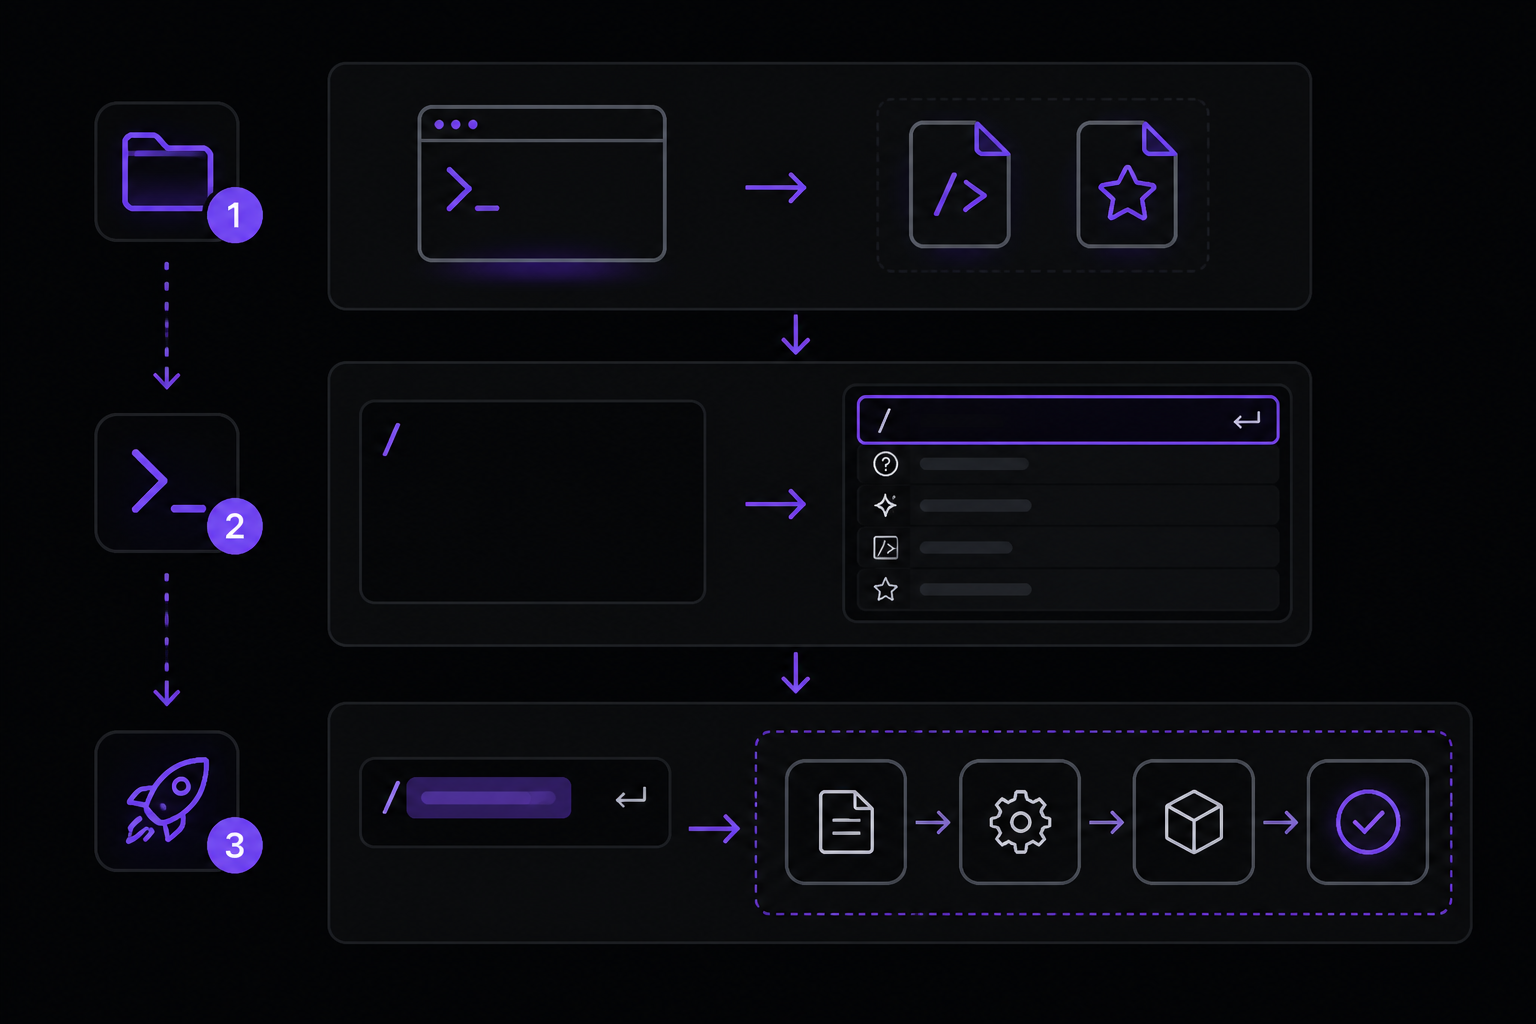
Once you have defined slash commands in CLAUDE.md and skills in .claude/skills/, using them is straightforward.
Starting a Session
Open your terminal in the project directory and start Claude Code:
cd /path/to/your/project
claude
You will see the Claude Code prompt with the version, current model, and working directory shown above it.
Invoking a Command
Type / to see all available commands and skills. The list includes built-in commands (like /help, /clear, /exit) and any custom slash commands or skills you have defined.
To invoke a custom command, type its name after the slash. For example:
/review
Claude Code will expand the command and execute the associated instructions.
Tab Completion
Use Tab for command completion. Start typing /rev and press Tab to auto-complete to /review if that is the only match. This saves time and prevents typos.
Command History
Press the Up arrow key to cycle through your command history. This includes both built-in commands and custom commands you have used in the current session.
Permission Modes
When a skill or slash command triggers file edits, Claude Code's behavior depends on your permission mode. Press Shift+Tab to cycle through modes:
- Default mode: Claude asks for approval before each change.
acceptEditsmode: Claude auto-approves file edits without asking.planmode: Claude proposes changes without editing, so you can review the plan first.automode (some accounts): Claude runs a background safety check and blocks risky actions, returning to prompts only after repeated blocks.
Choose the mode that matches your comfort level. For automated workflows like /deploy-staging, you might want acceptEdits mode to avoid constant prompts.
Sharing Skills with Your Team
One of the key benefits of skills is that they are file-based and can be committed to version control. This makes them easy to share with your team.
Committing Skills to Git
Add the .claude/skills/ directory to your repository:
git add .claude/skills/
git commit -m "Add custom skills for review, test, and deploy workflows"
When team members pull the latest changes, they will have access to the same skills. This ensures consistency across the team.
Using CLAUDE.md as a Team Standard
Similarly, commit CLAUDE.md to your repository. This file can contain team-wide coding standards, architecture decisions, and shared slash commands. Every team member who starts Claude Code in the project will automatically get these instructions.
Environment-Specific Variations
If different team members need slightly different configurations, you can use environment variables or conditional logic in your skills. For example, a /deploy skill could check for a DEPLOY_TARGET environment variable to decide whether to deploy to staging or production.
Advanced Customization with MCP
The Model Context Protocol (MCP) is an open standard for connecting AI tools to external data sources. With MCP, Claude Code can read your design docs in Google Drive, update tickets in Jira, pull data from Slack, or use your own custom tooling.
You can combine MCP with skills to create powerful workflows. For example, a /triage-bug skill could:
- Read the bug report from a Slack message.
- Search your codebase for related code.
- Create a Jira ticket with the findings.
- Suggest a fix.
To set up MCP, follow the MCP quickstart guide linked from the official documentation. Once your MCP servers are configured, you can reference them in your skills by instructing Claude Code to use the connected tools.
Auto Memory and Persistent Learnings
Claude Code also builds auto memory as it works. It saves learnings like build commands and debugging insights across sessions without you writing anything. This means that over time, Claude Code becomes more efficient at working with your project.
Auto memory complements custom slash commands and skills. While skills define explicit workflows, auto memory captures implicit knowledge. For example, if you always run npm run build:dev before testing, Claude Code will learn this and suggest it automatically.
Troubleshooting
Slash Command Not Appearing
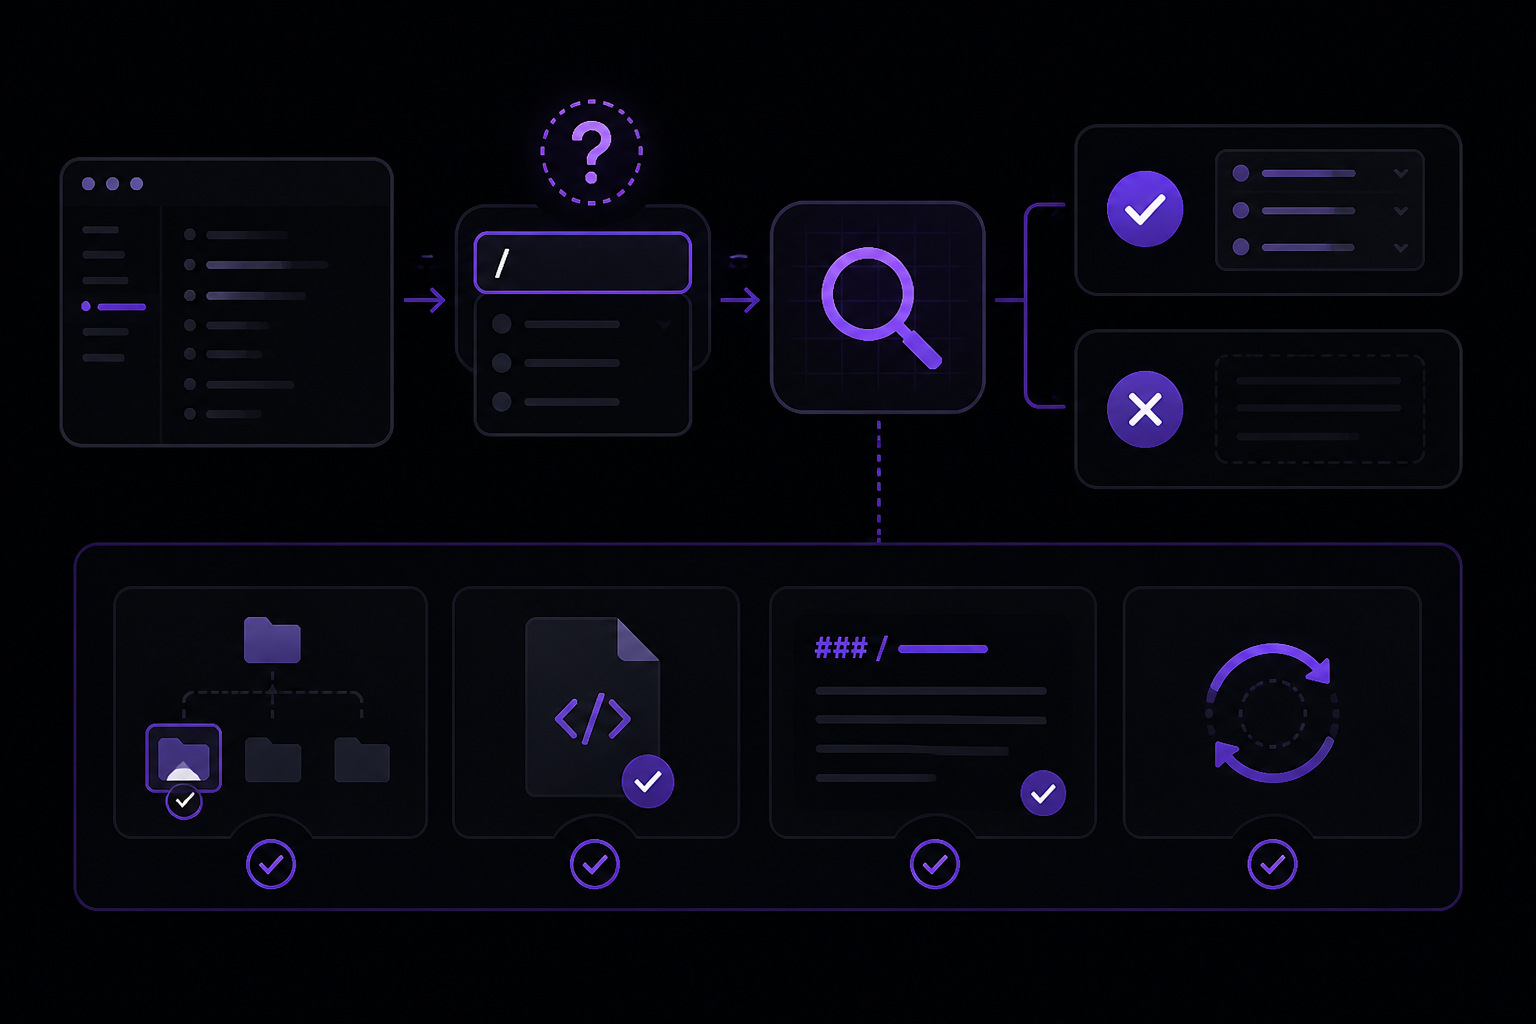
If a slash command you defined in CLAUDE.md does not appear when you type /, check the following:
- File location: Make sure
CLAUDE.mdis in the root of your project directory, not in a subdirectory. - File name: The file must be named exactly
CLAUDE.md(case-sensitive on some file systems). - Format: Ensure the command is defined under a heading that starts with
### /command-name. The heading must be at the third level (###) and the command name must start with a slash. - Session restart: Claude Code reads
CLAUDE.mdat the start of each session. If you added the command after starting the session, type/clearto reset the conversation or exit and restart Claude Code.
Skill Not Loading
If a skill file in .claude/skills/ is not loading:
- Directory location: The directory must be
.claude/skills/in the project root. - File extension: Skill files should have a
.mdextension. Other extensions may not be recognized. - File name: The file name (without extension) becomes the command name. Avoid spaces or special characters in the file name.
- Permissions: Ensure the file is readable by the user running Claude Code.
Hook Not Firing
If a hook defined in claude.json is not firing:
- Configuration file: Make sure the file is named
claude.json(orclaude.yaml) and is in the project root. - JSON syntax: Validate the JSON with a linter. A syntax error can prevent the entire configuration from loading.
- Hook events: Check that you are using the correct event name. The official documentation mentions
beforeEditandafterEdit, but there may be others. Refer to the hooks documentation for the complete list. - Command path: If the hook runs a command, ensure the command is available in the system PATH or provide the full path.
Permission Mode Issues
If Claude Code is not asking for approval when you expect it to, or is asking too often:
- Check your current permission mode by typing
/modeor looking at the session header. - Press
Shift+Tabto cycle through modes until you find the one that matches your workflow. - Remember that
automode (available on some accounts) runs background safety checks and may block risky actions silently.
Going Further
Once you have mastered custom slash commands and skills, explore these advanced topics from the official documentation:
- Agent teams: Spawn multiple Claude Code agents that work on different parts of a task simultaneously. A lead agent coordinates the work, assigns subtasks, and merges results.
- Background agents: Run several full sessions in parallel and watch them from one screen.
- Agent SDK: Build your own agents powered by Claude Code's tools and capabilities, with full control over orchestration, tool access, and permissions.
- Scheduled tasks: Run Claude on a schedule to automate work that repeats: morning PR reviews, overnight CI failure analysis, weekly dependency audits.
- Routines: Create routines that run on Anthropic-managed infrastructure, so they keep running even when your computer is off. They can also trigger on API calls or GitHub events.
- CI/CD integration: Automate code review and issue triage with GitHub Actions or GitLab CI/CD.
- Slack integration: Route tasks from team chat by mentioning
@Claudein Slack with a bug report and get a pull request back. - Remote Control: Step away from your desk and keep working from your phone or any browser.
- Teleport: Kick off a long-running task on the web or the Claude mobile app, then pull it into your terminal with
claude --teleport.
For a complete reference of all shell commands and session commands, see the CLI reference and the commands reference in the official documentation.
Comments
More Guides
View allclaude-codeRunning Claude Code in CI Pipelines Without Interactive Prompts
Learn how to run Claude Code in CI/CD pipelines without interactive prompts. Covers authentication, permission configuration, GitHub Actions and GitLab CI integration, and troubleshooting common issues.
N
Neura Market Research 2
agentsClaude Code Quickstart: Install, Setup, and Automate Desktop Tasks
Learn how to install, configure, and start using Claude Code to automate desktop tasks, fix bugs, manage Git workflows, and build features directly from your terminal, IDE, or desktop app.
N
Neura Market Research 1
productivityClaude Code: Complete Guide to Settings, Permissions, and Configuration
Complete guide to Claude Code settings, permissions, and configuration scopes. Learn how to manage user, project, local, and managed settings, use the /config command, and handle invalid entries.
N
Neura Market Research 4
apiBatch Processing with the Claude Message Batches API
Learn to use the Claude Message Batches API for cost-effective, high-throughput processing of multiple prompts. Covers setup, batch creation, monitoring, result retrieval, and troubleshooting with practical examples.
N
Neura Market ResearchmcpConnecting Claude to Your Database with MCP: A Complete Guide
Learn how to connect Claude Code to your database using the Model Context Protocol (MCP). This guide covers setup, configuration, querying, and advanced usage with real-world examples.
N
Neura Market Research 6
claude-codeClaude Code with GitHub Actions: Automated Code Review Setup Guide
Learn how to set up Claude Code with GitHub Actions for automated code review, issue triage, and CI/CD workflows. Covers workflow configuration, authentication, CLI flags, and best practices.
N
Neura Market ResearchReady-made automations for this
Workflows from the Neura Market marketplace related to this Claude resource
- Display ServiceNow Incident Details in Slack Using Slash Commandsn8n · $9.99 · Related topic
- Automate Content Creation with Voice Commands in Telegram Using GPT-4n8n · $14.99 · Related topic
- Automate Slack AI Chatbot Responses with Slash Commandsn8n · $9.99 · Related topic
- Create Marketing Content with Voice Commands in Telegram using GPT-4 & AI Toolsn8n · $24.99 · Related topic