 Claude
Back to Guides getting-started
 claude-code
 agents
 productivity
 api
api mcp
mcp claude-code
Getting Started with Claude Code in the Terminal: Installation, Setup, and First Steps
Neura Market Research July 19, 2026
6 views
Learn how to install, authenticate, and use Claude Code in your terminal. This guide covers setup, first sessions, essential commands, advanced features, and community tools.
This guide covers everything you need to start using Claude Code in your terminal, from installation and authentication to running your first coding sessions. It is written for developers who want an AI-powered coding assistant that reads your codebase, edits files, runs commands, and integrates with your development tools directly from the command line.
What You Need
Before you begin, make sure you have the following:
- A terminal or command prompt open. If you have never used the terminal before, review a terminal guide first.
- A code project to work with. This can be any directory containing source code.
- A Claude subscription (Pro, Max, Team, or Enterprise), a Claude Console account (API access with pre-paid credits), or access through a supported cloud provider such as Amazon Bedrock, Google Cloud Agent Platform, or Microsoft Foundry. You can also use a self-hosted Claude apps gateway if your organization runs one.
Claude Code runs on several surfaces: the terminal CLI, VS Code and JetBrains IDE extensions, a desktop app, and the web. This guide focuses on the terminal CLI, which is the full-featured command-line interface for working with Claude Code directly in your terminal. The terminal CLI also supports third-party providers.
How Claude Code Works
Claude Code is an agentic coding tool. It reads your codebase, edits files, runs commands, and integrates with your development tools. It understands your entire codebase and can work across multiple files and tools to get things done. The official documentation describes it as an AI-powered coding assistant that helps you build features, fix bugs, and automate development tasks.
Under the hood, Claude Code uses a custom terminal renderer built with React. According to a technical analysis published on Dev.to, this is not a simple novelty renderer. It is a full rendering engine built around React's reconciliation engine. React handles state updates, component lifecycle, effects, and reconciliation. A custom renderer handles layout using Yoga (a cross-platform layout engine), painting into a screen buffer, diffing against the previous frame, compiling terminal patches, and flushing a single buffered terminal write. This separation is the main architectural idea. React gives the codebase a clean component model and update system. The renderer keeps control over layout cost, paint cost, write volume, and output correctness.
The renderer uses terminal-specific host elements such as ink-root, ink-box, ink-text, and ink-raw-ansi. It does not try to recreate the browser. Terminal events are classified before they reach React scheduling: discrete events (keydown, click, focus, paste) get immediate response, continuous events (resize, scroll, mousemove) are handled differently, and default events cover everything else. This event-priority bridge is important for keeping keyboard interactions responsive while high-frequency event streams remain stable.
The screen buffer uses packed typed arrays (Int32Array for character, style, hyperlink, and width data, with BigInt64Array for fast bulk clears and fills) and intern pools (CharPool, HyperlinkPool, StylePool) to avoid repeated allocations. The StylePool caches transition strings between style IDs, so style changes do not have to repeatedly compute ANSI transitions. Diffing is damage-aware instead of full-screen by default, tracking damage bounds for each frame and focusing work on changed regions. It also uses blitting (copying cells from the previous frame) when a subtree is clean and its layout has not changed, with explicit guards that disable blit paths when overlays, removals, or absolute positioning could cause stale cells to be restored.
This technical depth matters for long-running sessions. The renderer is designed to stay correct over repeated updates, mounts, unmounts, focus changes, resizes, and scrolling. Yoga references are cleared before frees. Removed nodes trigger focus cleanup. Pool growth is controlled with resets and ID migration. Terminal modes are restored synchronously on unmount and exit.
Installation
Claude Code can be installed using several methods. The recommended approach is the native install, which automatically updates in the background to keep you on the latest version.
Native Install (Recommended)
For macOS, Linux, and Windows Subsystem for Linux (WSL), run this command in your terminal:
curl -fsSL https://claude.ai/install.sh | bash
For Windows PowerShell, run:
irm https://claude.ai/install.ps1 | iex
For Windows CMD, run:
curl -fsSL https://claude.ai/install.cmd -o install.cmd && install.cmd && del install.cmd
If you see the error The token '&&' is not a valid statement separator, you are in PowerShell, not CMD. If you see 'irm' is not recognized as an internal or external command, you are in CMD, not PowerShell. Your prompt shows PS C:\ when you are in PowerShell and C:\ without the PS when you are in CMD. If the install command fails with syntax error near unexpected token ', consult the installation troubleshooting guide to match the error to a fix and for alternative install methods.
Git for Windows is recommended on native Windows so Claude Code can use the Bash tool. If Git for Windows is not installed, Claude Code uses PowerShell as the shell tool instead. WSL setups do not need Git for Windows.
Homebrew (macOS and Linux)
brew install --cask claude-code
Homebrew offers two casks. claude-code tracks the stable release channel, which is typically about a week behind and skips releases with major regressions. claude-code@latest tracks the latest channel and receives new versions as soon as they ship. Homebrew installations do not auto-update. Run brew upgrade claude-code or brew upgrade claude-code@latest, depending on which cask you installed, to get the latest features and security fixes.
WinGet (Windows)
winget install Anthropic.ClaudeCode
WinGet installations do not auto-update. Run winget upgrade Anthropic.ClaudeCode periodically to get the latest features and security fixes.
Package Managers for Linux
You can also install with apt, dnf, or apk on Debian, Fedora, RHEL, and Alpine. The official documentation does not provide the exact commands for these package managers, but they are available as alternative install methods.
Verify Installation
To confirm the installation worked, run:
claude --version
The command prints a version number followed by (Claude Code).
Authentication
Claude Code requires an account to use. Start an interactive session with the claude command and you will be prompted to log in on first use:
claude
For Claude subscription or Console accounts, follow the prompts to complete authentication in your browser. To switch accounts later or re-authenticate, type /login inside the running session:
/login
You can log in using any of these account types:
- Claude Pro, Max, Team, or Enterprise (recommended)
- Claude Console (API access with pre-paid credits). On first login, a "Claude Code" workspace is automatically created in the Console for centralized cost tracking.
- Amazon Bedrock, Google Cloud Agent Platform, or Microsoft Foundry (enterprise cloud providers)
- A self-hosted Claude apps gateway, if your organization runs one: your admin pre-configures the gateway URL, and
/loginopens directly on the Cloud gateway screen for you to sign in with corporate SSO
Once logged in, your credentials are stored on your system and you will not need to log in again.
Starting Your First Session
Open your terminal in any project directory and start Claude Code:
cd /path/to/your/project
claude
Replace /path/to/your/project with the path to the project you want to work on. You will see the Claude Code prompt with the version, current model, and working directory shown above it. Type /help for available commands or /resume to continue a previous conversation.
Asking Your First Questions
Once the session starts, you can ask Claude to analyze your codebase. Try one of these commands:
what does this project do?
Claude will analyze your files and provide a summary. You can also ask more specific questions:
what technologies does this project use?
where is the main entry point?
explain the folder structure
You can also ask Claude about its own capabilities:
what can Claude Code do?
how do I create custom skills in Claude Code?
can Claude Code work with Docker?
Claude Code reads your project files as needed. You do not have to manually add context.
Making Your First Code Change
Now let us make Claude Code do some actual coding. Try a simple task:
add a hello world function to the main file
Claude Code will:
- Find the appropriate file
- Show you the proposed changes
- Ask for your approval before changing files, depending on your permission mode
- Make the edit
Whether Claude Code asks before changing files depends on your permission mode. In default mode, Claude asks for approval before each change. Press Shift+Tab to cycle through modes: acceptEdits auto-approves file edits, and plan lets Claude propose changes without editing. Some accounts also have an auto mode that runs a background safety check and blocks risky actions, returning to prompts only after repeated blocks.
Using Git with Claude Code
Claude Code makes Git operations conversational:
what files have I changed?
commit my changes with a descriptive message
You can also prompt for more complex Git operations:
create a new branch called feature/quickstart
show me the last 5 commits
help me resolve merge conflicts
Fixing a Bug or Adding a Feature
Claude is proficient at debugging and feature implementation. Describe what you want in natural language:
add input validation to the user registration form
Or fix existing issues:
there's a bug where users can submit empty forms - fix it
Claude Code will:
- Locate the relevant code
- Understand the context
- Implement a solution
- Run tests if available
Common Workflows
Here are some common tasks you can accomplish with Claude Code:
Refactor Code
refactor the authentication module to use async/await instead of callbacks
Write Tests
write unit tests for the calculator functions
Update Documentation
update the README with installation instructions
Code Review
review my changes and suggest improvements
Talk to Claude like you would a helpful colleague. Describe what you want to achieve, and it will help you get there.
Essential Commands
Here are the most important commands for daily use. Shell commands run from your terminal to start or resume Claude Code. Session commands run inside Claude Code after it starts.
Shell Commands
| Command | What it does | Example |
|---|---|---|
claude | Start interactive mode | claude |
claude "task" | Run a one-time task | claude "fix the build error" |
claude -p "query" | Run one-off query, then exit | claude -p "explain this function" |
claude -c | Continue most recent conversation in current directory | claude -c |
claude -r | Resume a previous conversation | claude -r |
Session Commands
| Command | What it does | Example |
|---|---|---|
/clear | Clear conversation history | /clear |
/help | Show available commands | /help |
/exit or Ctrl+D twice | Exit Claude Code | /exit |
See the CLI reference for the complete list of shell commands and the commands reference for the complete list of session commands.
Pro Tips for Beginners
For more, see best practices and common workflows.
Be Specific with Your Requests
Instead of: "fix the bug" Try: "fix the login bug where users see a blank screen after entering wrong credentials"
Use Step-by-Step Instructions
Break complex tasks into steps:
1. create a new database table for user profiles
2. create an API endpoint to get and update user profiles
3. build a webpage that allows users to see and edit their information
Let Claude Explore First
Before making changes, let Claude understand your code:
analyze the database schema
build a dashboard showing products that are most frequently returned by our UK customers
Save Time with Shortcuts
- Type
/to see all commands and skills - Use Tab for command completion
- Press Up Arrow for command history
- Press
Shift+Tabto cycle permission modes
Advanced Usage
Piping and Scripting with the CLI
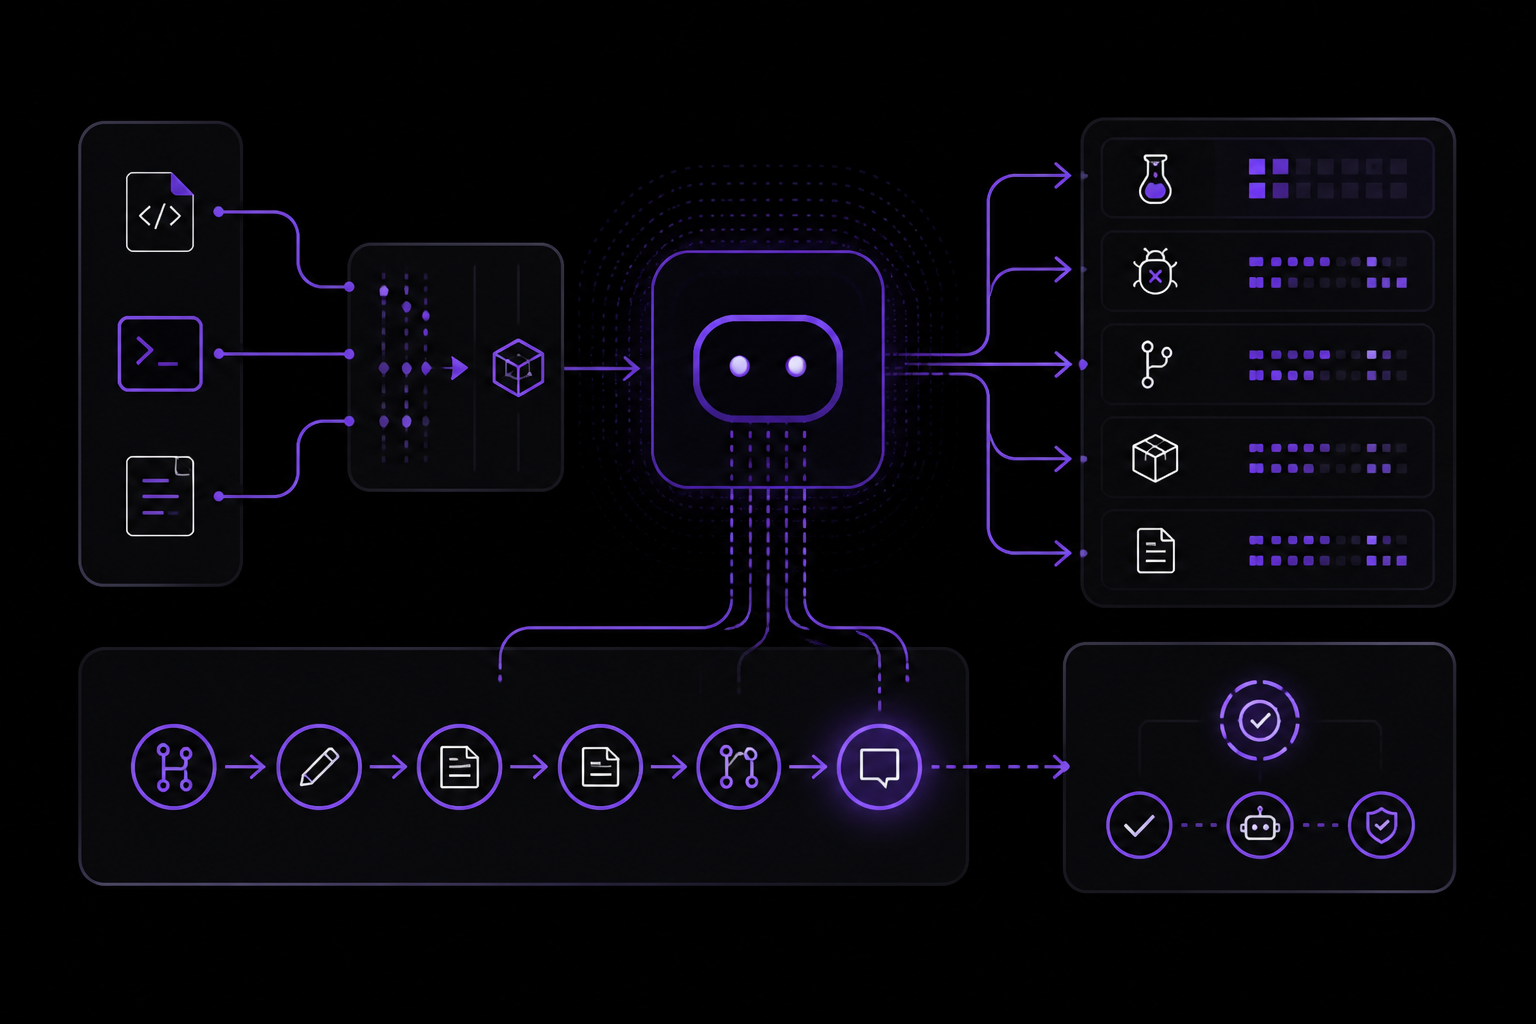
Claude Code is composable and follows the Unix philosophy. Pipe logs into it, run it in CI, or chain it with other tools:
# Analyze recent log output
tail -200 app.log | claude -p "Slack me if you see any anomalies"

# Automate translations in CI
claude -p "translate new strings into French and raise a PR for review"

# Bulk operations across files
git diff main --name-only | claude -p "review these changed files for security issues"
Automating Repetitive Tasks
Claude Code can handle tedious tasks that eat up your day: writing tests for untested code, fixing lint errors across a project, resolving merge conflicts, updating dependencies, and writing release notes.
claude "write tests for the auth module, run them, and fix any failures"
Creating Commits and Pull Requests
Claude Code works directly with git. It stages changes, writes commit messages, creates branches, and opens pull requests.
claude "commit my changes with a descriptive message"
In CI, you can automate code review and issue triage with GitHub Actions or GitLab CI/CD.
Connecting Your Tools with MCP
The Model Context Protocol (MCP) is an open standard for connecting AI tools to external data sources. With MCP, Claude Code can read your design docs in Google Drive, update tickets in Jira, pull data from Slack, or use your own custom tooling. The MCP quickstart connects your first server end to end.
Customizing with Instructions, Skills, and Hooks
CLAUDE.md is a markdown file you add to your project root that Claude Code reads at the start of every session. Use it to set coding standards, architecture decisions, preferred libraries, and review checklists. Claude also builds auto memory as it works, saving learnings like build commands and debugging insights across sessions without you writing anything. Create skills to package repeatable workflows your team can share, like /review-pr or /deploy-staging. Hooks let you run shell commands before or after Claude Code actions, like auto-formatting after every file edit or running lint before a commit.
Running Agent Teams and Building Custom Agents
Spawn multiple Claude Code agents that work on different parts of a task simultaneously. A lead agent coordinates the work, assigns subtasks, and merges results. To run several full sessions in parallel and watch them from one screen, use background agents. For fully custom workflows, the Agent SDK lets you build your own agents powered by Claude Code tools and capabilities, with full control over orchestration, tool access, and permissions.
Scheduling Recurring Tasks
Run Claude on a schedule to automate work that repeats: morning PR reviews, overnight CI failure analysis, weekly dependency audits, or syncing docs after PRs merge.
- Routines run on Anthropic-managed infrastructure, so they keep running even when your computer is off. They can also trigger on API calls or GitHub events. Create them from the web, the Desktop app, or by running
/schedulein the CLI. - Desktop scheduled tasks run on your machine, with direct access to your local files and tools.
/looprepeats a prompt within a CLI session for quick polling.
Working from Anywhere
Sessions are not tied to a single surface. Move work between them as your context changes:
- Step away from your desk and keep working from your phone or any browser with Remote Control.
- Message Dispatch a task from your phone and open the Desktop session it creates.
- Kick off a long-running task on the web or the Claude mobile app, then pull it into your terminal with
claude --teleport. Teleport requires a claude.ai subscription. - Run
/desktopto continue your current terminal session in the Desktop app, where you can review diffs visually. Available on macOS and x64 Windows. - Route tasks from team chat: mention
@Claudein Slack with a bug report and get a pull request back.
Community Tools and Alternatives
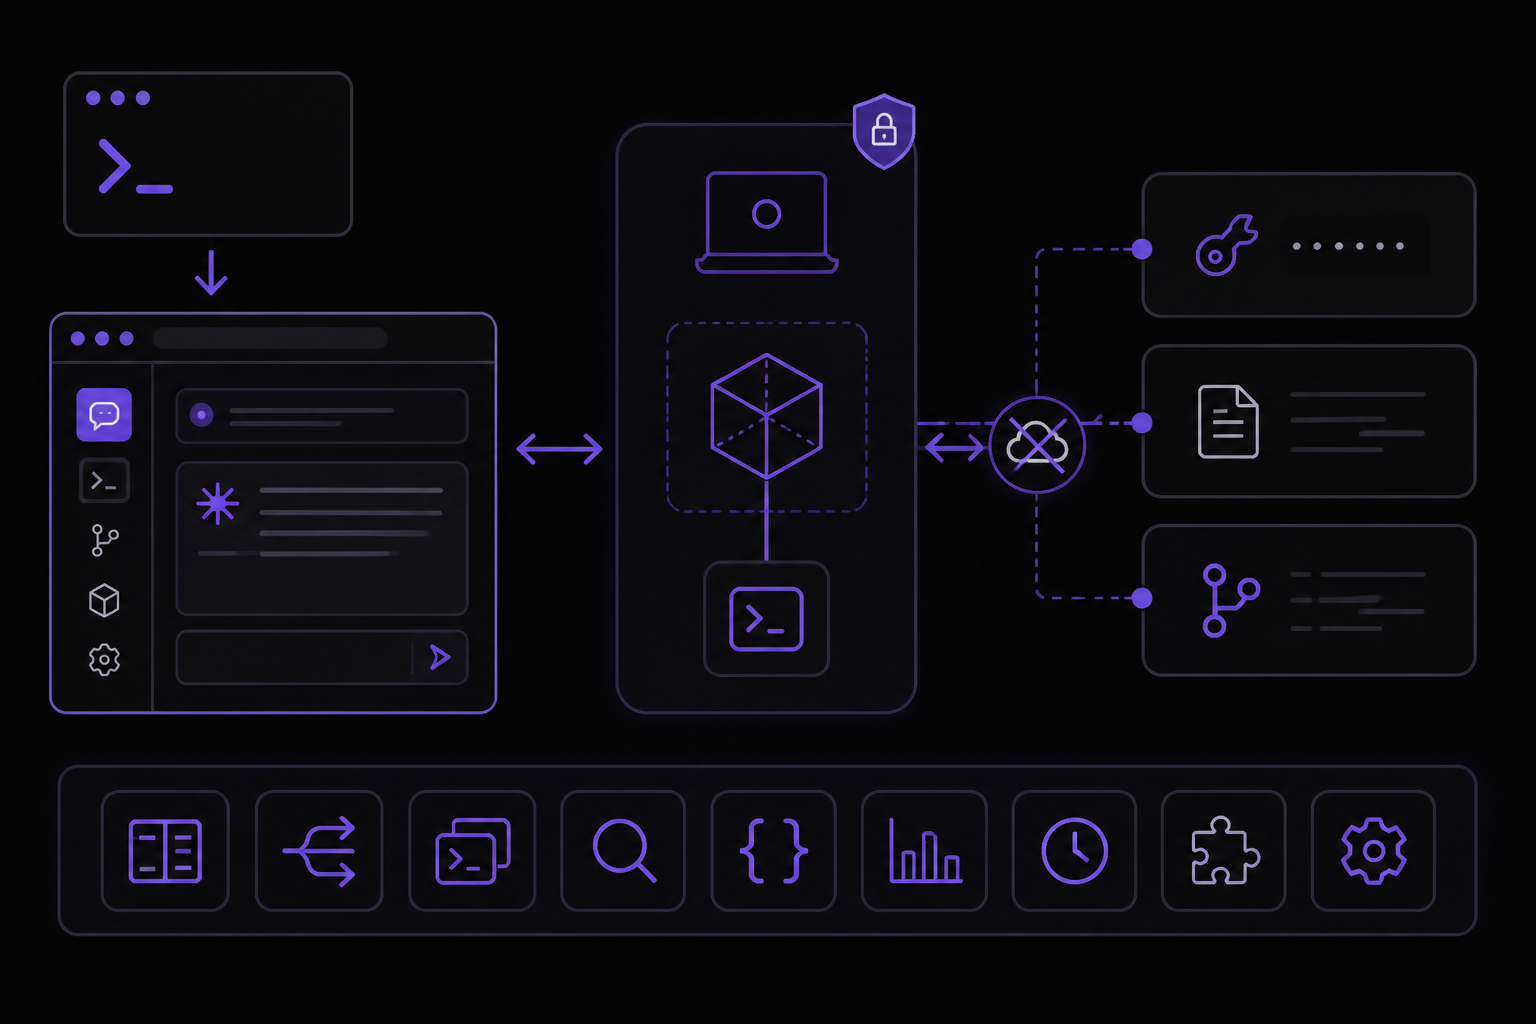
A developer named Hamed Farag built a browser-based UI for Claude Code called Claudeck. According to his Dev.to article, it started as a quick experiment on March 1st, 2026, and grew into a full-featured browser UI with 50+ features in 15 days. It is published on npm and can be launched with a single command:
npx claudeck
Claudeck connects to the official Claude Code SDK running on your machine. Your API key, your local files, and your git repos stay local. Nothing goes through a third-party server. It is a local web app that gives Claude Code a visual interface.
Key features of Claudeck include:
- Parallel Mode (2x2 Grid): Four independent Claude conversations running simultaneously in a grid layout. Each pane has its own session, its own context, its own streaming output.
- Cost Dashboard: A full analytics dashboard with daily cost charts, per-session breakdowns, input/output token counts, and error pattern analysis.
- AI Workflows: Pre-built multi-step pipelines for reviewing PRs, onboarding repos, creating migration plans, and assessing code health. You can create your own workflows with full CRUD.
- Autonomous Agents: Four built-in agents (PR Reviewer, Bug Hunter, Test Writer, Refactoring) that run as high-turn autonomous sessions. You can compose them into agent chains (sequential pipelines), agent DAGs (visual dependency graphs), or use an orchestrator that auto-decomposes tasks into specialist agent calls.
- Telegram Integration: Two-way integration that sends session completions, agent runs, workflow steps, and errors as rich notifications to your phone. When Claude needs permission to run a tool, you get an inline keyboard on Telegram with Approve/Deny buttons.
- Prompt Templates with Variables: Click a template, fill in a form, and send. Sixteen built-in templates, plus auto-discovery of
.claude/commands/and.claude/skills/from your project directory. - File Explorer, Git Panel, and Code Diffs: Lazy-loaded file tree with syntax-highlighted preview, git panel with branch switching, staging, commit, and log, and LCS-based code diff viewer.
- Plugin System: Full-stack plugin architecture. Drop files in
~/.claudeck/plugins/my-plugin/with aclient.jsand optionally aserver.js, and it appears in the marketplace. Built-in plugins include Linear integration, a todo list with brag tracking, and games.
Claudeck is built with vanilla JavaScript ES modules, Express, WebSocket, better-sqlite3, web-push, dotenv, and the Claude Code SDK. That is six npm dependencies. No React, no Vue, no Svelte, no bundler, no build step. Everything is local. No cloud, no accounts, no telemetry. Your data lives in ~/.claudeck/.
Claudeck does have limitations:
- No authentication: anyone on your local network can access it.
- No multi-CLI support: it is Claude Code only.
- No desktop app: if you want a native macOS/Windows experience, Opcode and CodePilot are better choices.
- No live file editing: it shows file previews but does not have an editor.
According to the developer, Claudeck is for solo developers who use Claude Code daily and want visibility into costs, reusable workflows, and a visual interface without leaving the browser. It is also for developers who work AFK and want to approve tool calls from their phone, power users who want parallel conversations and agent pipelines, and teams evaluating Claude Code who need cost analytics to justify the spend.
Troubleshooting
Installation Issues
If the install command fails with syntax error near unexpected token ', you may be running the wrong shell. Check whether you are in PowerShell or CMD on Windows. Your prompt shows PS C:\ when you are in PowerShell and C:\ without the PS when you are in CMD. Use the correct command for your shell.
If you see The token '&&' is not a valid statement separator, you are in PowerShell, not CMD. Use the PowerShell command instead.
If you see 'irm' is not recognized as an internal or external command, you are in CMD, not PowerShell. Use the CMD command instead.
Authentication Issues
If you need to switch accounts or re-authenticate, type /login inside the running session.
Permission Mode Issues
If Claude Code is not asking for approval before changes, you may be in acceptEdits mode. Press Shift+Tab to cycle through modes. In default mode, Claude asks for approval before each change. In plan mode, Claude proposes changes without editing. Some accounts have an auto mode that runs a background safety check and blocks risky actions.
Session Issues
If you lose your place in a conversation, use claude -c to continue the most recent conversation in the current directory, or claude -r to resume a previous conversation.
Terminal Renderer Issues
According to the technical analysis of Claude Code terminal renderer, the renderer is designed to handle long-running sessions with strict lifecycle control. If you experience visual artifacts or performance degradation over time, it may be related to terminal mode restoration or pool growth. The renderer restores terminal modes synchronously on unmount and exit, and controls pool growth with resets and ID migration. If issues persist, try restarting the session with /clear or exiting and restarting Claude Code.
Going Further
Once you have installed Claude Code and completed the quickstart, explore these advanced features:
- How Claude Code Works: Understand the agentic loop, built-in tools, and how Claude Code interacts with your project.
- Best Practices: Get better results with effective prompting and project setup.
- Common Workflows: Step-by-step guides for common tasks.
- Extend Claude Code: Customize with CLAUDE.md, skills, hooks, MCP, and more.
- Settings: Customize Claude Code for your workflow.
- Troubleshooting: Solutions for common issues.
- code.claude.com: Demos, pricing, and product details.
For community support, join the Claude Code Discord for tips and support. You can also explore community-built tools like Claudeck for a browser-based UI with cost tracking, parallel conversations, and Telegram integration.
If you want to understand the technical underpinnings of Claude Code terminal renderer, study the architecture: React handles reconciliation and the component model, while the custom renderer handles layout, painting, diffing, scheduling, memory behavior, terminal patch generation, and output correctness. The renderer uses damage-aware diffing, selective blitting, terminal-native scroll acceleration, and packed typed arrays for the screen buffer. These design choices make the terminal UI feel fast, stable, and predictable even over long sessions.
Comments
More Guides
View allclaude-codeRunning Claude Code in CI Pipelines Without Interactive Prompts
Learn how to run Claude Code in CI/CD pipelines without interactive prompts. Covers authentication, permission configuration, GitHub Actions and GitLab CI integration, and troubleshooting common issues.
N
Neura Market Research 2
agentsClaude Code Quickstart: Install, Setup, and Automate Desktop Tasks
Learn how to install, configure, and start using Claude Code to automate desktop tasks, fix bugs, manage Git workflows, and build features directly from your terminal, IDE, or desktop app.
N
Neura Market Research 1
productivityClaude Code: Complete Guide to Settings, Permissions, and Configuration
Complete guide to Claude Code settings, permissions, and configuration scopes. Learn how to manage user, project, local, and managed settings, use the /config command, and handle invalid entries.
N
Neura Market Research 4
apiBatch Processing with the Claude Message Batches API
Learn to use the Claude Message Batches API for cost-effective, high-throughput processing of multiple prompts. Covers setup, batch creation, monitoring, result retrieval, and troubleshooting with practical examples.
N
Neura Market ResearchmcpConnecting Claude to Your Database with MCP: A Complete Guide
Learn how to connect Claude Code to your database using the Model Context Protocol (MCP). This guide covers setup, configuration, querying, and advanced usage with real-world examples.
N
Neura Market Research 6
claude-codeClaude Code with GitHub Actions: Automated Code Review Setup Guide
Learn how to set up Claude Code with GitHub Actions for automated code review, issue triage, and CI/CD workflows. Covers workflow configuration, authentication, CLI flags, and best practices.
N
Neura Market ResearchReady-made automations for this
Workflows from the Neura Market marketplace related to this Claude resource
- Track n8n Community Topics with Keywords and Save to Google Sheetsn8n · $9.99 · Related topic
- Generate Community Insights from Hacker News Comments with Qdrant and OpenAIn8n · $19.99 · Related topic
- Automate Community Monitoring with AI-Powered Reddit and Forum Digestsn8n · $14.99 · Related topic
- Automate YouTube Community Posts with AI-Driven Content and Dynamic Imagesn8n · $9.99 · Related topic