
Hermes Agent + VS Code: Complete Editor Integration Guide
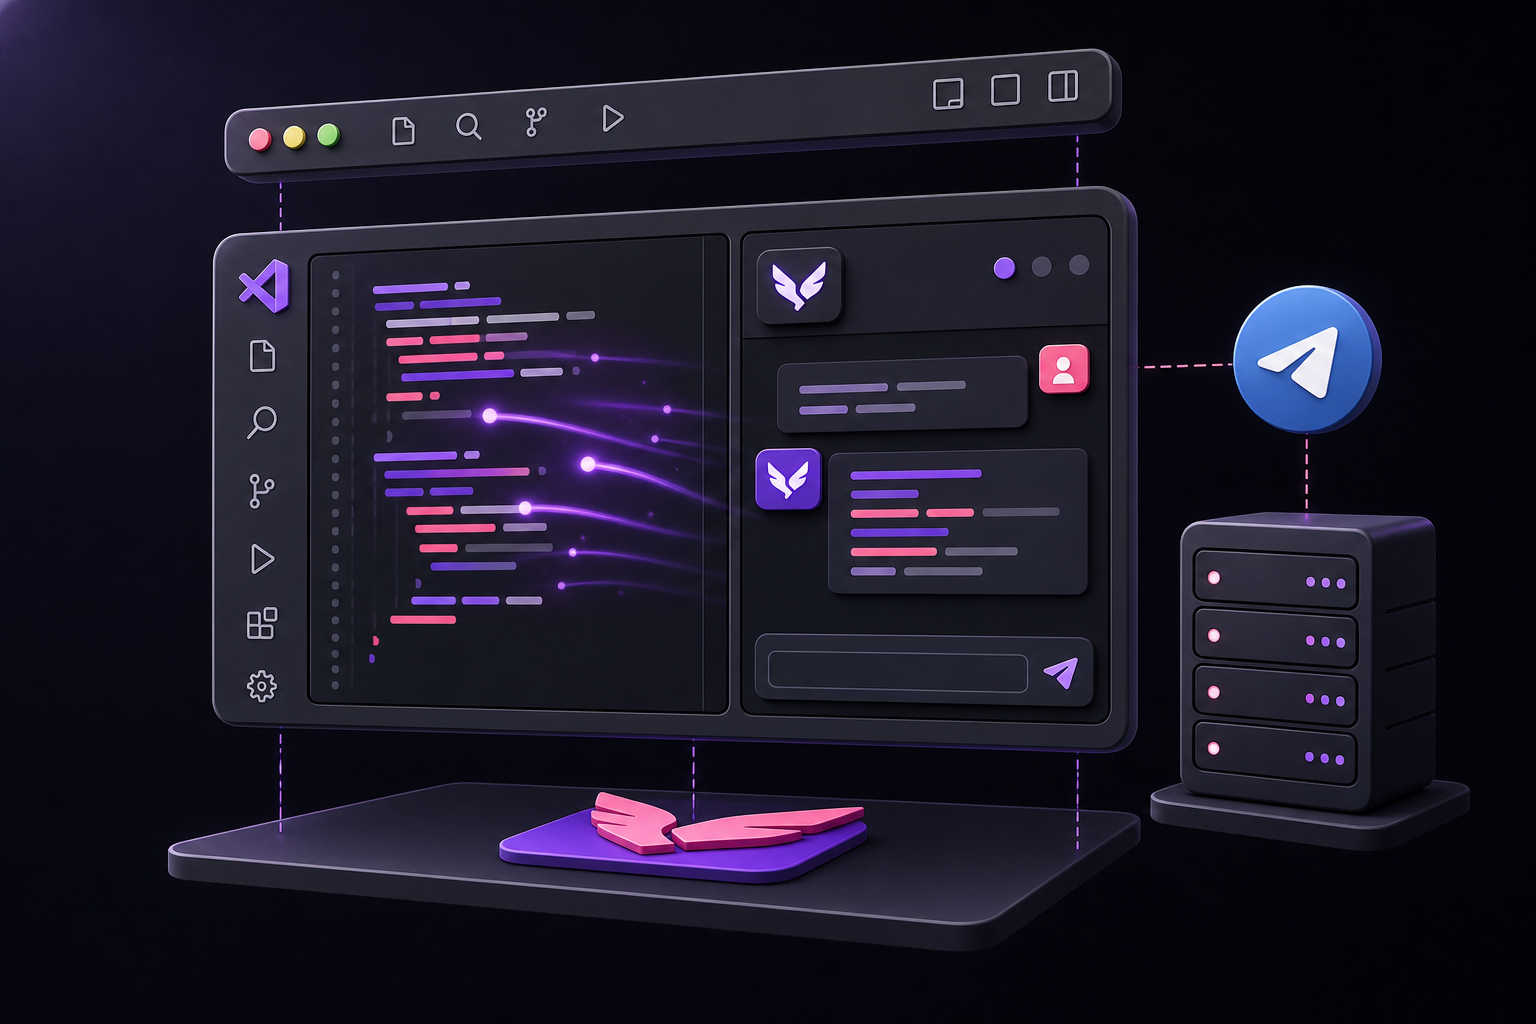
This guide covers how to set up and use Hermes Agent inside VS Code through the Agent Client Protocol (ACP). It is for developers who want an autonomous coding agent that can read files, patch code, run terminal commands, manage project memory, and request approvals, all from within their editor. You will learn the full setup path, how to configure the ACP Client extension, how to handle common issues, and how to extend the workflow to a remote VPS with Telegram for phone based coding.
What You Need
Before you start, you need the following:
- Hermes Agent installed and configured with a model provider. Run
hermes setuporhermes modelto choose your provider and set up API credentials. The official documentation recommends OpenAI Codex or GPT 5.5 for coding tasks. Anthropic models work but are more expensive. OpenRouter is also viable for accessing cheaper alternatives. - VS Code installed on your machine. Any recent version should work.
- The ACP Client extension installed from the Visual Studio Marketplace. This is the bridge that lets VS Code talk to Hermes through the standard Agent Client Protocol. It is not a separate closed editor fork.
- A repository open in VS Code. The agent works best when it has a workspace root to operate on.
- Optional but recommended: a Hostinger VPS with one click Docker deploy for running Hermes 24/7, and a Telegram bot for remote commands. The ZazenCodes workflow demonstrates this setup.
Understanding the Architecture
Hermes and VS Code are separate systems that communicate through ACP. Hermes runs locally as an ACP server using hermes acp. The VS Code ACP Client extension launches or connects to that server over stdio, then renders Hermes messages, tool calls, file diffs, terminal output, and approval prompts inside your editor.
This three layer architecture is important to understand:
- VS Code is the human in the loop coding session. You use it to review diffs, approve commands, and steer the agent.
- Hermes is the agent runtime. It handles tools, memory, skills, provider routing, and terminal execution.
- GitHub integration handles unattended PR, issue, CI, and webhook work when the editor is closed.
When you move to a remote setup with a VPS, Docker, and Telegram, the architecture expands:
- Outer layer: The VPS (e.g., Hostinger) with a real IP address you SSH into.
- Middle layer: A Docker container running the Hermes image.
- Inner layer: The
/datafolder inside the container, mounted as a Docker volume to the host. This folder is the agent's brain: authentication context, skills, and memories. Understanding this structure matters when you need to back up your agent or update it.
Setup Path
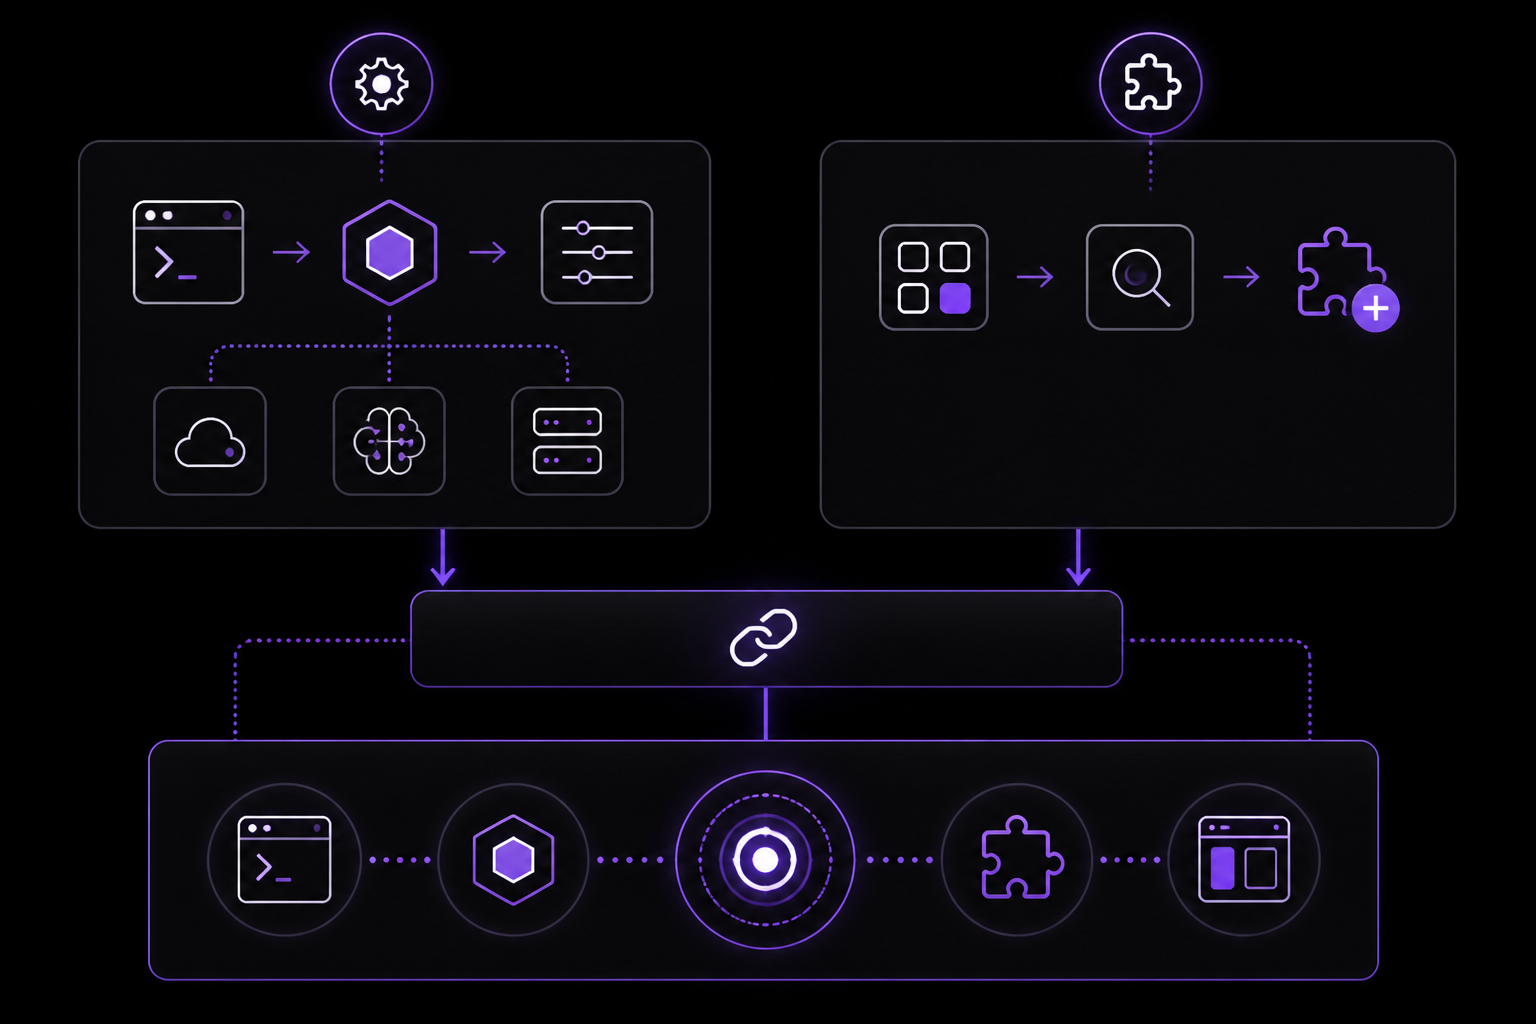
Step 1: Install and Configure Hermes Agent
If you have not already done so, install Hermes Agent using the CLI. Run hermes setup or hermes model to configure your model provider. Make sure the hermes command is on your PATH. You can verify this by running hermes --version in a terminal. If VS Code cannot find the command later, you will need to check the PATH that VS Code uses.
Step 2: Install the ACP Client Extension
Open VS Code, go to the Extensions view (Ctrl+Shift+X), search for "ACP Client", and install it. This extension is published on the Visual Studio Marketplace. It is the standard way for VS Code to communicate with any ACP compliant agent, not just Hermes.
Step 3: Open the ACP Client Panel
After installation, you will see a new ACP icon in the activity bar (usually on the left side of the window). Click it to open the ACP Client panel. From the built in agent list, select Hermes Agent. If Hermes Agent appears in the list, you are done with configuration. If it does not, proceed to Step 4.
Step 4: Manual Agent Configuration (If Needed)
If Hermes Agent is not listed automatically, you need to add it manually in VS Code settings. Open your VS Code settings (JSON) and add the following under acp.agents:
{
  "acp.agents": {
    "Hermes Agent": {
      "command": "hermes",
      "args": ["acp"]
    }
  }
}
Line by line explanation:
"acp.agents": This is the top level key where you define custom agents for the ACP Client."Hermes Agent": This is the display name that will appear in the ACP Client panel. You can name it anything, but keeping it consistent helps."command": "hermes": This tells VS Code which executable to run. It must be on the PATH that VS Code uses. If you installed Hermes globally, this should work. If not, provide the full path to thehermesbinary."args": ["acp"]: These are the command line arguments passed to thehermescommand. Theacpargument tells Hermes to start in ACP server mode.
Step 5: Health Check
Before connecting from VS Code, run a health check in your terminal:
hermes acp --check
This command verifies that the ACP server can start and that Hermes is properly configured. If the check passes, you will see a success message. If it fails, the output will indicate what is wrong (e.g., missing model configuration, PATH issue).
Step 6: Connect and Start Using
Open your repository in VS Code. In the ACP Client panel, click the connect button (or select Hermes Agent and click start). The panel will show a chat interface. You can now ask Hermes to inspect files, patch code, run tests, or explain a diff.
Features Available in the VS Code Integration
Once connected, the following features are available inside your editor:
- ACP editor chat: A chat panel where you can talk to Hermes. This is the primary interface.
- File reads, patches, and multi file diffs: Hermes can read any file in your workspace and propose changes. Diffs are shown inline in the editor, and you can review them before applying.
- Terminal commands, builds, and test verification: Hermes can run terminal commands inside the VS Code terminal. Output is captured and shown in the chat. This is useful for running builds or tests after making changes.
- Persistent memory and reusable skills: Hermes remembers context across sessions. You can create skills that encode repo conventions, debugging workflows, or any repeated task. Skills are stored in the
/datafolder (or equivalent) and are loaded automatically when relevant. - Permission prompts for risky commands and edits: Hermes flags high risk commands (like
git push, file deletions, or system modifications) and asks for your approval before executing. You can approve once or for the entire session. - GitHub handoffs: You can ask Hermes to create PRs, review issues, or summarize CI results. This works even when the editor is closed, as long as Hermes is running.
Optional Browser Tools
If you need Hermes to interact with web pages (e.g., for testing or scraping), you can enable browser tools:
hermes acp --setup-browser
This command installs the necessary browser dependencies. After running it, reconnect the VS Code ACP Client. Browser tools allow Hermes to navigate to URLs, take screenshots, and extract content. This is useful for debugging web applications or verifying deployments.
When to Use VS Code vs. Other Surfaces
The official documentation is clear about the different use cases:
- Use Copilot for fast inline suggestions and editor native completions. Copilot excels at single line or small block completions as you type.
- Use Hermes in VS Code for permissioned agent work inside the repo. This includes multi file refactors, debugging loops that need terminal output and source edits, and repo specific workflows where Hermes should remember conventions through skills and memory.
- Use FlyHermes when you want the hosted cloud version instead of maintaining the local server, gateway, provider credentials, and dashboard yourself. FlyHermes is the cloud path for managed Hermes.
- Use GitHub integration for unattended PR, issue, CI, and webhook work when the editor is closed.
Running Hermes on a VPS with Telegram (The ZazenCodes Workflow)
A significant portion of the source material covers the workflow demonstrated by ZazenCodes, where Hermes runs on a Hostinger VPS inside a Docker container, and you interact with it via Telegram from your phone. This is not strictly a VS Code integration, but it complements it: you can use VS Code for active coding sessions and Telegram for remote tasking.
Deploying on Hostinger
Hostinger offers a one click Docker deploy for Hermes. After deployment, navigate to Docker Manager in the Hostinger panel and click Open to reach the Hermes setup wizard directly inside the container. This wizard will guide you through configuring your model provider and Telegram token.
Setting Up Telegram
- Create a Telegram bot via BotFather. BotFather will give you a token.
- Find your personal Telegram user ID using a userinfo bot (like @userinfobot).
- Lock the bot to your user ID only. This is a security measure so that no other Telegram user can talk to your agent.
- Provide the token and user ID to Hermes during setup.
Authenticating GitHub CLI
Ask Hermes in the web UI chat to "set up your GitHub CLI skill." Hermes will guide you through the OAuth flow and configure git name and email automatically. The ZazenCodes video recommends using a separate GitHub account or fine grained personal access token for the agent rather than handing over full account credentials. This scopes access to specific repositories.
The Three Layer Architecture in Practice
- VPS: Always on, so Hermes keeps working without your laptop open.
- Docker container: Runs the Hermes image. The
/datafolder inside the container is mounted as a Docker volume to the host. This folder contains authentication context, skills, and memories. - Telegram bot: The command interface. You dictate tasks from your phone (e.g., "build a blog, deploy to staging") and Hermes executes the full workflow: loading relevant skills, reading source files, writing code, generating images with Codex, pushing to GitHub, and monitoring the GitHub Action that deploys the site.
Why Transparency in Tool Calls Matters
ZazenCodes explicitly valued being able to see every tool call inside the Telegram chat: which skill is loaded, what terminal command is running, what file is being read. This visibility lets you interrupt, redirect, or approve actions in real time. Knowing exactly what the model is doing, rather than just receiving a final answer, is what makes this workflow feel trustworthy for production code.
Troubleshooting
VS Code Cannot Connect
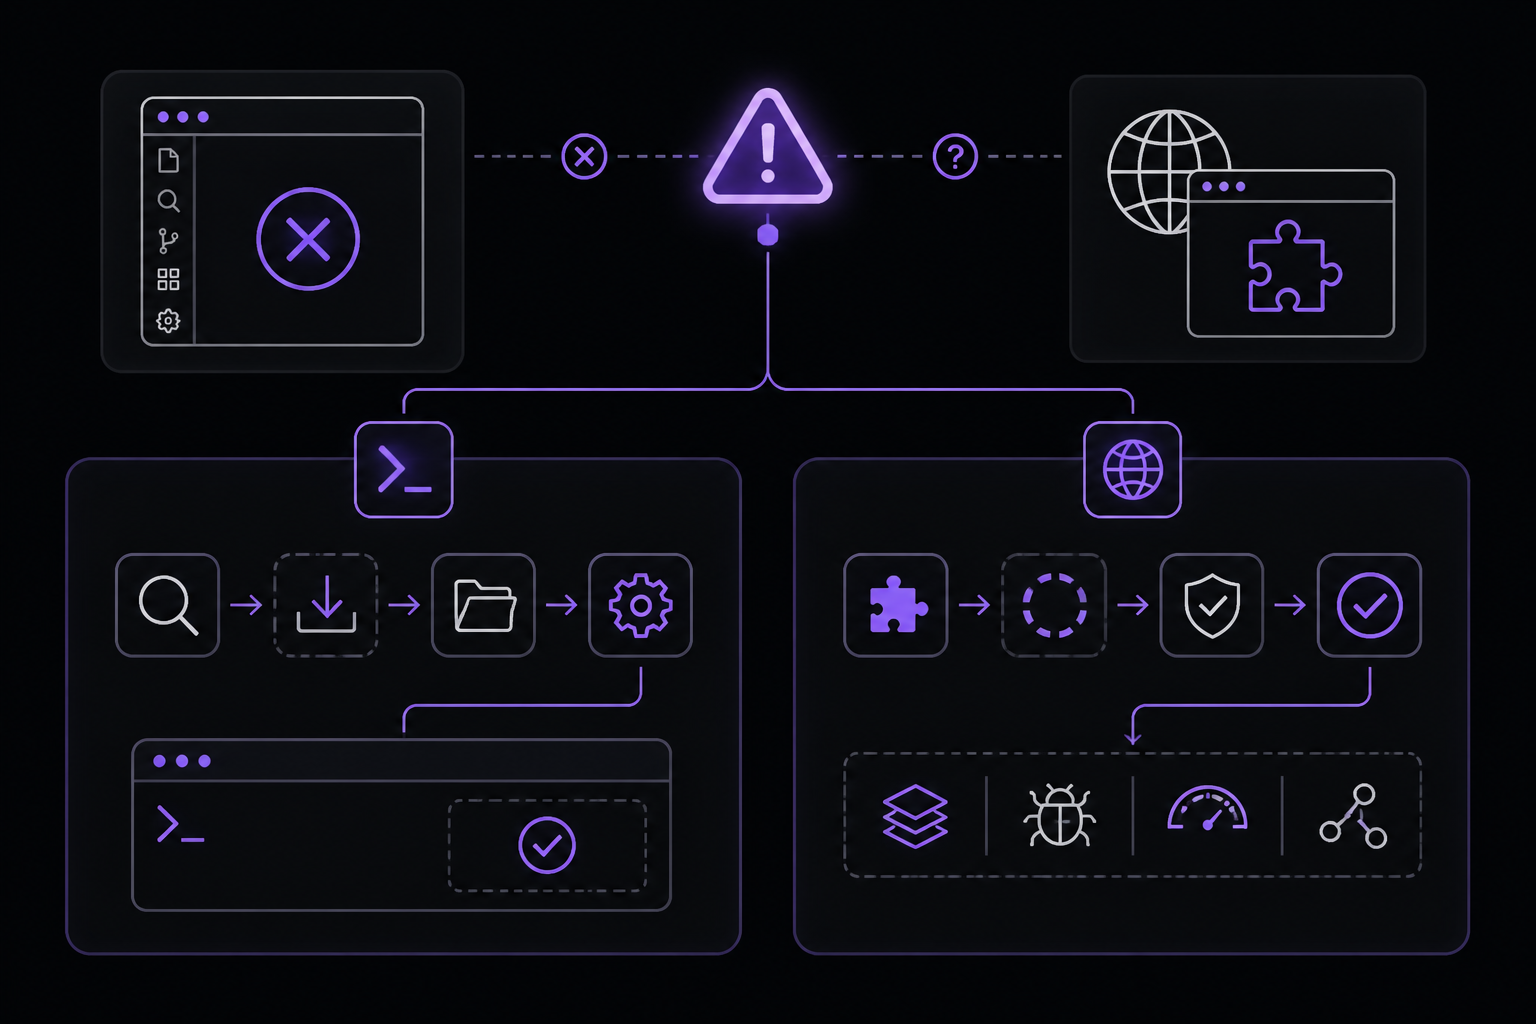
If VS Code cannot connect to Hermes, run the health check in a terminal:
hermes acp --check
Confirm that the hermes command is on the PATH that VS Code uses. VS Code may use a different PATH than your terminal, especially if you installed Hermes via a package manager that modifies PATH in shell config files. You can check by opening the VS Code terminal (Ctrl+) and running which hermesorhermes --version. If the command is not found, you may need to add the directory containing hermesto VS Code'sterminal.integrated.env` settings.
Browser Tools Missing
If browser tools are missing in ACP mode, run:
hermes acp --setup-browser
Then reconnect the VS Code ACP Client. This installs the necessary dependencies (like Playwright or Puppeteer) that Hermes uses for browser automation.
Hermes Edits the Wrong Files
Open VS Code at the repository root and start the ACP session from that workspace. Hermes uses the workspace root as its working directory. If you open VS Code in a subfolder, Hermes may not see the full project structure.
Terminal Commands Run in the Wrong Environment
Check the active Hermes profile, shell PATH, virtualenv, and workspace path before changing prompts. Hermes runs commands in its own shell environment, which may not match your interactive shell. If you use virtual environments (e.g., Python venv), make sure the environment is activated in the Hermes profile or specify the full path to the interpreter.
Expected Inline Autocomplete
If you expected inline autocomplete, keep Copilot for completions and use Hermes for multi step tool execution, memory, tests, and repo automation. Hermes is not an autocomplete product; it is an editor surface for an autonomous tool using agent.
Telegram Bot Messages Not Arriving
If Telegram messages are not coming through, tell Hermes in the web UI chat that Telegram is not working. It will load its self knowledge skill, check the gateway process, and restart it. The ZazenCodes video demonstrates this exact scenario live. This is a community reported fix.
Hermes Cannot Find the Cloned Repository
Make sure the repository is cloned into the expected path inside the Docker container. Start a new session and ask Hermes to search for the project. It may take a few searches the first time but will learn the path for future sessions through its memory.
Approval Required for a Git Push Command
Hermes flags high risk commands before executing. When prompted in Telegram, simply approve the command. You can approve once or for the session depending on how much autonomy you want. This is a safety feature, not a bug.
Going Further
Once you have the basic VS Code integration working, consider these next steps from the source material:
- Use Hermes with OpenRouter: Set up hosted model access with credits, rate limits, and provider fallback for tool heavy editor sessions. This is useful if you want to use multiple models or need a fallback when your primary provider is down.
- Connect Hermes to GitHub: Move from local VS Code steering to PR review, CI summaries, issue triage, and repository automation. This works even when the editor is closed.
- Create reusable Hermes skills: Save repo conventions and repeated debugging workflows so future VS Code sessions start smarter. Skills are stored in the
/datafolder and can be shared across sessions. - Compare Hermes with GitHub Copilot: Understand when to use inline completions versus an autonomous tool using coding agent. The official documentation provides a clear comparison.
- Deploy on a VPS for 24/7 operation: Use Hostinger's one click Docker deploy to run Hermes on a VPS. This enables the Telegram workflow and lets you code from your phone.
- Set up a dedicated GitHub account for the agent: The ZazenCodes presenter recommends this so the agent's access stays scoped to specific repositories and does not touch everything on your personal account.
For a complete walkthrough of the remote VPS + Telegram workflow, watch the ZazenCodes video linked in the source material. It covers the full stack from deployment to live demo.
The #1 AI Newsletter
The most important ai updates, guides, and fixes — one weekly email.
No spam, unsubscribe anytime. Privacy policy