Automate Email Triage with n8n and OpenAI: A Step-by-Step Tutorial
Prerequisites
- ✓ Gmail account with IMAP enabled
- ✓ n8n instance (self-hosted or cloud)
- ✓ OpenAI API key (or OpenAI-compatible API key)
- ✓ Basic familiarity with n8n interface
- ✓ Gmail labels created for each category
You will build a fully automated email triage workflow using n8n and OpenAI that reads new emails from your Gmail inbox, classifies them into categories like WORK, PERSONAL, SPAM, NEWSLETTER, SUPPORT, and BILLING using an LLM, and then applies the correct Gmail label automatically. The entire setup takes approximately 45 minutes and requires no coding beyond copying and pasting a few JSON snippets.
Prerequisites
- A Gmail account (the tutorial uses Gmail, but any IMAP-enabled email account works)
- An n8n instance (self-hosted or cloud; the tutorial assumes you have access to the n8n editor)
- An OpenAI API key (or an OpenAI-compatible API key from a provider like Regolo AI, which is used in the source tutorial)
- Basic familiarity with n8n's node-based interface (adding nodes, connecting them, configuring credentials)
- A Gmail label for each category you want to use (e.g., WORK, PERSONAL, SPAM, NEWSLETTER, SUPPORT, BILLING) created in advance
Step 1: Create the Email Trigger Node
Open your n8n editor and create a new workflow. The first node you need is the Email Trigger (IMAP) node. This node will poll your email inbox at a regular interval and start the workflow whenever a new message arrives.
- In the n8n editor, click the "+" button to add a new node.
- Search for "Email Trigger (IMAP)" and select it.
- Configure the node with your email credentials. For Gmail, you will need an App Password if you have two-factor authentication enabled. According to the tutorial, you can generate an App Password in your Google Account settings under Security > App passwords.
- Set the following parameters:
- Protocol: IMAP
- User: your full Gmail address (e.g., you@gmail.com)
- Password: your App Password (or your regular password if 2FA is off)
- Host: imap.gmail.com
- Port: 993
- Connection Security: TLS
- Mailbox: INBOX
- Only New: true (this ensures only unseen messages trigger the workflow)
- Poll Times: set to every 5 minutes (or as desired)
When configured correctly, the node will show a green dot and the message "Connection successful" after you click "Test Node". If you see an error, double-check your credentials and ensure that IMAP is enabled in your Gmail settings (Settings > See all settings > Forwarding and POP/IMAP > Enable IMAP).
Why this matters: The Email Trigger (IMAP) node is the entry point for your automation. It continuously monitors your inbox and hands off each new email to the rest of the workflow. Without this node, the workflow has no way to know when a new email arrives.
Expected output: When you test the node, it will return an array of email objects. Each object contains fields like subject, from, text (the plain text body), html (the HTML body), date, and attachments. You will use the text field as input to the LLM in the next step.
Step 2: Add the OpenAI Node for Classification
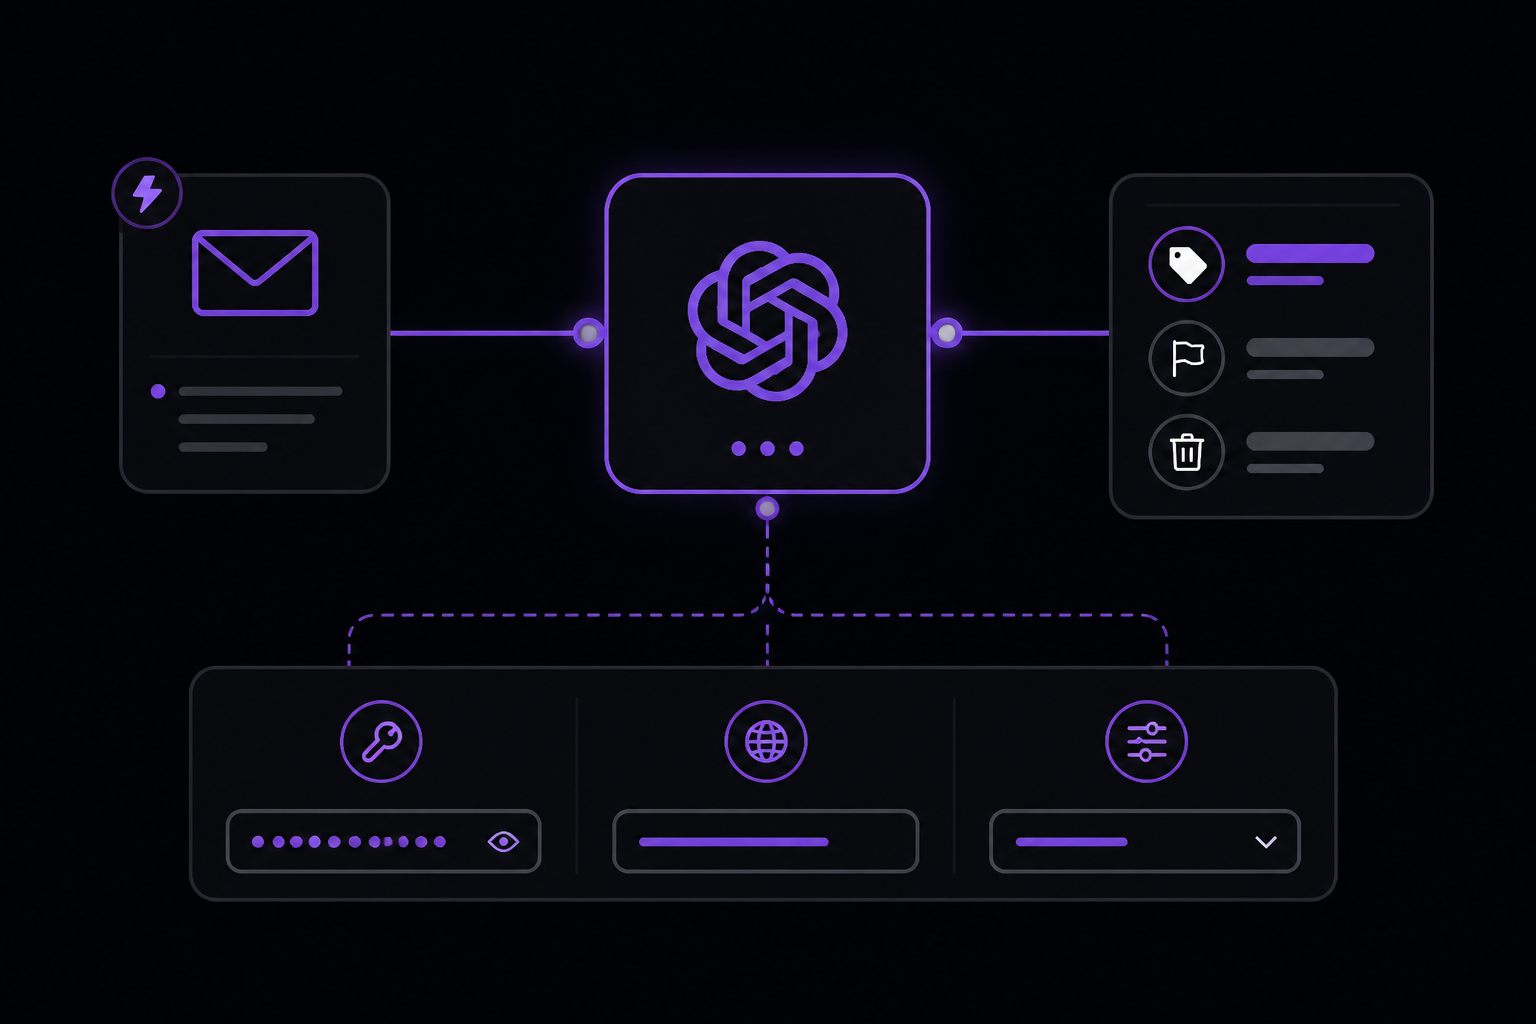
Now that you have the email content, you need to send it to an LLM for classification. The source tutorial uses Regolo AI, which is an OpenAI-compatible API. You can use OpenAI directly or any compatible provider. The configuration steps are identical.
- Add a new node after the Email Trigger node. Search for "OpenAI" and select the "OpenAI" node (not the "OpenAI Chat" node, though both work; the tutorial uses the standard OpenAI node).
- Click "Create New Credential" for OpenAI. You will need to provide:
- API Key: your OpenAI API key (or your Regolo AI API key)
- Base URL: for OpenAI, leave as https://api.openai.com/v1. For Regolo AI, use https://api.regolo.ai/v1 (as shown in the tutorial).
- Configure the node parameters:
- Model: choose a model that supports chat completions. The tutorial uses
gpt-4o-minifor speed and cost efficiency. For Regolo AI, you can use models likemistral-large,llama-3.1-70b, orqwen-2.5-72b. - Messages: this is where you build the prompt. Click "Add Messages" and set the role to "system" for the instruction and "user" for the email content.
- System Message: paste the following classification instruction:
- Model: choose a model that supports chat completions. The tutorial uses
You are an email classifier. Classify the following email into exactly one of these categories: WORK, PERSONAL, SPAM, NEWSLETTER, SUPPORT, BILLING. Respond with only the category name, nothing else.
- User Message: this should be the email body. Click on the expression editor (the "fx" button) and enter:
{{ $json["text"] }}
This expression extracts the plain text body from the email object passed by the Email Trigger node.
- Set Temperature to 0.0 to make the model as deterministic as possible. Higher temperatures can cause the model to return unexpected categories.
- Set Max Tokens to 10. You only need the model to output a single word, so keeping this low saves tokens and speeds up the response.
Why this matters: The LLM is the brain of your triage system. It reads the email and decides which category it belongs to. The prompt is carefully designed to produce a single-word output that you can easily parse in the next step. Using a low temperature ensures consistency across multiple emails.
Expected output: When you test the node with a sample email, you should see a response in the output panel. Look for the choices[0].message.content field. It should contain exactly one word, like "WORK" or "SPAM". If you see a longer response (e.g., "This email is about work"), the prompt needs adjustment or the temperature is too high.
Alternative implementation: If you prefer to use the OpenAI Chat node instead, the configuration is nearly identical. The only difference is that the Chat node expects a slightly different message structure. Both nodes produce the same result. The source tutorial uses the standard OpenAI node because it is simpler for single-turn classification tasks.
Step 3: Extract the Category from the LLM Response
The OpenAI node returns a JSON object. You need to extract just the category string from it. You can do this with a simple expression in the next node, or you can use a Set node to store the category in a workflow variable.
- Add a new node after the OpenAI node. Search for "Set" and select the "Set" node.
- In the "Values to Set" section, click "Add Value".
- Set the Name to
category. - Set the Value using the expression editor:
{{ $json["choices"][0]["message"]["content"].trim() }}
This expression navigates the JSON response from the OpenAI node, extracts the content string, and trims any whitespace.
-
Optionally, you can also store the original email subject and body for later use. Add two more values:
- Name:
subject, Value:{{ $json["subject"] }}(this comes from the Email Trigger node, which is the previous node before OpenAI) - Name:
from, Value:{{ $json["from"] }}
Note: The
$jsonobject in the Set node refers to the output of the previous node (OpenAI). To access data from the Email Trigger node, you need to use the expression{{ $node["Email Trigger"].json["subject"] }}. Replace "Email Trigger" with the actual name of your trigger node. - Name:
Why this matters: The LLM returns a structured JSON object, but the category is buried inside it. Extracting it into a clean variable makes the rest of the workflow easier to read and maintain. The trim() function is important because some models add a newline or space after the category word.
Expected output: After testing the Set node, the output should contain a category field with a value like "WORK". You can verify this by clicking on the node and looking at the output panel.
Step 4: Route Emails by Category Using a Switch Node
Now that you have the category, you need to send the email to the correct branch of the workflow. The Switch node in n8n allows you to route data based on a condition.
- Add a new node after the Set node. Search for "Switch" and select the "Switch" node.
- Configure the node:
- Mode: use "Expression"
- Expression:
{{ $json["category"] }} - Output Type: "String"
- Fallback Output: create a default output for uncategorized emails (e.g., label them as "UNCATEGORIZED")
- Click "Add Routing" for each category you want to handle. The tutorial uses six categories: WORK, PERSONAL, SPAM, NEWSLETTER, SUPPORT, BILLING.
- For each routing, set the Value to the exact category name (e.g., "WORK"). The values must match the output from the LLM exactly, including case. If the LLM returns "work" (lowercase), the routing will fail. To be safe, you can use the expression
{{ $json["category"].toLowerCase() }}in the Switch node and ensure your routing values are also lowercase.
Why this matters: The Switch node is the decision point. It examines the category and sends the email down the correct path. Without it, you would have to manually check each email. The fallback output catches any emails that the LLM could not classify, preventing them from being lost.
Expected output: When you test the Switch node with a sample email that has a category of "WORK", the node should route the email to the output labeled "WORK". You can verify this by looking at the node's output panel, which shows which branch was taken.
Step 5: Apply Gmail Labels Automatically
For each category branch, you need a Gmail node that applies the corresponding label. You will repeat this step for each category.
- Add a new node after the Switch node's "WORK" output. Search for "Gmail" and select the "Gmail" node.
- Choose the operation "Label".
- Click "Create New Credential" for Gmail. You will need to authorize n8n to access your Gmail account. Follow the OAuth flow in the browser.
- Configure the node:
- Operation: "Add Label"
- Message ID: use the expression
{{ $json["messageId"] }}(this field comes from the Email Trigger node; if your trigger node uses a different field name, adjust accordingly) - Label Name: enter the exact name of the Gmail label you created earlier, e.g., "WORK"
- Repeat this for each category branch (PERSONAL, SPAM, NEWSLETTER, SUPPORT, BILLING). You can duplicate the Gmail node and change the label name for each one.
Why this matters: This is the final action that makes your inbox organized. Instead of manually sorting emails, the workflow automatically applies labels as soon as an email arrives. You can then create Gmail filters or views based on these labels.
Expected output: When you test the workflow with a real email, you should see the label appear in Gmail within a few seconds. Open Gmail, find the email, and check that the label is applied.
Alternative approach: If you prefer not to use Gmail labels, you can use other actions like forwarding the email to a different address, sending a Slack notification, or adding the email to a Google Sheet. The tutorial focuses on Gmail labels because they are the most direct way to organize your inbox.
Step 6: Handle the Fallback (Uncategorized Emails)
Not every email will be cleanly classified. The LLM might return an unexpected category, or the email might be in a language the model does not handle well. The fallback output from the Switch node catches these cases.
- Add a node to the fallback output of the Switch node. You can use a "Gmail" node with the label "UNCATEGORIZED" or simply send a notification to yourself.
- Alternatively, use an "Email" node to send yourself a summary of the uncategorized email so you can manually classify it.
- Configure the Email node:
- From: your email address
- To: your email address
- Subject:
Uncategorized email: {{ $json["subject"] }} - Body:
The following email could not be classified: {{ $json["text"] }}
Why this matters: The fallback ensures that no email is silently dropped. You will know immediately if the LLM fails to classify an email, and you can take manual action or adjust the prompt.
Step 7: Add Error Handling (Optional but Recommended)
n8n workflows can fail for many reasons: API rate limits, network timeouts, malformed email data. Adding error handling makes the workflow more robust.
- Click on the OpenAI node and go to the "Error Handling" tab.
- Enable "Continue on Fail".
- Add a new node connected to the error output of the OpenAI node. Use a "Set" node to set a default category of "UNCATEGORIZED" when the LLM call fails.
- Connect this error path to the same Gmail labeling logic you built for the fallback.
Why this matters: Without error handling, a single failed API call can stop the entire workflow. With "Continue on Fail" enabled, the workflow proceeds even if the LLM is temporarily unavailable, and the email still gets a label (even if it is just "UNCATEGORIZED").
Verifying It Works
To verify the entire workflow is functioning correctly, send a test email to your Gmail account from a different address. The email should be processed within the polling interval you set (e.g., 5 minutes).
- Send an email with a clear subject and body that matches one of your categories. For example, send an email with the subject "Invoice for March Services" and body "Please find attached the invoice for March." This should be classified as BILLING.
- Wait for the polling interval to pass, or manually trigger the workflow by clicking "Execute Workflow" in the n8n editor.
- Open Gmail and check that the email has the BILLING label applied.
- Repeat with emails that should be classified as WORK, PERSONAL, SPAM, NEWSLETTER, and SUPPORT.
- Check the workflow execution history in n8n. Each execution should show a green checkmark. If any execution shows an error, click on it to see which node failed and why.
Expected result: All test emails should have the correct Gmail labels applied within minutes. The workflow should run silently in the background without any manual intervention.
Common Problems
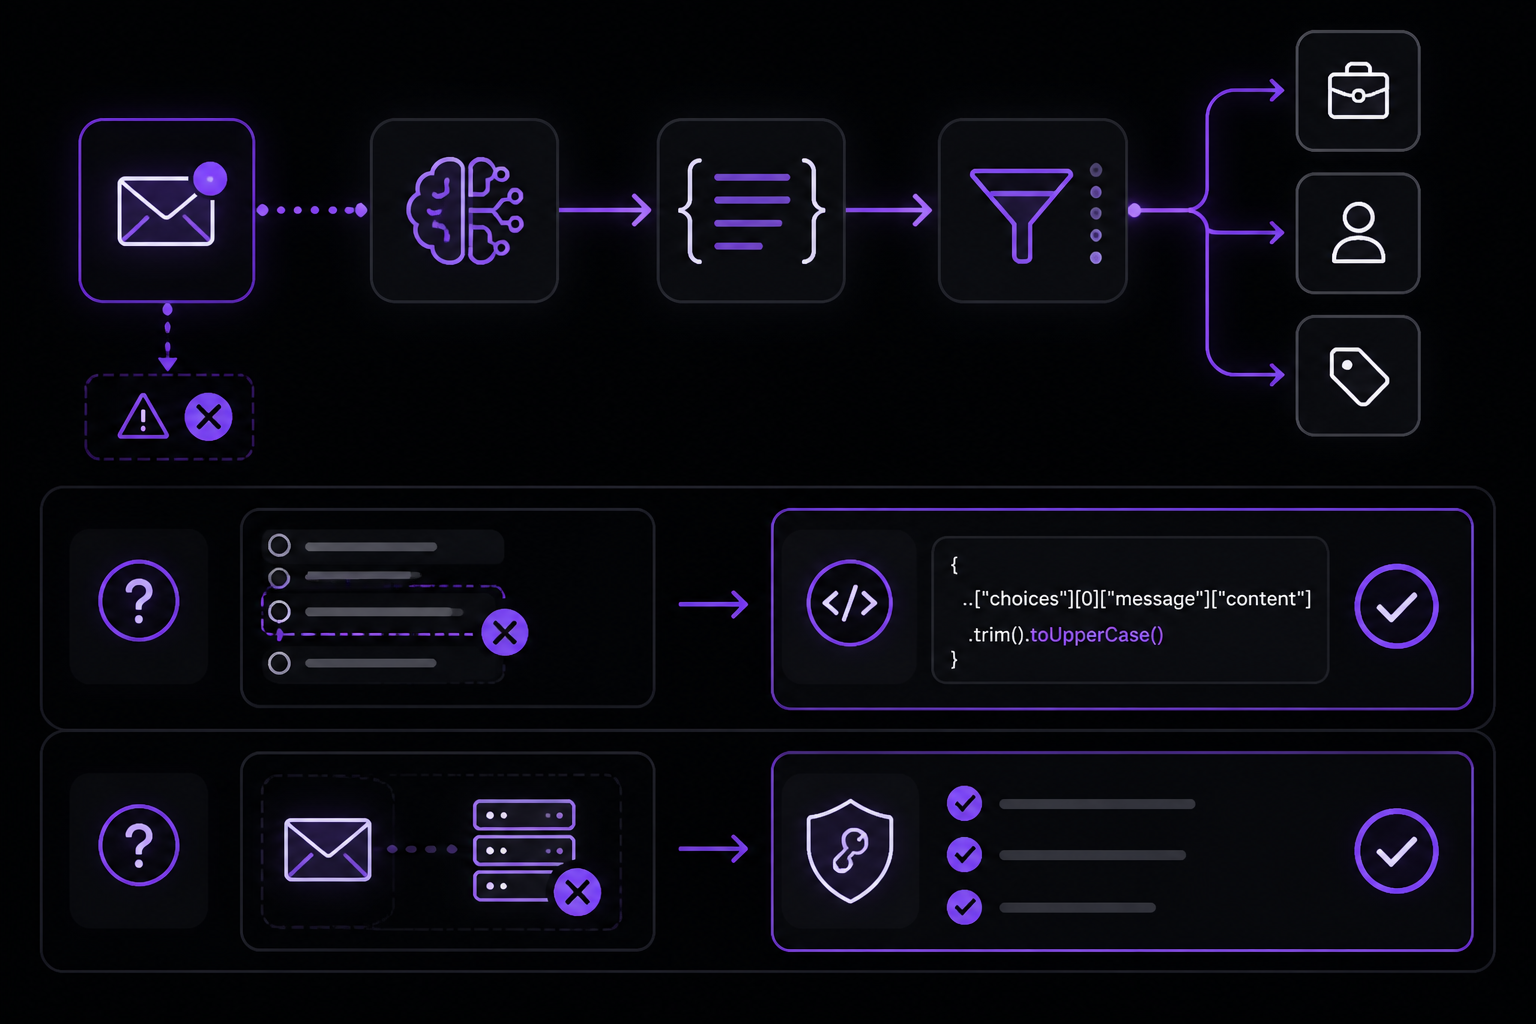
Problem: The LLM returns a category that does not match any routing value.
Cause: The LLM might return a slightly different string, such as "Work" instead of "WORK", or it might return a category you did not define.
Fix: In the Set node where you extract the category, add .toUpperCase() to the expression: {{ $json["choices"][0]["message"]["content"].trim().toUpperCase() }}. This ensures the category is always uppercase. Also, ensure your Switch node routing values are all uppercase.
Problem: The Email Trigger node fails with "Connection refused" or "Authentication failed".
Cause: Incorrect credentials, IMAP not enabled, or an App Password not generated.
Fix: Verify that IMAP is enabled in Gmail settings. Generate a new App Password if using 2FA. Ensure the password is entered correctly without extra spaces.
Problem: The OpenAI node returns a 429 error (rate limit exceeded).
Cause: You have exceeded your API rate limit or token quota.
Fix: Add a "Wait" node between the Email Trigger and OpenAI nodes. Set the wait time to a random value between 1 and 5 seconds. This spaces out API calls and reduces the chance of hitting rate limits. Alternatively, upgrade your OpenAI plan for higher limits.
Problem: The Gmail node cannot find the message ID.
Cause: The Email Trigger node may use a different field name for the message ID. In some versions of n8n, the field is called id instead of messageId.
Fix: Check the output of the Email Trigger node to see the exact field name. Update the expression in the Gmail node accordingly. Common field names include id, messageId, uid, or gmailMessageId.
Problem: The workflow runs but no labels are applied.
Cause: The Gmail labels may not exist, or the Gmail node is not properly authorized.
Fix: Create the labels in Gmail manually before running the workflow. Go to Gmail Settings > Labels > Create new label. Ensure the label names match exactly what you used in the Gmail node. Re-authorize the Gmail credential in n8n if necessary.
Problem: The LLM classifies everything as SPAM.
Cause: The prompt is too vague or the model is not given enough context.
Fix: Improve the system message. Add examples of what constitutes each category. For instance:
You are an email classifier. Classify the following email into exactly one of these categories: WORK, PERSONAL, SPAM, NEWSLETTER, SUPPORT, BILLING.

Examples:
- "Meeting at 3pm to discuss Q4 results" -> WORK
- "Your Amazon order has shipped" -> PERSONAL
- "You won a free iPhone!" -> SPAM
- "Weekly tech newsletter" -> NEWSLETTER
- "I need help resetting my password" -> SUPPORT
- "Invoice for February services" -> BILLING

Respond with only the category name.
Problem: The workflow processes the same email multiple times.
Cause: The Email Trigger node is set to poll frequently, and the email is not marked as "seen" after processing.
Fix: In the Email Trigger node, enable the option "Mark as Seen" or "Delete After Processing". This ensures that once an email is processed, it is not picked up again on the next poll.
Next Steps
- Add more categories: Extend the prompt to include additional categories like SOCIAL, URGENT, or FOLLOW_UP. Update the Switch node and add corresponding Gmail labels.
- Integrate with a CRM: Instead of just labeling emails, use the n8n HTTP Request node to create a contact or log an activity in your CRM (e.g., HubSpot, Salesforce) when an email is classified as SUPPORT or BILLING.
- Send notifications: Add a Slack or Telegram node to send you a notification when an important email (e.g., BILLING or SUPPORT) arrives. This ensures you never miss a critical message.
- Summarize newsletters: For emails classified as NEWSLETTER, use another OpenAI node to generate a one-sentence summary and store it in a Google Sheet for later review. This turns your newsletter clutter into a searchable archive.
- Implement zero-retention AI: If privacy is a concern, switch to an OpenAI-compatible provider like Regolo AI that offers a zero-retention policy. According to the tutorial, Regolo AI does not store any data sent through its API, making it GDPR-compliant by default. You only need to change the Base URL and API key in the OpenAI node credentials.
The #1 Chatgpt Newsletter
The most important chatgpt updates, guides, and fixes — one weekly email.
No spam, unsubscribe anytime. Privacy policy
Related Tutorials
Keep exploring ChatGPT
ChatGPT resources
Latest AI answers
Skip the manual work
Ready-made AI workflows and automation templates — import and run instead of building from scratch.