Build a Customer Support Agent with OpenAI Function Calling
Prerequisites
- ✓ OpenAI API account with billing enabled
- ✓ Python 3.9+ installed
- ✓ openai Python package installed
- ✓ Basic command line and Python knowledge
In this tutorial, you will build a customer support agent that uses OpenAI function calling to answer user questions, look up order status, and escalate issues to a human. The agent will run as a Python script and can be extended into a web service. You will need about 45 minutes to complete the setup and coding.
Prerequisites
- An OpenAI API account with billing enabled. You need an API key to call the models.
- Python 3.9 or later installed on your machine.
- The
openaiPython package installed (pip install openai). - Basic familiarity with the command line and Python.
- A text editor or IDE.
Step 1: Create and Export Your OpenAI API Key
Before you can call any OpenAI API, you need an API key. Go to the OpenAI API dashboard and create a new secret key. Copy the key immediately and store it in a safe place. You will not be able to see it again.
Once you have the key, export it as an environment variable in your terminal. This is the recommended way to keep the key out of your source code.
On macOS or Linux, run:
export OPENAI_API_KEY="your_api_key_here"
On Windows (PowerShell), run:
setx OPENAI_API_KEY "your_api_key_here"
The OpenAI SDK will automatically read the key from the OPENAI_API_KEY environment variable. If you prefer to hardcode it for testing (not recommended for production), you can pass it directly when creating the client, but the environment variable is safer.
Step 2: Install the OpenAI Python SDK
With your API key ready, install the official OpenAI Python SDK. Open your terminal and run:
pip install openai
This installs the openai package, which gives you access to the OpenAI client class. You will use this client to send requests to the Responses API, which supports function calling.
Verify the installation by running:
python -c "import openai; print(openai.__version__)"
You should see a version number printed (e.g., 1.55.0). If you get an error, make sure pip is up to date and that you are using the correct Python environment.
Step 3: Understand the Core Concepts of Function Calling
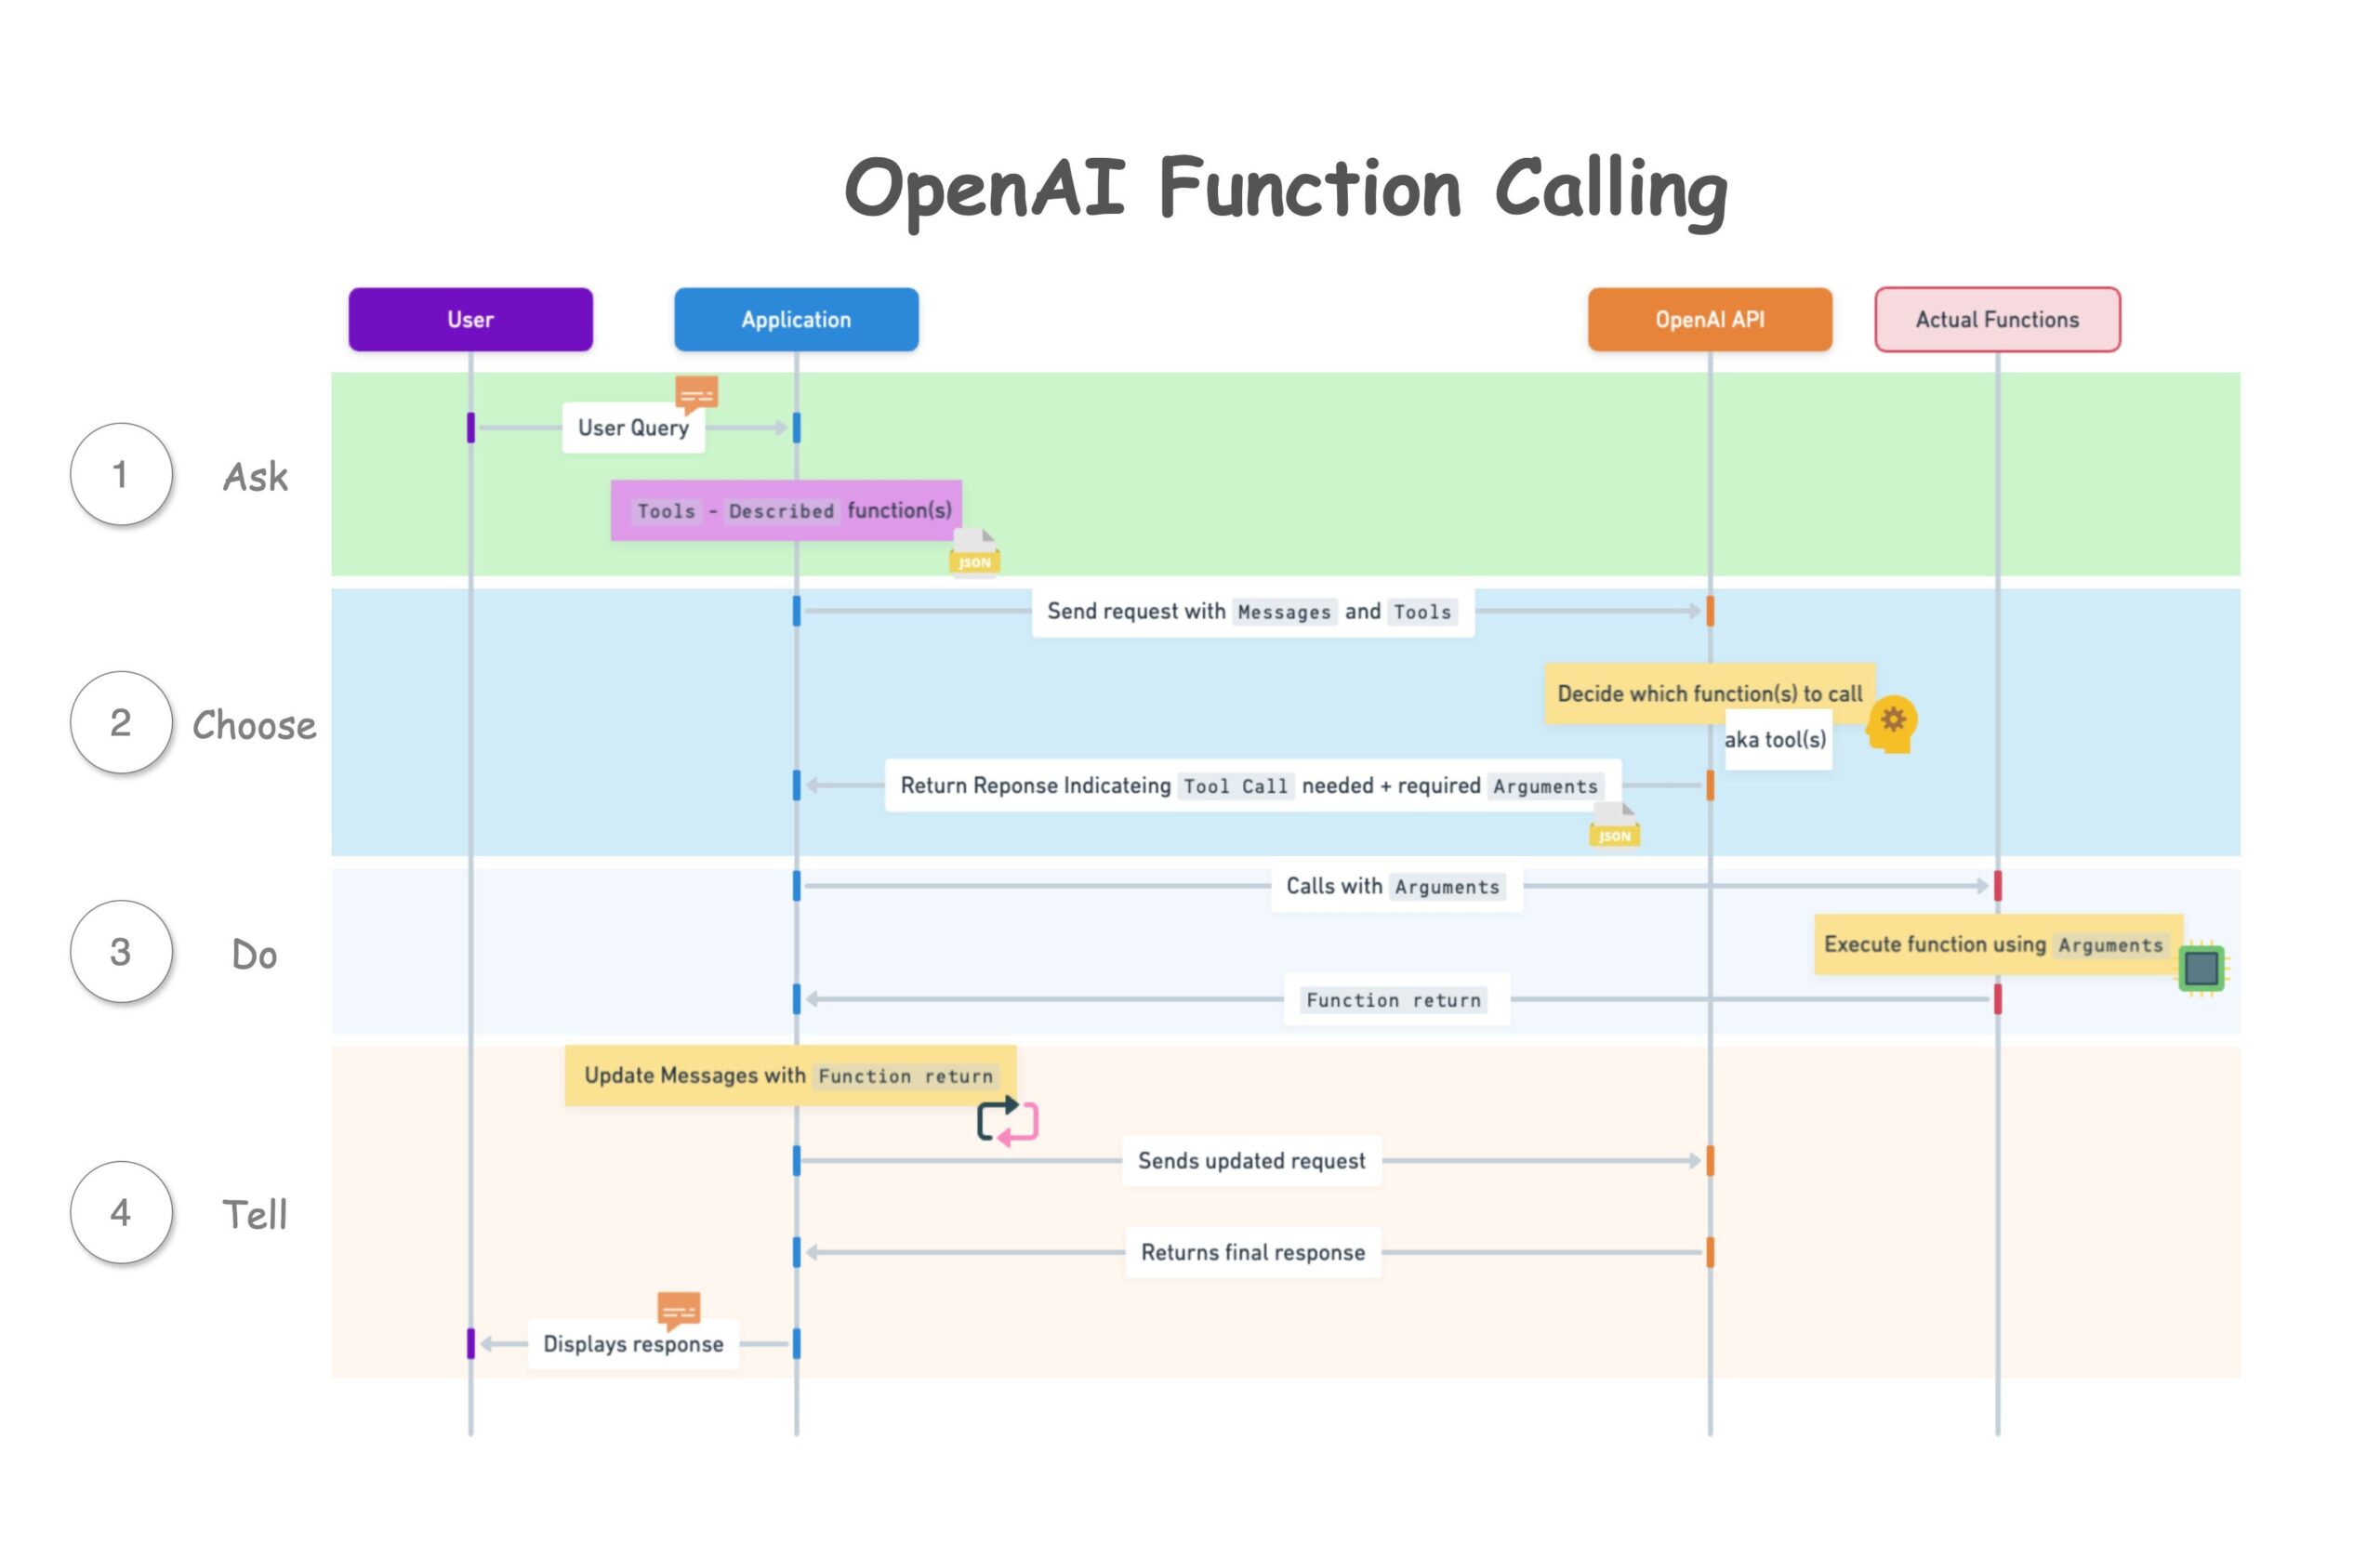
Function calling lets the model request that your code execute a function when it determines it needs external data or an action. The model does not run the function itself. It returns a structured object that tells your code which function to call and with what arguments. Your code then calls the function and sends the result back to the model, which uses it to generate a final response.
This pattern is essential for building agents that interact with databases, APIs, or any system outside the model's training data. For a customer support agent, you will define functions like get_order_status, lookup_customer, and escalate_to_human. The model will decide when to call each one based on the user's question.
Step 4: Define the Functions the Agent Can Call
Create a new file called support_agent.py. Start by defining the functions that the agent will be able to use. Each function needs a JSON schema that describes its name, description, and parameters. The model uses this schema to decide when and how to call the function.
Add the following code to support_agent.py:
from openai import OpenAI
import json

# Initialize the client
client = OpenAI()

# Define the tools (functions) the model can call
tools = [
    {
        "type": "function",
        "function": {
            "name": "get_order_status",
            "description": "Get the current status of an order by order ID.",
            "parameters": {
                "type": "object",
                "properties": {
                    "order_id": {
                        "type": "string",
                        "description": "The order ID, e.g., ORD-12345."
                    }
                },
                "required": ["order_id"]
            }
        }
    },
    {
        "type": "function",
        "function": {
            "name": "lookup_customer",
            "description": "Look up a customer by email address.",
            "parameters": {
                "type": "object",
                "properties": {
                    "email": {
                        "type": "string",
                        "description": "The customer's email address."
                    }
                },
                "required": ["email"]
            }
        }
    },
    {
        "type": "function",
        "function": {
            "name": "escalate_to_human",
            "description": "Escalate the conversation to a human support agent. Use this when the user is frustrated, the issue cannot be resolved, or the user explicitly asks for a human.",
            "parameters": {
                "type": "object",
                "properties": {
                    "reason": {
                        "type": "string",
                        "description": "The reason for escalation."
                    }
                },
                "required": ["reason"]
            }
        }
    }
]
Each tool object has a type of "function" and a function object containing the schema. The parameters follow JSON Schema format. The required array lists which parameters the model must provide. The model will not invent parameters that are not in the schema.
Step 5: Implement the Python Functions That Do the Actual Work
Now write the actual Python functions that will be called when the model requests them. These functions simulate interacting with a backend system. In a real application, they would query a database or call an external API.
Add these functions below the tools definition:
def get_order_status(order_id: str) -> str:
    """Simulate looking up an order status."""
    # Simulated database
    orders = {
        "ORD-12345": {"status": "shipped", "estimated_delivery": "2026-03-20"},
        "ORD-67890": {"status": "processing", "estimated_delivery": "2026-03-25"},
        "ORD-11111": {"status": "delivered", "estimated_delivery": "2026-03-15"},
    }
    order = orders.get(order_id)
    if order:
        return json.dumps(order)
    else:
        return json.dumps({"error": "Order not found."})

def lookup_customer(email: str) -> str:
    """Simulate looking up a customer by email."""
    customers = {
        "alice@example.com": {"name": "Alice Johnson", "tier": "gold"},
        "bob@example.com": {"name": "Bob Smith", "tier": "silver"},
    }
    customer = customers.get(email)
    if customer:
        return json.dumps(customer)
    else:
        return json.dumps({"error": "Customer not found."})

def escalate_to_human(reason: str) -> str:
    """Simulate escalating to a human agent."""
    # In production, this would create a ticket or notify a queue
    return json.dumps({"escalated": True, "reason": reason, "message": "Your issue has been escalated. A human agent will contact you shortly."})
These functions return JSON strings. The model expects function results as strings, so you must serialize them. In a production system, you would replace the dictionaries with actual database queries or API calls.
Step 6: Create a Mapping from Function Name to Function
To call the right function when the model requests it, you need a dictionary that maps the function name (as defined in the tool schema) to the actual Python function.
Add this mapping:
# Map function names to actual functions
available_functions = {
    "get_order_status": get_order_status,
    "lookup_customer": lookup_customer,
    "escalate_to_human": escalate_to_human,
}
Step 7: Write the Main Conversation Loop
Now write the core loop that sends a user message to the model, processes any function calls the model requests, and continues the conversation until the model produces a final text response.
Add the following function and the main execution block:
def run_conversation(user_message: str) -> str:
    """
    Send a user message, handle function calls, and return the final assistant response.
    """
    messages = [
        {
            "role": "system",
            "content": "You are a helpful customer support agent for an online store. "
                       "You can look up orders, find customer information, and escalate issues. "
                       "Be polite and professional. If you cannot resolve the issue, escalate."
        },
        {
            "role": "user",
            "content": user_message
        }
    ]

    # First API call: send the user message and the tools
    response = client.responses.create(
        model="gpt-5.6",
        input=messages,
        tools=tools
    )

    # The response may contain multiple output items. We need to process them.
    # The model can call multiple functions in one turn.
    # We'll collect any function calls and execute them.

    # Check if the model called any functions
    # The output is a list of items. Each item can be a message or a function call.
    # We need to iterate and handle function calls.

    # For simplicity, we'll handle the first function call if present.
    # In a more robust implementation, you would loop until no more function calls.

    # The response object has an 'output' attribute that is a list of output items.
    # Each output item has a 'type' field.

    # We'll build a list of function results to send back.
    function_results = []

    for item in response.output:
        if item.type == "function_call":
            function_name = item.name
            arguments = json.loads(item.arguments)

            # Get the actual function
            func = available_functions.get(function_name)
            if func:
                # Call the function with the provided arguments
                result = func(**arguments)
                function_results.append({
                    "type": "function_call_output",
                    "call_id": item.call_id,
                    "output": result
                })
            else:
                # Function not found, return an error
                function_results.append({
                    "type": "function_call_output",
                    "call_id": item.call_id,
                    "output": json.dumps({"error": f"Function {function_name} not found."})
                })

    if function_results:
        # If there were function calls, send the results back to the model
        # We need to include the original messages plus the function results
        # The 'input' for the next call should be the previous response plus the function results
        # Actually, the Responses API expects the full conversation history.
        # We'll append the function results to the messages list.

        # The response object has a 'messages' attribute that contains the conversation history?
        # No, the Responses API returns output items. We need to manage the conversation ourselves.
        # Let's reconstruct the messages list.

        # Append the assistant's response (which may contain function calls) to messages
        # The assistant's response is not a single message; it's a list of output items.
        # We'll add a single assistant message that includes the function call information.
        # Actually, the model's output items include the function calls. We need to add them as assistant messages.

        # For the Responses API, the input for the next turn should include the previous output items.
        # The SDK's 'create' method accepts a list of 'input' items. We can pass the previous response's output items directly.

        # Build the new input list: start with the original messages, then add the model's output items, then add the function results.
        new_input = messages + list(response.output) + function_results

        # Make the second API call
        second_response = client.responses.create(
            model="gpt-5.6",
            input=new_input,
            tools=tools
        )

        # Extract the text from the second response
        # The output may contain multiple items. We'll concatenate text from all message items.
        final_text = ""
        for item in second_response.output:
            if item.type == "message":
                for content in item.content:
                    if content.type == "output_text":
                        final_text += content.text
        return final_text
    else:
        # No function calls, just return the text from the first response
        final_text = ""
        for item in response.output:
            if item.type == "message":
                for content in item.content:
                    if content.type == "output_text":
                        final_text += content.text
        return final_text


if __name__ == "__main__":
    # Test the agent
    test_queries = [
        "What is the status of my order ORD-12345?",
        "I need help with a billing issue. Can I speak to a human?",
        "Look up customer alice@example.com.",
        "Where is my order ORD-99999?",
    ]

    for query in test_queries:
        print(f"\nUser: {query}")
        print(f"Agent: {run_conversation(query)}")
This code defines a run_conversation function that:
- Prepares the system message and user message.
- Sends the first API call with the tools.
- Iterates over the output items to find function calls.
- Executes each function call using the
available_functionsmapping. - If there were function calls, it sends the results back to the model in a second API call.
- Returns the final text from the model.
Step 8: Run the Agent and Observe the Output
Save the file and run it from your terminal:
python support_agent.py
You should see output similar to this:
User: What is the status of my order ORD-12345?
Agent: Your order ORD-12345 has been shipped and is estimated to arrive on 2026-03-20.

User: I need help with a billing issue. Can I speak to a human?
Agent: I understand you're having a billing issue. Let me escalate this to a human agent who can assist you further. Your issue has been escalated. A human agent will contact you shortly.

User: Look up customer alice@example.com.
Agent: I found the customer. Alice Johnson, Gold tier member.

User: Where is my order ORD-99999?
Agent: I'm sorry, but I couldn't find an order with ID ORD-99999. Please double-check the order number and try again.
If you see errors, check that your API key is set correctly and that you have billing enabled. Also verify that the model name gpt-5.6 is correct for your account. The official documentation uses gpt-5.6 as the default model in the quickstart examples.
Step 9: Add More Sophisticated Conversation Handling
The basic loop above handles one round of function calls. In a real support scenario, the user might ask a follow-up question after the agent provides an answer. To handle multi-turn conversations, you need to maintain the conversation history across multiple user inputs.
Modify the script to support an interactive chat loop. Replace the if __name__ == "__main__": block with:
if __name__ == "__main__":
    print("Customer Support Agent. Type 'quit' to exit.")
    messages = [
        {
            "role": "system",
            "content": "You are a helpful customer support agent for an online store. "
                       "You can look up orders, find customer information, and escalate issues. "
                       "Be polite and professional. If you cannot resolve the issue, escalate."
        }
    ]

    while True:
        user_input = input("\nYou: ")
        if user_input.lower() in ["quit", "exit"]:
            break

        messages.append({"role": "user", "content": user_input})

        # Run the conversation with the full history
        response = client.responses.create(
            model="gpt-5.6",
            input=messages,
            tools=tools
        )

        # Process function calls
        function_results = []
        for item in response.output:
            if item.type == "function_call":
                function_name = item.name
                arguments = json.loads(item.arguments)
                func = available_functions.get(function_name)
                if func:
                    result = func(**arguments)
                    function_results.append({
                        "type": "function_call_output",
                        "call_id": item.call_id,
                        "output": result
                    })

        if function_results:
            # Add the model's output and function results to the history
            # The model's output items become part of the assistant's turn
            # We need to add them to messages
            # The Responses API expects the input to be a list of items, not a list of messages with roles
            # Actually, the 'input' parameter accepts a list of 'input items' which can be messages (with role) or function results
            # The SDK handles the conversion.

            # Build the new input: previous messages + model output + function results
            new_input = messages + list(response.output) + function_results

            second_response = client.responses.create(
                model="gpt-5.6",
                input=new_input,
                tools=tools
            )

            # Extract the final text and add it to the conversation history
            final_text = ""
            for item in second_response.output:
                if item.type == "message":
                    for content in item.content:
                        if content.type == "output_text":
                            final_text += content.text

            print(f"Agent: {final_text}")
            # Add the assistant's final response to the history
            messages.append({"role": "assistant", "content": final_text})
        else:
            # No function calls, just extract text
            final_text = ""
            for item in response.output:
                if item.type == "message":
                    for content in item.content:
                        if content.type == "output_text":
                            final_text += content.text
            print(f"Agent: {final_text}")
            messages.append({"role": "assistant", "content": final_text})
This interactive loop keeps the conversation history in the messages list and appends each user input and assistant response. It handles function calls the same way as before but now supports follow-up questions.
Verifying It Works
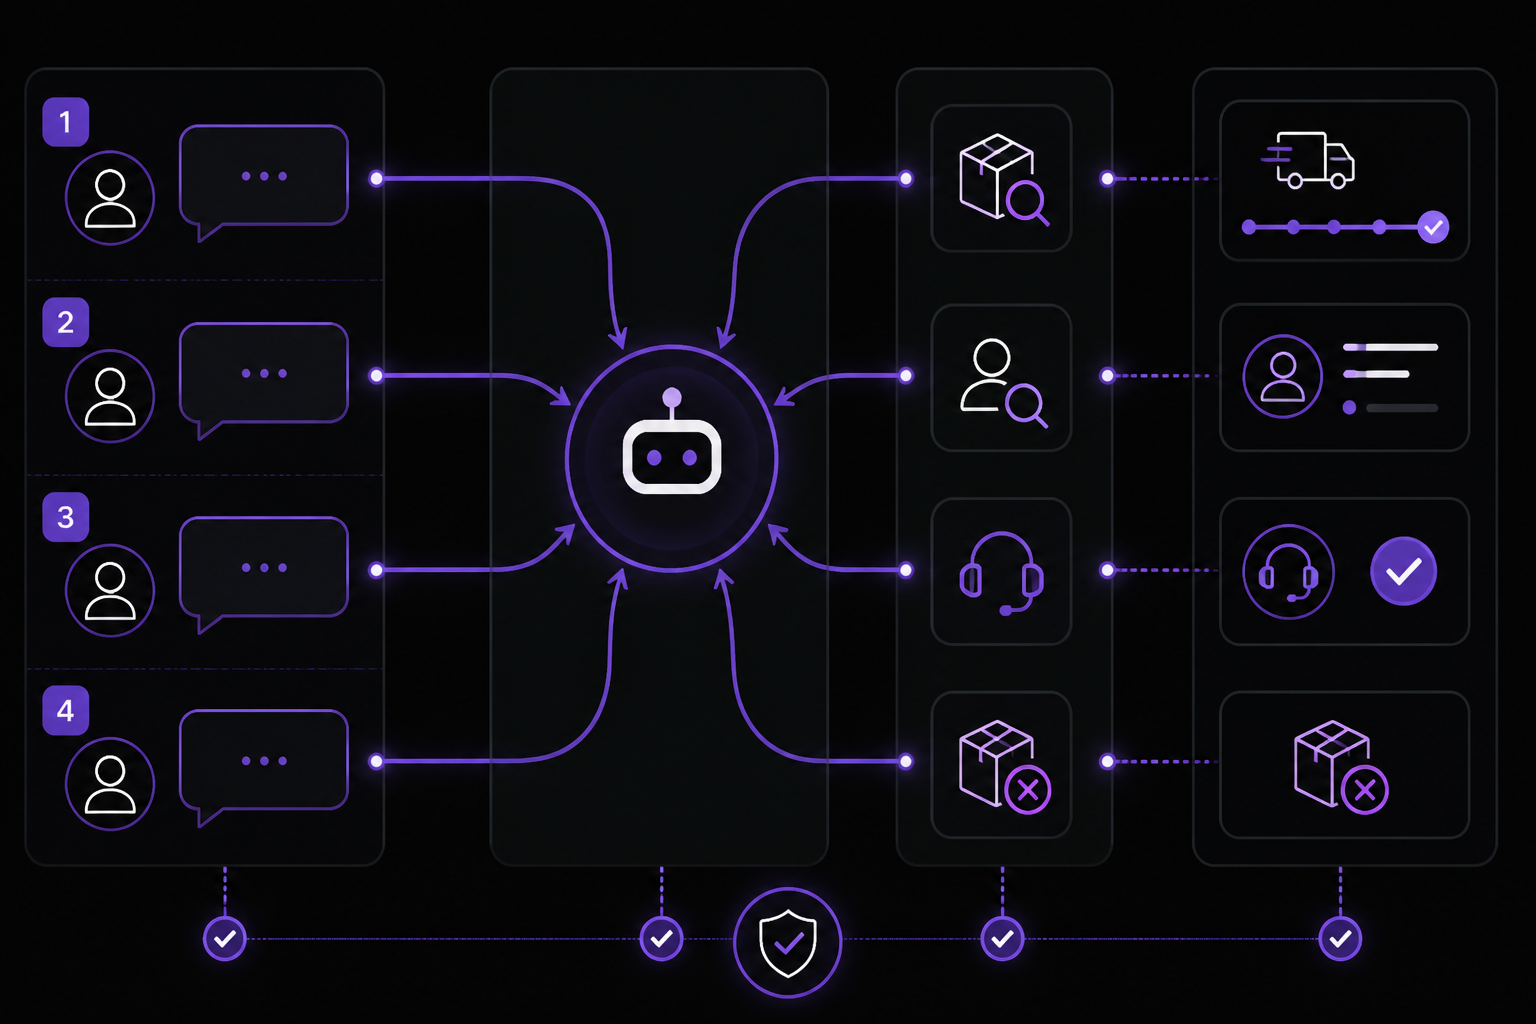
To confirm the agent works correctly, test the following scenarios:
- Order lookup: Ask "What is the status of my order ORD-12345?" The agent should call
get_order_statusand return the shipping status. - Customer lookup: Ask "Can you find customer alice@example.com?" The agent should call
lookup_customerand return the customer details. - Escalation: Say "I'm very frustrated, I want to speak to a manager." The agent should call
escalate_to_humanand confirm the escalation. - Unknown order: Ask about an order that doesn't exist (e.g., ORD-99999). The agent should report that the order was not found.
- Multi-turn: First ask about an order, then ask a follow-up like "What about my other order?" The agent should maintain context and respond appropriately.
You can also add logging to see which functions are being called. Insert print(f"Calling function: {function_name} with arguments {arguments}") inside the function call processing loop.
Common Problems
API Key Not Set
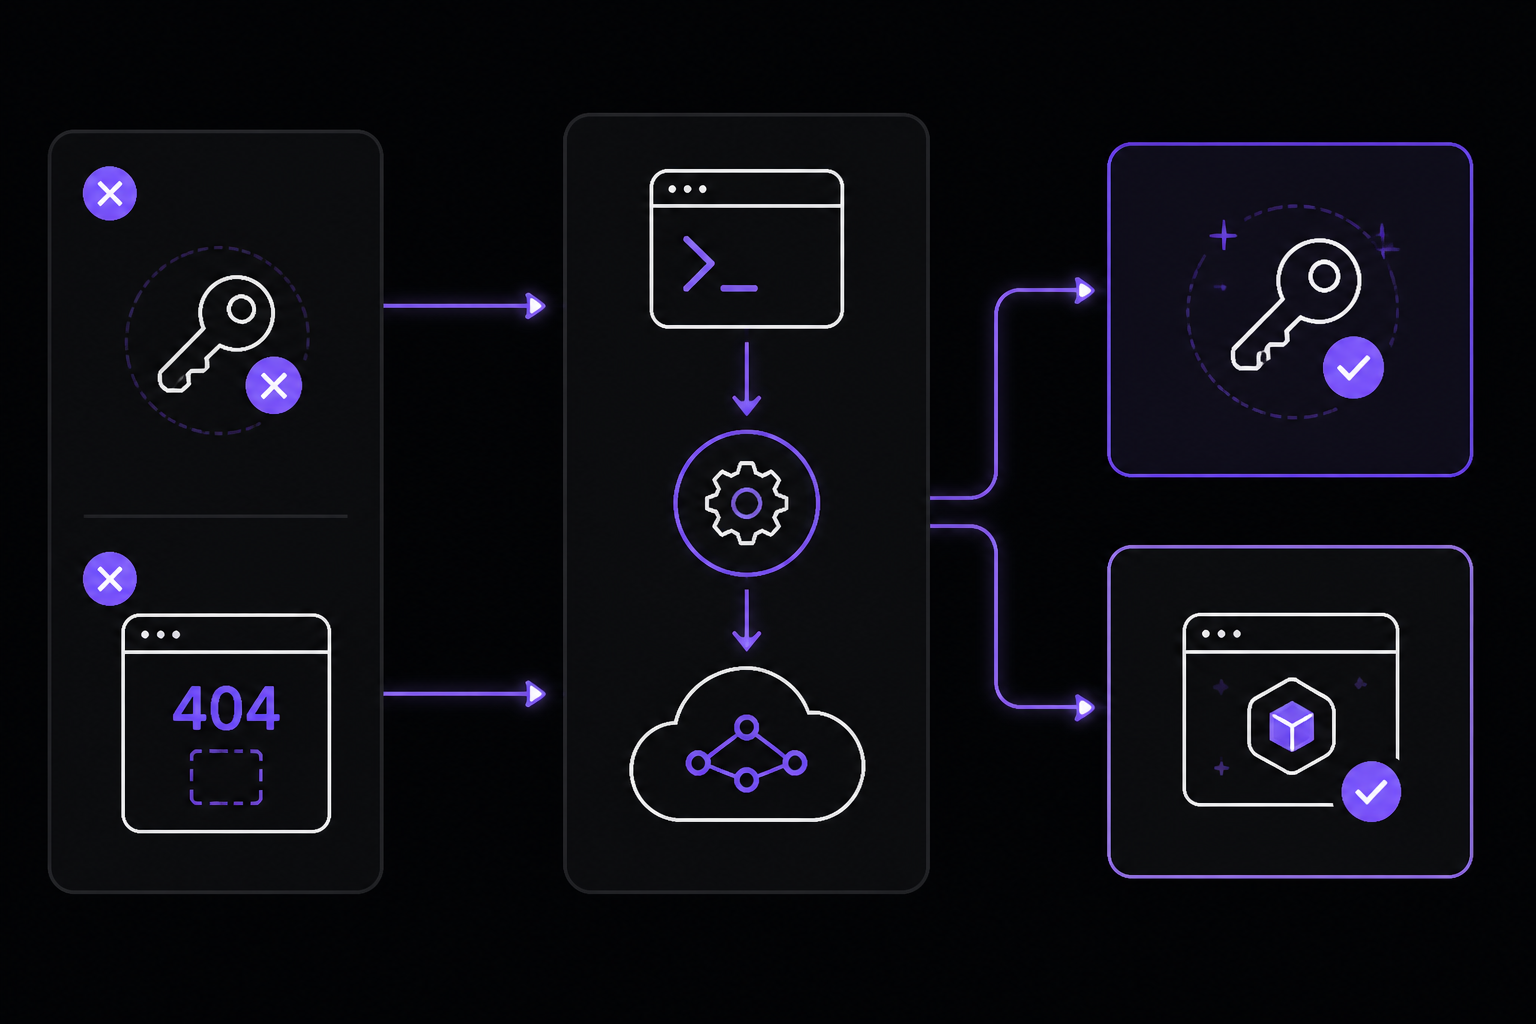
If you get an AuthenticationError or 401 error, your API key is not being read. Double-check that the OPENAI_API_KEY environment variable is set. Run echo $OPENAI_API_KEY (macOS/Linux) or echo %OPENAI_API_KEY% (Windows) to verify. If it is empty, export it again or restart your terminal.
Model Not Found
If you get a 404 error or a message that the model does not exist, the model name gpt-5.6 may not be available for your account. According to the official documentation, gpt-5.6 is the default model used in the quickstart examples. If you are on an older plan, you may need to use gpt-4o or gpt-4-turbo. Check the models page for the latest available models. Update the model parameter in the code accordingly.
Function Call Not Executing
If the model returns a text response instead of calling a function when you expect it to, the prompt may not be specific enough. The system message should clearly describe what the agent can do. For example, if you do not mention that the agent can look up orders, the model may not call the function. Adjust the system message to be more explicit.
JSON Parsing Errors
If you get a json.JSONDecodeError when parsing item.arguments, the model may have returned malformed JSON. This is rare but can happen with older models. Ensure you are using a recent model like gpt-5.6 or gpt-4o. You can also wrap the parsing in a try-except block and return an error to the model.
Rate Limits
If you get a 429 error, you have hit the API rate limit. The free tier has very low limits. Add credits to your account or implement exponential backoff in your code. The official documentation recommends using the tenacity library for retries.
Community-Reported: Function Arguments Not Passed Correctly
Some users on community forums have reported that the model sometimes omits required parameters or passes them with incorrect types. This is more common with smaller models. To mitigate, make the parameter descriptions very clear and include examples in the description. For instance, for order_id, you could write: "The order ID, e.g., ORD-12345. Always include the 'ORD-' prefix."
Next Steps
- Connect to a real database: Replace the simulated data in
get_order_statusandlookup_customerwith actual database queries using SQLite or PostgreSQL. This turns the prototype into a production-ready agent. - Add more functions: Extend the agent with functions like
cancel_order,track_shipment, orprocess_refund. Each new function needs a tool schema and a corresponding Python function. - Deploy as a web service: Wrap the agent in a FastAPI or Flask application and expose it as an API endpoint. This allows you to integrate it with a chat frontend or a messaging platform like Slack.
- Add memory with vector stores: Use the OpenAI file search tool to give the agent access to a knowledge base of FAQs or product documentation. This allows it to answer questions without calling external functions.
- Use the Agents SDK: OpenAI provides an Agents SDK for building more complex agent workflows. According to the quickstart documentation, you can use it to "build, run, and observe agent workflows." Explore the SDK for features like multi-agent orchestration and observability.
The #1 Chatgpt Newsletter
The most important chatgpt updates, guides, and fixes — one weekly email.
No spam, unsubscribe anytime. Privacy policy
Related Tutorials
Keep exploring ChatGPT
ChatGPT resources
Latest AI answers
Skip the manual work
Ready-made AI workflows and automation templates — import and run instead of building from scratch.