Build a Custom MCP Server to Connect Claude with Your Postgres Database
Prerequisites
- ✓ Claude subscription (Pro, Max, Team, or Enterprise) or Anthropic Console account
- ✓ Claude Code installed
- ✓ PostgreSQL database with credentials
- ✓ Node.js 18 or later
- ✓ Basic terminal and JSON knowledge
This tutorial walks you through building a custom Model Context Protocol (MCP) server that connects Claude Code directly to your PostgreSQL database. You will have a working MCP server that lets Claude query your database, inspect schemas, and retrieve data, all from natural language prompts. The whole process takes about 30 minutes, assuming you have the prerequisites ready.
Prerequisites
- A Claude subscription (Pro, Max, Team, or Enterprise) or an Anthropic Console account. Claude Code requires an account to use.
- Claude Code installed on your machine. See Step 1 for installation instructions.
- A PostgreSQL database you can connect to, with credentials (host, port, database name, user, password).
- Node.js 18 or later installed on your system (for running the MCP server).
- Basic familiarity with the terminal and JSON.
- Git for Windows is recommended on native Windows so Claude Code can use the Bash tool. If Git for Windows is not installed, Claude Code uses PowerShell as the shell tool instead. WSL setups do not need Git for Windows.
Step 1: Install Claude Code
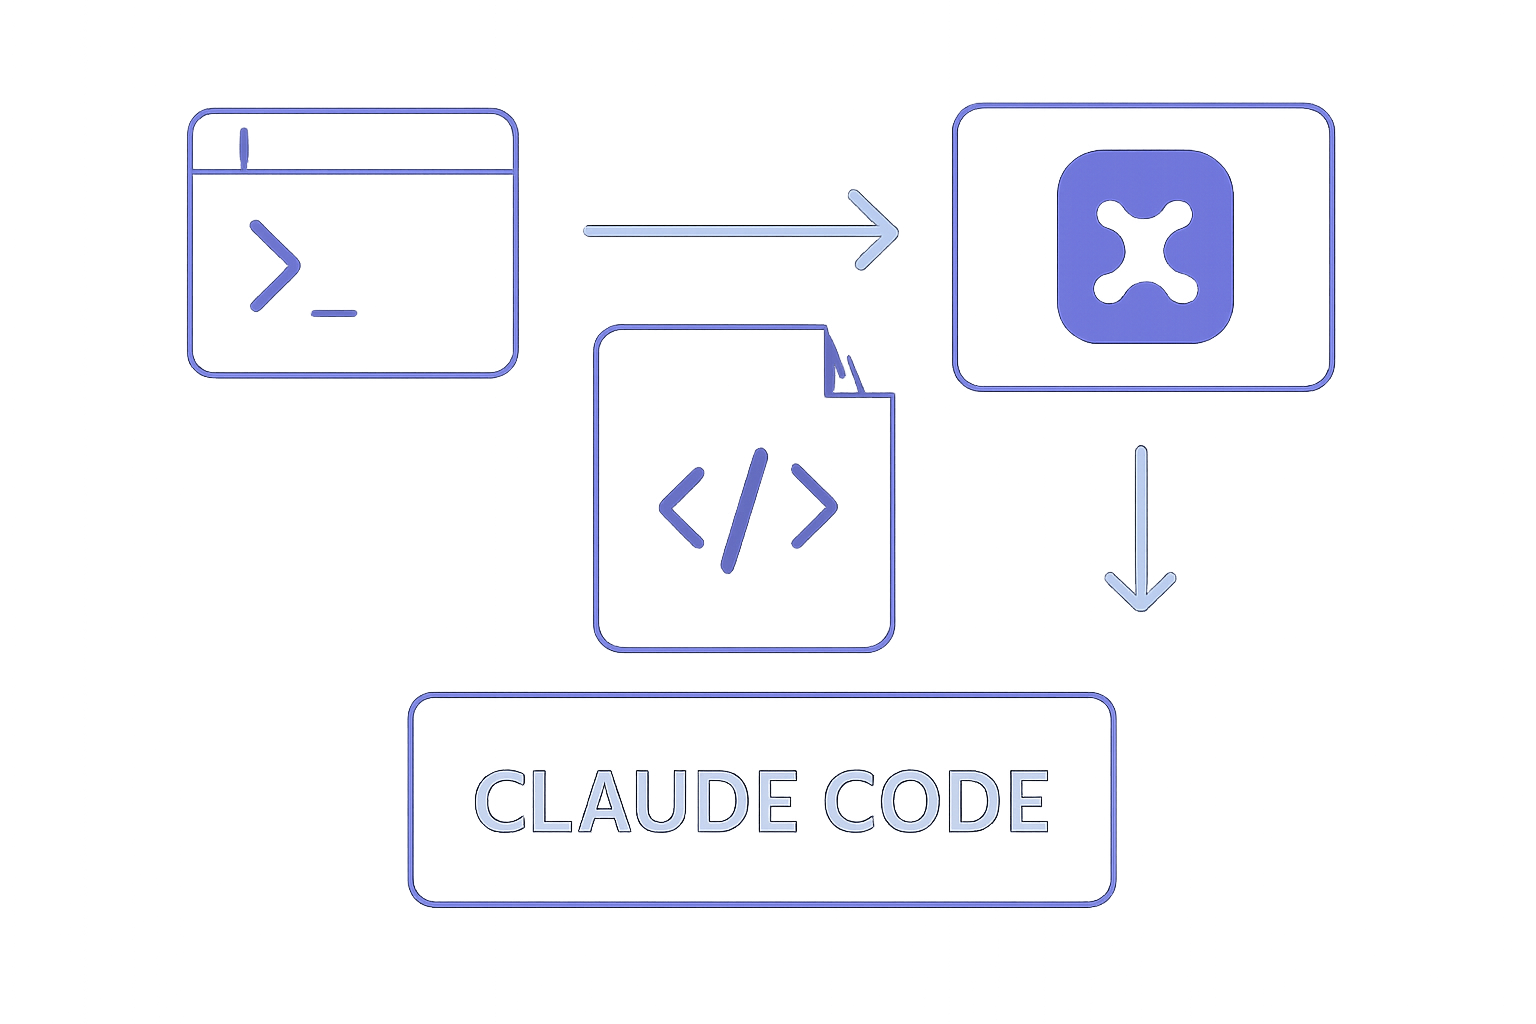
Claude Code runs on several surfaces: terminal, VS Code, desktop app, web, and JetBrains. This tutorial uses the terminal CLI. Install it using one of the following methods.
Native Install (Recommended)
On macOS, Linux, or WSL:
curl -fsSL https://claude.ai/install.sh | bash
On Windows PowerShell:
irm https://claude.ai/install.ps1 | iex
On Windows CMD:
curl -fsSL https://claude.ai/install.cmd -o install.cmd && install.cmd && del install.cmd
If you see The token '&&' is not a valid statement separator, you are in PowerShell, not CMD. If you see 'irm' is not recognized as an internal or external command, you are in CMD, not PowerShell. Your prompt shows PS C:\ when you are in PowerShell and C:\ without the PS when you are in CMD.
Homebrew (macOS)
brew install --cask claude-code
Homebrew offers two casks. claude-code tracks the stable release channel, which is typically about a week behind and skips releases with major regressions. claude-code@latest tracks the latest channel and receives new versions as soon as they ship. Homebrew installations do not auto-update. Run brew upgrade claude-code or brew upgrade claude-code@latest periodically.
WinGet (Windows)
winget install Anthropic.ClaudeCode
WinGet installations do not auto-update. Run winget upgrade Anthropic.ClaudeCode periodically.
You can also install with apt, dnf, or apk on Debian, Fedora, RHEL, and Alpine.
To confirm the installation worked, run:
claude --version
The command prints a version number followed by (Claude Code).
Step 2: Log in to Your Account
Claude Code requires an account to use. Start an interactive session with the claude command and you will be prompted to log in on first use:
claude
For Claude subscription or Console accounts, follow the prompts to complete authentication in your browser. To switch accounts later or re-authenticate, type /login inside the running session:
/login
You can log in using any of these account types:
- Claude Pro, Max, Team, or Enterprise (recommended)
- Claude Console (API access with pre-paid credits). On first login, a "Claude Code" workspace is automatically created in the Console for centralized cost tracking.
- Amazon Bedrock, Google Cloud's Agent Platform, or Microsoft Foundry (enterprise cloud providers)
- A self-hosted Claude apps gateway, if your organization runs one: your admin pre-configures the gateway URL, and
/loginopens directly on the Cloud gateway screen for you to sign in with corporate SSO
Once logged in, your credentials are stored and you will not need to log in again.
Step 3: Create Your MCP Server Project
MCP (Model Context Protocol) is an open standard for connecting AI tools to external data sources. With MCP, Claude Code can read your design docs in Google Drive, update tickets in Jira, pull data from Slack, or use your own custom tooling. In this step, you will create a new Node.js project that will become your MCP server.
Open your terminal and create a new directory for your MCP server:
mkdir claude-postgres-mcp
cd claude-postgres-mcp
Initialize a Node.js project:
npm init -y
Install the required dependencies. You will need the pg library to connect to PostgreSQL and the @modelcontextprotocol/sdk to build the MCP server:
npm install pg @modelcontextprotocol/sdk
Also install TypeScript types for Node.js if you plan to use TypeScript (optional but recommended):
npm install --save-dev typescript @types/node @types/pg
Create a tsconfig.json file if using TypeScript:
{
  "compilerOptions": {
    "target": "ES2020",
    "module": "commonjs",
    "outDir": "./dist",
    "rootDir": "./src",
    "strict": true,
    "esModuleInterop": true
  },
  "include": ["src/**/*"]
}
Step 4: Write the MCP Server Code
Create a src directory and a file named server.ts (or server.js if using plain JavaScript):
mkdir src
touch src/server.ts
Now write the MCP server code. This server will expose tools that Claude can call to interact with your PostgreSQL database. The code below implements three tools: query_database for running arbitrary SQL queries, get_schema for listing tables and their columns, and list_tables for getting a list of all tables in the database.
import { Server } from "@modelcontextprotocol/sdk/server/index.js";
import { StdioServerTransport } from "@modelcontextprotocol/sdk/server/stdio.js";
import {
  CallToolRequestSchema,
  ListToolsRequestSchema,
} from "@modelcontextprotocol/sdk/types.js";
import { Pool } from "pg";

// Database connection configuration
const pool = new Pool({
  host: process.env.PGHOST || "localhost",
  port: parseInt(process.env.PGPORT || "5432"),
  database: process.env.PGDATABASE || "postgres",
  user: process.env.PGUSER || "postgres",
  password: process.env.PGPASSWORD || "",
});

// Create an MCP server
const server = new Server(
  {
    name: "postgres-mcp-server",
    version: "1.0.0",
  },
  {
    capabilities: {
      tools: {},
    },
  }
);

// Define the tools this server provides
server.setRequestHandler(ListToolsRequestSchema, async () => {
  return {
    tools: [
      {
        name: "query_database",
        description: "Execute a SQL query on the PostgreSQL database",
        inputSchema: {
          type: "object",
          properties: {
            query: {
              type: "string",
              description: "The SQL query to execute",
            },
          },
          required: ["query"],
        },
      },
      {
        name: "get_schema",
        description: "Get the schema (columns and types) of a specific table",
        inputSchema: {
          type: "object",
          properties: {
            table: {
              type: "string",
              description: "The name of the table to describe",
            },
          },
          required: ["table"],
        },
      },
      {
        name: "list_tables",
        description: "List all tables in the current database",
        inputSchema: {
          type: "object",
          properties: {},
        },
      },
    ],
  };
});

// Handle tool calls
server.setRequestHandler(CallToolRequestSchema, async (request) => {
  const { name, arguments: args } = request.params;

  switch (name) {
    case "query_database": {
      const query = args?.query as string;
      if (!query) {
        throw new Error("Query is required");
      }
      try {
        const result = await pool.query(query);
        return {
          content: [
            {
              type: "text",
              text: JSON.stringify(result.rows, null, 2),
            },
          ],
        };
      } catch (error: any) {
        return {
          content: [
            {
              type: "text",
              text: `Error executing query: ${error.message}`,
            },
          ],
          isError: true,
        };
      }
    }

    case "get_schema": {
      const table = args?.table as string;
      if (!table) {
        throw new Error("Table name is required");
      }
      try {
        const result = await pool.query(
          `SELECT column_name, data_type, is_nullable
           FROM information_schema.columns
           WHERE table_name = $1
           ORDER BY ordinal_position`,
          [table]
        );
        return {
          content: [
            {
              type: "text",
              text: JSON.stringify(result.rows, null, 2),
            },
          ],
        };
      } catch (error: any) {
        return {
          content: [
            {
              type: "text",
              text: `Error fetching schema: ${error.message}`,
            },
          ],
          isError: true,
        };
      }
    }

    case "list_tables": {
      try {
        const result = await pool.query(
          `SELECT table_name
           FROM information_schema.tables
           WHERE table_schema = 'public'
           ORDER BY table_name`
        );
        return {
          content: [
            {
              type: "text",
              text: JSON.stringify(result.rows.map(r => r.table_name), null, 2),
            },
          ],
        };
      } catch (error: any) {
        return {
          content: [
            {
              type: "text",
              text: `Error listing tables: ${error.message}`,
            },
          ],
          isError: true,
        };
      }
    }

    default:
      throw new Error(`Unknown tool: ${name}`);
  }
});

// Start the server using stdio transport
async function main() {
  const transport = new StdioServerTransport();
  await server.connect(transport);
  console.error("Postgres MCP server running on stdio");
}

main().catch((error) => {
  console.error("Server error:", error);
  process.exit(1);
});
If you are using plain JavaScript, save this as src/server.js and remove the TypeScript type annotations. The core logic remains the same.
Step 5: Configure Environment Variables
Create a .env file in the project root to store your database credentials. This keeps sensitive information out of your code.
touch .env
Add the following content, replacing the placeholder values with your actual database credentials:
PGHOST=localhost
PGPORT=5432
PGDATABASE=mydatabase
PGUSER=myuser
PGPASSWORD=mypassword
For production use, consider using a secrets manager or environment variables set at the system level rather than a .env file. The MCP server reads these environment variables at startup.
Step 6: Build and Test the MCP Server
If using TypeScript, compile the code:
npx tsc
This creates the compiled JavaScript in the dist directory. If using plain JavaScript, skip this step.
Test the server by running it directly. The MCP server communicates over stdio, so you can test it by sending JSON-RPC messages manually:
node dist/server.js
The server will start and wait for input on stdin. It will print "Postgres MCP server running on stdio" to stderr. To test it, you need to send a JSON-RPC request. Open another terminal and use a tool like echo or a script to send a request:
echo '{"jsonrpc":"2.0","id":1,"method":"tools/list","params":{}}' | node dist/server.js
You should see the list of tools returned as JSON. If you see an error, check that your database is running and the credentials in the .env file are correct.
Step 7: Configure Claude Code to Use Your MCP Server
Claude Code needs to know about your MCP server. You configure this in the claude.json file in your project root. Create this file if it does not exist:
touch claude.json
Add the following configuration:
{
  "mcpServers": {
    "postgres": {
      "command": "node",
      "args": ["/absolute/path/to/your/claude-postgres-mcp/dist/server.js"],
      "env": {
        "PGHOST": "localhost",
        "PGPORT": "5432",
        "PGDATABASE": "mydatabase",
        "PGUSER": "myuser",
        "PGPASSWORD": "mypassword"
      }
    }
  }
}
Replace /absolute/path/to/your/claude-postgres-mcp/dist/server.js with the actual absolute path to your compiled server file. The env object lets you pass environment variables directly to the MCP server process. This is an alternative to the .env file approach and can be more secure if you keep the claude.json out of version control.
If you are using plain JavaScript, point to src/server.js instead of dist/server.js.
Step 8: Start Claude Code and Test the Connection
Navigate to your project directory (the one with the claude.json file) and start Claude Code:
cd /path/to/your/project
claude
Claude Code will read the claude.json file and start your MCP server automatically. You should see a message in the Claude Code interface indicating that the MCP server is connected. If you see errors, check the Common Problems section below.
Once Claude Code is running, ask it to interact with your database. Try these prompts:
list all tables in my database
show me the schema of the users table
query the first 5 rows from the orders table
Claude Code will call the appropriate tool on your MCP server and return the results.
Verifying It Works
To confirm everything is functioning correctly:
- Run
claudein your project directory. The session should start without errors. - Ask Claude: "list all tables in my database". You should see a list of table names from your database.
- Ask Claude: "describe the schema of one of your tables". You should see column names, data types, and nullability information.
- Ask Claude: "run a query that counts the rows in one of your tables". You should get a numeric result.
If any of these steps fail, see the Common Problems section.
Common Problems
MCP server fails to start
If Claude Code reports that the MCP server failed to start, check the following:
- The path in
claude.jsonargsarray is an absolute path and points to the correct file. - Node.js is installed and available in your PATH.
- The database credentials in the
envobject (or.envfile) are correct. - The database server is running and accessible from your machine.
"Error executing query" returned by a tool
This usually means the SQL query is invalid or the table does not exist. Check the error message returned by the tool. Common causes:
- Table name is misspelled or does not exist in the
publicschema. - The query uses syntax not supported by your PostgreSQL version.
- The database user does not have permission to access the table.
"Error fetching schema" or "Error listing tables"
This typically indicates a connection issue. Verify:
- The database server is running.
- The credentials in the
envobject match what the database expects. - The database name is correct.
- Network connectivity: if the database is on a remote host, ensure the host is reachable and the port is open.
Claude Code does not recognize the MCP tools
If Claude Code starts but does not seem to know about your database tools:
- Make sure the
claude.jsonfile is in the root of the directory where you runclaude. - Restart Claude Code after making changes to
claude.json. - Check the Claude Code logs for any error messages related to MCP server startup. You can view logs by running
claudewith the--verboseflag.
Permission issues on Windows
If you are on native Windows and see permission errors, ensure Git for Windows is installed so Claude Code can use the Bash tool. If Git for Windows is not installed, Claude Code uses PowerShell as the shell tool instead. WSL setups do not need Git for Windows.
Next Steps
Now that you have a working MCP server connecting Claude to your Postgres database, here are some ways to extend it:
-
Add more tools: Extend the MCP server with additional tools, such as
insert_row,update_row, ordelete_row. Be careful with write operations: consider adding a confirmation step or restricting which tables can be modified. -
Add read-only mode: For safety, you can modify the
query_databasetool to only allowSELECTstatements. Parse the query string and reject any statement that starts withINSERT,UPDATE,DELETE,DROP,ALTER, orCREATE. -
Connect multiple databases: Run multiple MCP server instances, each configured for a different database, and give them distinct names in the
claude.jsonfile. Claude Code can then switch between them based on the task. -
Integrate with other tools: Use MCP to connect Claude to other data sources like Google Drive, Jira, or Slack. The MCP quickstart in the official documentation walks through connecting your first server end to end.
-
Build a custom agent: Use the Agent SDK to build your own agents powered by Claude Code's tools and capabilities, with full control over orchestration, tool access, and permissions.
-
Schedule recurring tasks: Use Claude Code's scheduling features to run database reports on a recurring basis, such as nightly schema audits or weekly data quality checks.
The #1 Claude Newsletter
The most important claude updates, guides, and fixes — one weekly email.
No spam, unsubscribe anytime. Privacy policy
Related Tutorials
Keep exploring Claude
Claude resources
Latest AI answers
Skip the manual work
Ready-made AI workflows and automation templates — import and run instead of building from scratch.