Build a Streaming AI Chat App with Next.js and the Claude API
Prerequisites
- ✓ Node.js 18.17 or later
- ✓ Claude API key from Anthropic Console
- ✓ Basic React knowledge
- ✓ Familiarity with JavaScript/TypeScript and command line
- ✓ Code editor (VS Code recommended)
This tutorial walks you through building a real-time streaming AI chat application using Next.js (App Router) and the Claude API. You will create a full-stack app that sends user messages to Claude and streams responses word by word into the UI. The entire project takes about 30 minutes to complete, assuming you have basic familiarity with React and Node.js.
Prerequisites
- Node.js 18.17 or later installed on your machine
- A Claude API key from the Anthropic Console (console.anthropic.com) with pre-paid credits or a paid subscription
- Basic knowledge of React (components, hooks, state management)
- Familiarity with JavaScript/TypeScript and the command line
- A code editor (VS Code recommended)
- Git installed (optional but helpful for version control)
Step 1: Create a New Next.js Project
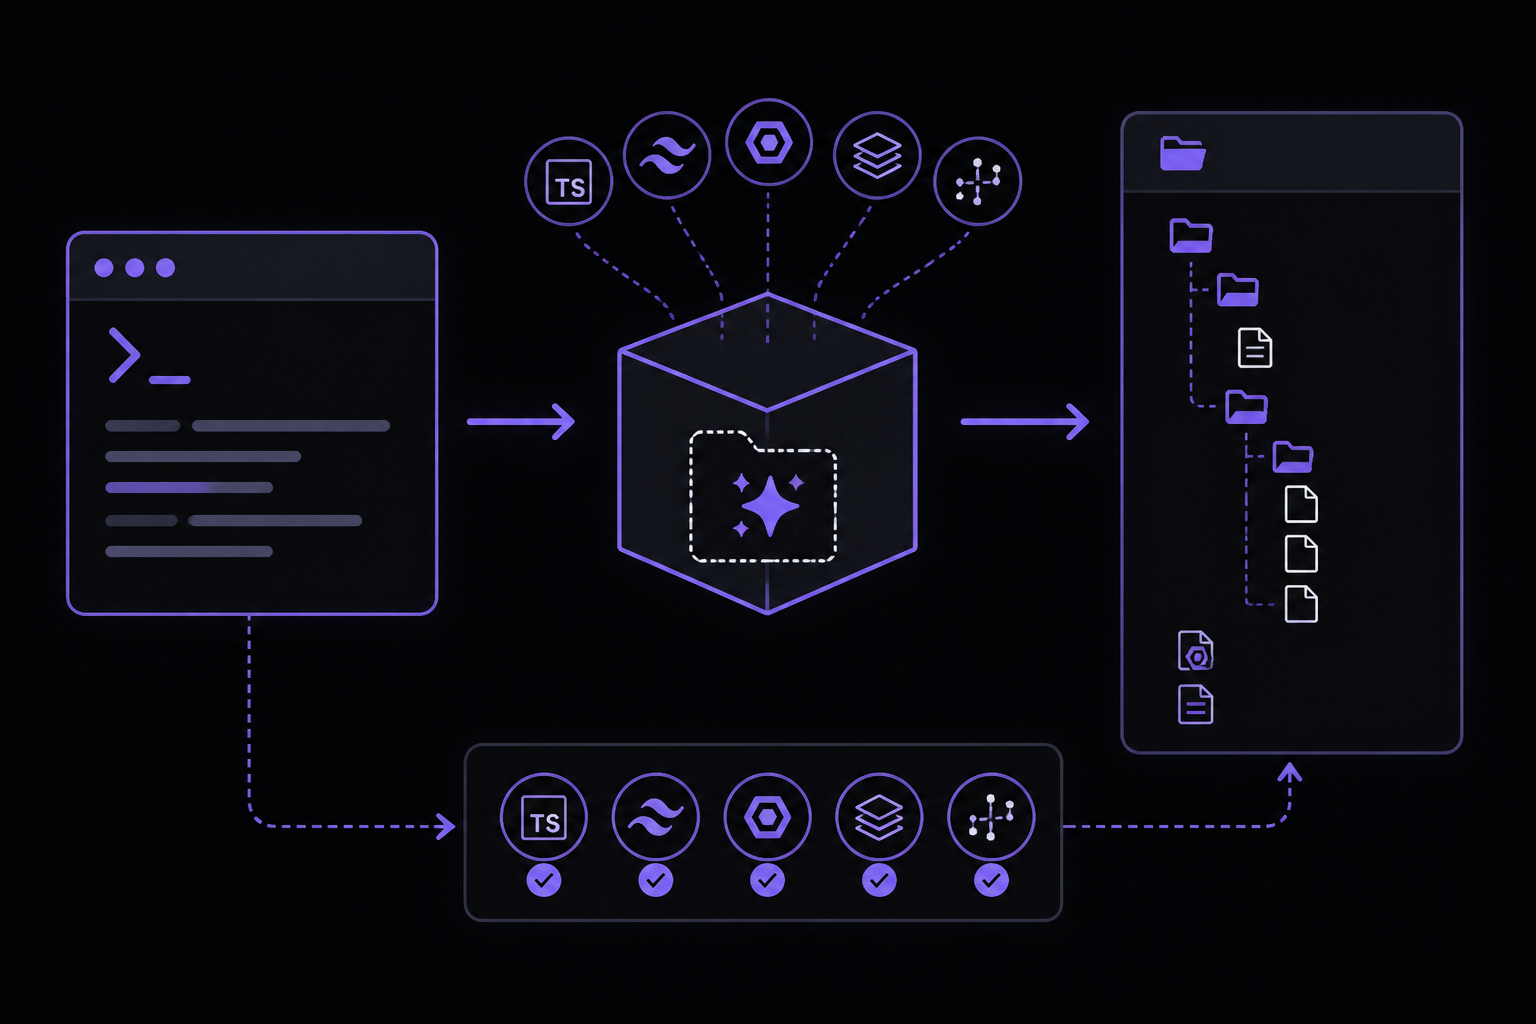
Open your terminal and run the following command to scaffold a new Next.js project with the App Router. The App Router is the modern, recommended way to build Next.js applications as of Next.js 13.4+.
npx create-next-app@latest claude-chat-app --typescript --tailwind --eslint --app --src-dir --import-alias "@/*"
This command creates a project named claude-chat-app with TypeScript, Tailwind CSS for styling, ESLint for linting, the App Router (--app), a src/ directory for cleaner organization, and a custom import alias (@/*). When prompted, answer "Yes" to all options. The official documentation recommends using the App Router for new projects because it supports React Server Components, streaming, and nested layouts out of the box.
After the scaffolding completes, navigate into the project directory:
cd claude-chat-app
Start the development server to verify everything works:
npm run dev
Open your browser to http://localhost:3000. You should see the default Next.js welcome page. If you see an error, check that you are using Node.js 18.17 or later and that all dependencies installed correctly. Press Ctrl+C to stop the server before proceeding.
Step 2: Install the Anthropic SDK
The Claude API is accessed through the official Anthropic SDK for JavaScript/TypeScript. Install it as a project dependency:
npm install @anthropic-ai/sdk
This SDK provides a typed client that handles authentication, request formatting, and streaming responses. The package is maintained by Anthropic and is the recommended way to interact with the Claude API in Node.js environments.
Step 3: Set Up Environment Variables
Create a file named .env.local in the root of your project. This file stores sensitive values like your API key and is automatically ignored by Git (Next.js adds .env.local to .gitignore by default).
touch .env.local
Open .env.local and add your Claude API key:
ANTHROPIC_API_KEY=sk-ant-your-api-key-here
Replace sk-ant-your-api-key-here with your actual API key from the Anthropic Console. You can generate a key by logging into console.anthropic.com, navigating to the API Keys section, and clicking "Create Key". The key starts with sk-ant-.
To access environment variables in Next.js server-side code, you use process.env.VARIABLE_NAME. Next.js automatically loads .env.local in development and production. Never commit this file to version control.
Step 4: Create the API Route for Chat
Next.js App Router uses Route Handlers for API endpoints. Create a new file at src/app/api/chat/route.ts. This route will receive the user's message, call the Claude API with streaming enabled, and return a streaming response.
// src/app/api/chat/route.ts
import { NextRequest, NextResponse } from 'next/server';
import Anthropic from '@anthropic-ai/sdk';

const anthropic = new Anthropic({
  apiKey: process.env.ANTHROPIC_API_KEY,
});

export async function POST(request: NextRequest) {
  try {
    const { messages } = await request.json();

    // Validate input
    if (!messages || !Array.isArray(messages) || messages.length === 0) {
      return NextResponse.json(
        { error: 'Messages array is required and must not be empty' },
        { status: 400 }
      );
    }

    // Create a stream from Claude
    const stream = await anthropic.messages.create({
      model: 'claude-3-5-sonnet-20241022',
      max_tokens: 1024,
      messages: messages,
      stream: true,
    });

    // Create a ReadableStream to pipe the Claude response
    const readableStream = new ReadableStream({
      async start(controller) {
        for await (const chunk of stream) {
          if (chunk.type === 'content_block_delta' && chunk.delta.type === 'text_delta') {
            const text = chunk.delta.text;
            controller.enqueue(new TextEncoder().encode(text));
          }
        }
        controller.close();
      },
    });

    return new Response(readableStream, {
      headers: {
        'Content-Type': 'text/plain; charset=utf-8',
        'Transfer-Encoding': 'chunked',
      },
    });
  } catch (error) {
    console.error('Error in chat API:', error);
    return NextResponse.json(
      { error: 'Internal server error' },
      { status: 500 }
    );
  }
}
This route handler does the following:
- Parses the incoming JSON request body to extract the
messagesarray (the conversation history) - Validates that
messagesis a non-empty array - Calls
anthropic.messages.create()withstream: trueto get a streaming response from Claude - Iterates over the stream chunks, extracting text deltas (the actual words) and enqueuing them into a Web
ReadableStream - Returns a
Responseobject with the stream, setting the content type to plain text and enabling chunked transfer encoding
If the API call fails or the input is invalid, the route returns a JSON error response with an appropriate HTTP status code.
Step 5: Build the Chat UI Component
Create a client component for the chat interface. In Next.js App Router, components are Server Components by default. To use browser APIs like useState and useEffect, you must mark the component with "use client" at the top.
Create the file src/app/page.tsx and replace its contents:
// src/app/page.tsx
"use client";

import { useState, useRef, useEffect } from 'react';

type Message = {
  role: 'user' | 'assistant';
  content: string;
};

export default function Home() {
  const [messages, setMessages] = useState<Message[]>([]);
  const [input, setInput] = useState('');
  const [isLoading, setIsLoading] = useState(false);
  const messagesEndRef = useRef<HTMLDivElement>(null);

  // Auto-scroll to bottom when new messages arrive
  useEffect(() => {
    messagesEndRef.current?.scrollIntoView({ behavior: 'smooth' });
  }, [messages]);

  async function handleSubmit(e: React.FormEvent) {
    e.preventDefault();
    if (!input.trim() || isLoading) return;

    const userMessage: Message = { role: 'user', content: input };
    const updatedMessages = [...messages, userMessage];
    setMessages(updatedMessages);
    setInput('');
    setIsLoading(true);

    try {
      const response = await fetch('/api/chat', {
        method: 'POST',
        headers: { 'Content-Type': 'application/json' },
        body: JSON.stringify({ messages: updatedMessages }),
      });

      if (!response.ok) {
        throw new Error('API request failed');
      }

      const reader = response.body?.getReader();
      if (!reader) throw new Error('No reader available');

      const assistantMessage: Message = { role: 'assistant', content: '' };
      setMessages((prev) => [...prev, assistantMessage]);

      const decoder = new TextDecoder();
      while (true) {
        const { done, value } = await reader.read();
        if (done) break;
        const text = decoder.decode(value, { stream: true });
        setMessages((prev) => {
          const lastMessage = prev[prev.length - 1];
          if (lastMessage.role === 'assistant') {
            const updated = [...prev];
            updated[updated.length - 1] = {
              ...lastMessage,
              content: lastMessage.content + text,
            };
            return updated;
          }
          return prev;
        });
      }
    } catch (error) {
      console.error('Error sending message:', error);
      setMessages((prev) => [
        ...prev,
        { role: 'assistant', content: 'Sorry, an error occurred. Please try again.' },
      ]);
    } finally {
      setIsLoading(false);
    }
  }

  return (
    <main className="flex flex-col h-screen max-w-2xl mx-auto p-4">
      <h1 className="text-2xl font-bold mb-4">Claude Chat</h1>
      <div className="flex-1 overflow-y-auto mb-4 space-y-4">
        {messages.map((msg, index) => (
          <div
            key={index}
            className={`p-3 rounded-lg ${
              msg.role === 'user'
                ? 'bg-blue-100 ml-auto max-w-[80%]'
                : 'bg-gray-100 mr-auto max-w-[80%]'
            }`}
          >
            <p className="text-sm font-semibold mb-1">
              {msg.role === 'user' ? 'You' : 'Claude'}
            </p>
            <p className="whitespace-pre-wrap">{msg.content}</p>
          </div>
        ))}
        <div ref={messagesEndRef} />
      </div>
      <form onSubmit={handleSubmit} className="flex gap-2">
        <input
          type="text"
          value={input}
          onChange={(e) => setInput(e.target.value)}
          placeholder="Type your message..."
          disabled={isLoading}
          className="flex-1 p-2 border border-gray-300 rounded-lg focus:outline-none focus:ring-2 focus:ring-blue-500"
        />
        <button
          type="submit"
          disabled={isLoading || !input.trim()}
          className="px-4 py-2 bg-blue-600 text-white rounded-lg hover:bg-blue-700 disabled:opacity-50"
        >
          {isLoading ? 'Sending...' : 'Send'}
        </button>
      </form>
    </main>
  );
}
This component handles the entire chat interface:
- Maintains an array of messages with
role(user or assistant) andcontent - On form submission, it sends the conversation history to the API route via
fetch - It reads the streaming response using the Web Streams API (
response.body.getReader()) - As each chunk arrives, it appends the text to the last assistant message, creating a real-time streaming effect
- The component auto-scrolls to the bottom whenever messages update
- Error handling displays a fallback message if the API call fails
- The input field and send button are disabled while a response is being streamed
Step 6: Style the Application
Tailwind CSS is already configured in the project. The component above uses Tailwind utility classes for layout, spacing, colors, and responsiveness. You can customize the look by modifying tailwind.config.ts or adding custom CSS in src/app/globals.css.
To change the color scheme, edit the tailwind.config.ts file:
// tailwind.config.ts
import type { Config } from 'tailwindcss';

const config: Config = {
  content: [
    './src/pages/**/*.{js,ts,jsx,tsx,mdx}',
    './src/components/**/*.{js,ts,jsx,tsx,mdx}',
    './src/app/**/*.{js,ts,jsx,tsx,mdx}',
  ],
  theme: {
    extend: {
      colors: {
        primary: '#1a73e8',
        secondary: '#34a853',
      },
    },
  },
  plugins: [],
};

export default config;
This is optional. The default Tailwind palette works fine for the tutorial.
Verifying It Works
- Start the development server:
npm run dev - Open
http://localhost:3000in your browser - Type a message in the input field and click "Send" or press Enter
- You should see your message appear in a blue bubble on the right
- Claude's response should stream in, word by word, in a gray bubble on the left
- The input field should be disabled while the response is streaming
- After the response completes, you can send another message, and the conversation history is preserved
If the response does not stream (appears all at once), check that the API route is returning a stream (the Content-Type header should be text/plain; charset=utf-8). If you see a blank page or an error, open the browser's developer console (F12) and check for network errors or console logs.
Common Problems
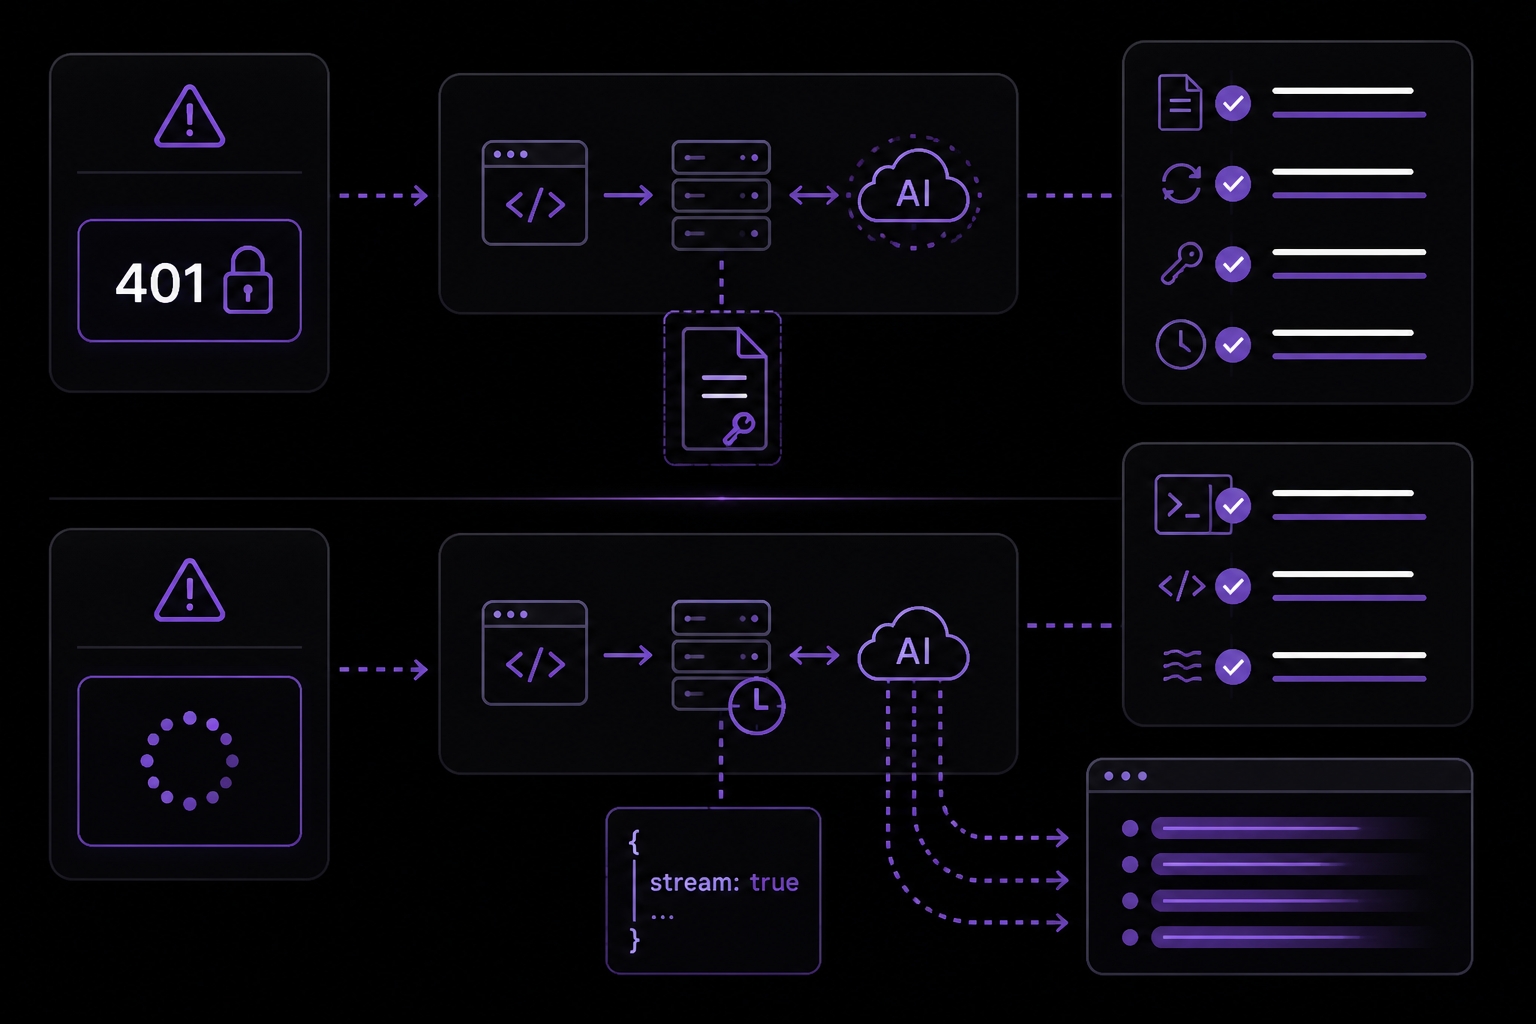
Problem: API returns 401 Unauthorized
Cause: The ANTHROPIC_API_KEY environment variable is missing or invalid.
Fix: Verify that .env.local exists in the project root and contains a valid API key. Restart the development server after changing environment variables. Check that the key starts with sk-ant- and has not expired.
Problem: Stream never starts or hangs
Cause: The API route may be timing out or the stream is not being consumed correctly.
Fix: Check the server console for error logs. Ensure the stream: true parameter is passed to anthropic.messages.create(). Verify that the ReadableStream implementation correctly iterates over the async iterable. Community members on the Anthropic Discord report that using for await with the stream object is the most reliable pattern.
Problem: Messages array grows too large
Cause: The entire conversation history is sent with every request, which can exceed token limits or increase latency.
Fix: Implement a sliding window that keeps only the last N messages (e.g., the last 10 exchanges). Alternatively, summarize older messages and include only the summary. The official documentation recommends keeping the conversation context manageable to stay within model context windows.
Problem: CORS errors in the browser
Cause: The API route is not configured to accept requests from the frontend origin.
Fix: In Next.js, API routes on the same origin do not require CORS headers. If you are running the frontend on a different port or domain, add CORS headers to the API response:
return new Response(readableStream, {
  headers: {
    'Content-Type': 'text/plain; charset=utf-8',
    'Access-Control-Allow-Origin': '*',
  },
});
Problem: Text appears garbled or with extra characters
Cause: The TextDecoder may be decoding partial UTF-8 sequences incorrectly.
Fix: Pass { stream: true } to the TextDecoder.decode() call, as shown in the component code. This tells the decoder to handle incomplete byte sequences gracefully. This is a community-reported fix from Stack Overflow discussions.
Next Steps
-
Add conversation persistence: Store chat history in a database (e.g., PostgreSQL with Prisma) so users can revisit past conversations. The API route can be extended to save messages after each exchange.
-
Implement user authentication: Add NextAuth.js or Clerk to let users log in and have personalized chat sessions. Each user's conversation history would be isolated.
-
Support file uploads and image analysis: Claude can analyze images. Extend the frontend to allow image uploads, and modify the API route to send image content blocks to the Claude API using the
contentarray format. -
Add streaming with Server-Sent Events (SSE): Instead of a plain text stream, use SSE to send structured data (e.g., metadata, tool calls) alongside the text. This allows the frontend to render richer responses, such as code blocks with syntax highlighting or clickable links.
The #1 Claude Newsletter
The most important claude updates, guides, and fixes — one weekly email.
No spam, unsubscribe anytime. Privacy policy
Related Tutorials
Keep exploring Claude
Claude resources
Latest AI answers
Skip the manual work
Ready-made AI workflows and automation templates — import and run instead of building from scratch.