Build Your First AI Agent with the Claude Agent SDK
Prerequisites
- ✓ Claude subscription or Anthropic Console account
- ✓ macOS, Linux, or Windows with WSL
- ✓ Node.js 18+ or Python 3.10+
- ✓ Basic terminal and code editor familiarity
- ✓ Git installed and configured
You will build a custom AI agent using the Claude Agent SDK that can read your codebase, edit files, run commands, and integrate with external tools via the Model Context Protocol (MCP). This tutorial covers installation, configuration, connecting MCP servers, and running your first agent task. Completion time is approximately 45 minutes.
Prerequisites
- A Claude subscription (claude.ai) or an Anthropic Console account with API access
- macOS, Linux, or Windows with WSL (native Windows requires Git for Windows)
- Node.js 18+ or Python 3.10+ (depending on your preferred MCP server development path)
- Basic familiarity with the terminal and a code editor
- Git installed and configured (recommended for full agent capabilities)
Step 1: Install Claude Code
Claude Code is the CLI that powers the Agent SDK. You need it installed before you can build custom agents. Choose one of the following installation methods based on your operating system.
macOS and Linux (Native Install)
Open a terminal and run:
curl -fsSL https://claude.ai/install.sh | bash
This is the recommended method. Native installations automatically update in the background to keep you on the latest version.
macOS with Homebrew
brew install --cask claude-code
Homebrew offers two casks. claude-code tracks the stable release channel, which is typically about a week behind and skips releases with major regressions. claude-code@latest tracks the latest channel and receives new versions as soon as they ship. Homebrew installations do not auto-update. Run brew upgrade claude-code or brew upgrade claude-code@latest, depending on which cask you installed, to get the latest features and security fixes.
Windows with WinGet
winget install Anthropic.ClaudeCode
WinGet installations do not auto-update. Run winget upgrade Anthropic.ClaudeCode periodically to get the latest features and security fixes.
Windows with PowerShell
irm https://claude.ai/install.ps1 | iex
If you see The token '&&' is not a valid statement separator, you are in PowerShell, not CMD. If you see 'irm' is not recognized as an internal or external command, you are in CMD, not PowerShell. Your prompt shows PS C:\ when you are in PowerShell and C:\ without the PS when you are in CMD.
Windows with CMD
curl -fsSL https://claude.ai/install.cmd -o install.cmd && install.cmd && del install.cmd
If the install command fails with syntax error near unexpected token ', troubleshoot installation to match the error to a fix and for alternative install methods. Git for Windows is recommended on native Windows so Claude Code can use the Bash tool. If Git for Windows is not installed, Claude Code uses PowerShell as the shell tool instead. WSL setups do not need Git for Windows.
Alternative Package Managers
You can also install with apt, dnf, or apk on Debian, Fedora, RHEL, and Alpine.
Verify Installation
After installation, start Claude Code in any project directory:
cd your-project
claude
You will be prompted to log in on first use. Once logged in, you should see an interactive session prompt. Type exit to quit for now.
Step 2: Create a Project and Configure Agent Instructions
Create a new project directory and initialize it with a CLAUDE.md file. This file provides persistent instructions that Claude Code reads at the start of every session. Use it to set coding standards, architecture decisions, preferred libraries, and review checklists.
mkdir my-first-agent
cd my-first-agent
echo "# My First Agent Project

## Coding Standards
- Write tests for all new functions
- Use TypeScript for all new files
- Follow the existing code style

## Architecture
- Keep business logic separate from infrastructure
- Use dependency injection for testability

## Review Checklist
- No hardcoded secrets
- All error paths handled
- Documentation updated" > CLAUDE.md
Claude also builds auto memory as it works, saving learnings like build commands and debugging insights across sessions without you writing anything.
Step 3: Install the MCP Server Development Plugin
The Agent SDK uses MCP (Model Context Protocol) to connect to external tools. To build your own MCP servers, install the official plugin.
Start a Claude Code session in your project:
claude
Inside the session, run:
/plugin install mcp-server-dev@claude-plugins-official
If Claude Code reports Marketplace "claude-plugins-official" not found, add the marketplace with:
/plugin marketplace add anthropics/claude-plugins-official
If it reports that the plugin is not found in the marketplace, your local copy is outdated. Refresh it with:
/plugin marketplace update claude-plugins-official
Then retry the install. Once installed, run /reload-plugins to activate it in the current session.
Step 4: Scaffold Your First MCP Server
With the plugin active, use the build skill to scaffold a new MCP server:
/mcp-server-dev:build-mcp-server
Claude asks about your use case and scaffolds a remote HTTP or local stdio server. For this tutorial, choose a local stdio server. This creates a basic server structure with example tools.
After scaffolding, exit the Claude Code session with exit.
Step 5: Configure the MCP Server
MCP servers can be configured in several ways. The most common for local development is the stdio transport, which runs the server as a local process.
Add your scaffolded server using the claude mcp add command. The basic syntax is:
claude mcp add [options] name -- command [args...]
Important: Separate server arguments with --. The double dash separates Claude's own options, such as --transport, --env, and --scope, from the command and arguments that run the server. Everything after -- is passed to the server untouched.
For example, if your scaffolded server is a Node.js script called server.js:
claude mcp add --transport stdio my-first-server -- node server.js
If your server requires environment variables, use the --env flag:
claude mcp add --env MY_API_KEY=your-key-here --transport stdio my-first-server -- node server.js
The --env flag accepts multiple KEY=value pairs. If the server name comes directly after --env, the CLI reads the name as another pair and rejects it, so place at least one other option between --env and the server name.
Use the -s or --scope flag to specify where the configuration is stored:
local(default): available only to you in the current project. Older versions called this scopeproject.project: shared with everyone in the project via the.mcp.jsonfile.user: available to you across all projects. Older versions called this scopeglobal.
Alternative: Add a Remote HTTP Server
If you prefer to connect to a cloud-based service, use the HTTP transport:
claude mcp add --transport http my-remote-server https://api.example.com/mcp
With authentication:
claude mcp add --transport http secure-api https://api.example.com/mcp --header "Authorization: Bearer your-token"
When configuring MCP servers via JSON in .mcp.json, ~/.claude.json, or claude mcp add-json, the type field accepts streamable-http as an alias for http. The MCP specification uses the name streamable-http for this transport, so configurations copied from server documentation work without modification. A JSON entry that has a url but no type is a configuration error, because Claude Code reads an entry with no type as a stdio server. Claude Code skips that server and reports MCP server "<name>" has a "url" but no "type"; add "type": "http" (or "sse" / "ws") to this entry. Before v2.1.202, Claude Code reported this misconfiguration as command: expected string, received undefined.
Alternative: Add a Remote SSE Server
The SSE (Server-Sent Events) transport is deprecated. Use HTTP servers instead, where available.
claude mcp add --transport sse my-sse-server https://mcp.example.com/sse
Alternative: Add a Remote WebSocket Server
WebSocket servers hold a persistent bidirectional connection, which suits remote MCP servers that push events to Claude unprompted. Use HTTP instead when your server only responds to requests, since HTTP supports OAuth and the claude mcp add --transport flag, while WebSocket supports neither. Configure WebSocket servers in .mcp.json or with claude mcp add-json:
claude mcp add-json events-server '{"type":"ws","url":"wss://mcp.example.com/socket","headers":{"Authorization":"Bearer YOUR_TOKEN"}}'
The type: "ws" entry accepts the same url, headers, headersHelper, timeout, and alwaysLoad fields as http. Authentication is header-only, so pass a static token in headers or generate one at connect time with headersHelper. The claude mcp add --transport flag does not accept ws.
Step 6: Manage Your MCP Servers
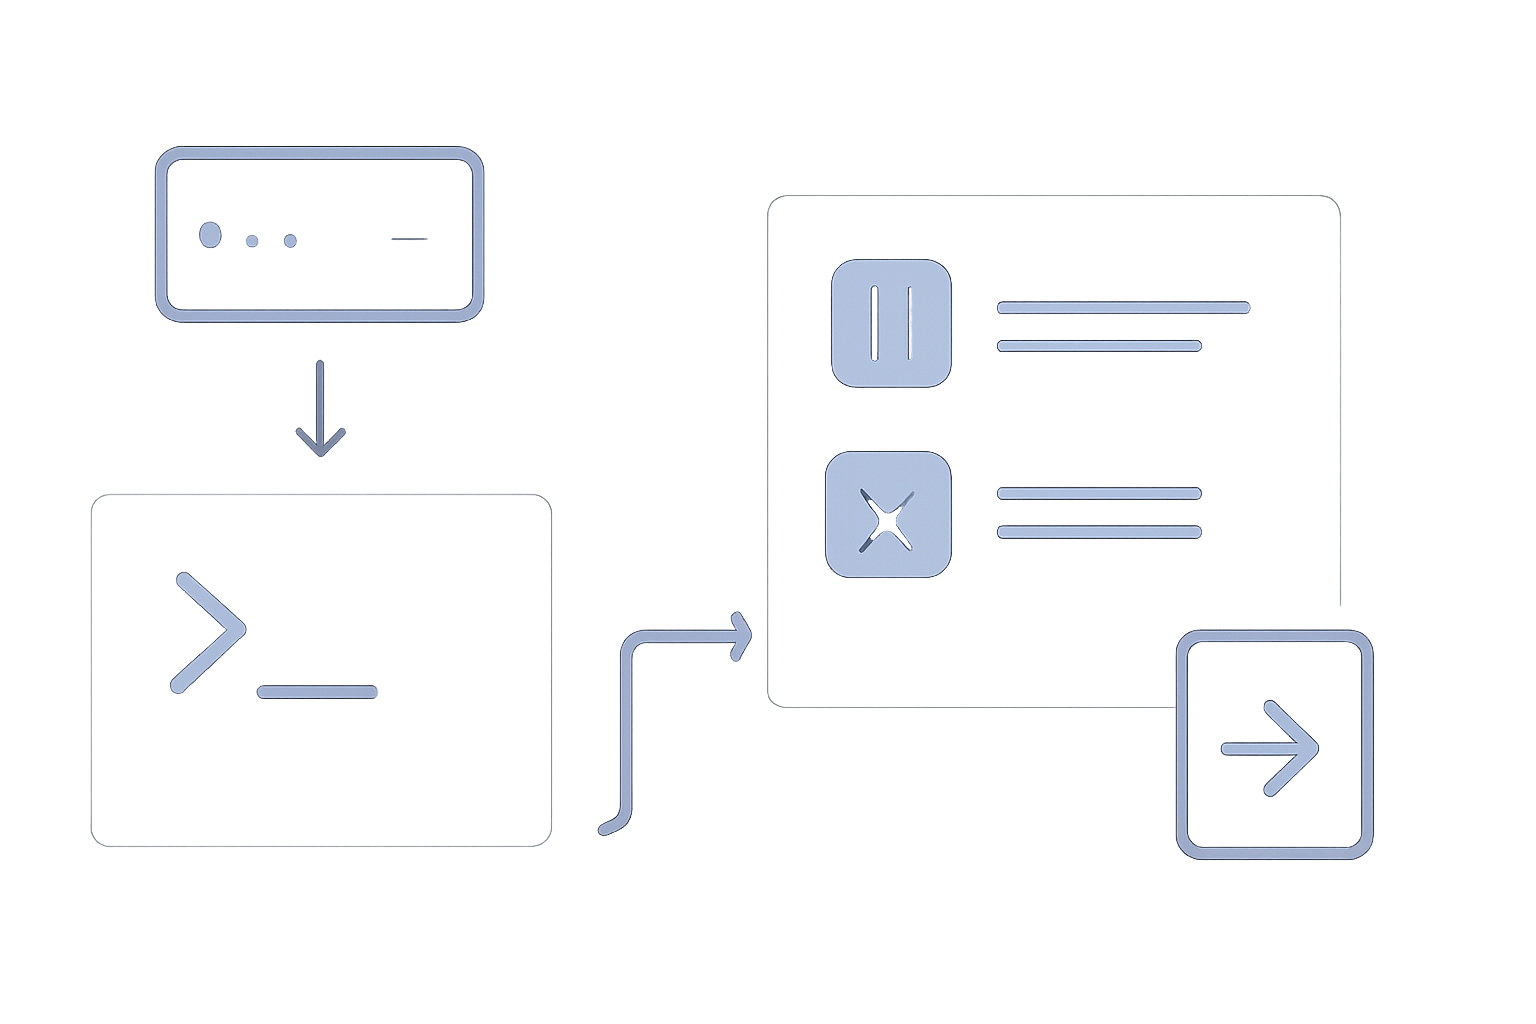
Once configured, you can manage your MCP servers with these commands:
# List all configured servers
claude mcp list

# Get details for a specific server
claude mcp get my-first-server

# Remove a server
claude mcp remove my-first-server
Project-scoped servers from .mcp.json that are awaiting your approval appear in claude mcp list and claude mcp get <name> as ⏸ Pending approval (run 'claude' to approve). Run claude interactively to review and approve them. claude mcp get <name> shows rejected servers as ✘ Rejected (see disabledMcpjsonServers in settings).
As of v2.1.196, claude mcp list and claude mcp get read .mcp.json approvals only from settings files that are not checked into the repository until you trust the workspace by running claude in it and accepting the workspace trust dialog. A cloned repository cannot approve its own servers: enableAllProjectMcpServers or enabledMcpjsonServers committed to the project's .claude/settings.json is ignored in an untrusted folder, and the server stays at ⏸ Pending approval instead of being connected and health-checked. Approvals from these sources still apply in an untrusted folder:
- your user
~/.claude/settings.json - managed settings
- settings passed with
--settings
Approvals in an untracked .claude/settings.local.json also apply, but only after you accept a trust dialog for that folder or one of its parent directories: Claude Code runs git to check whether the file is tracked, and it runs that check only in a trusted folder. In a folder you have never trusted, the file's approvals wait for the trust dialog unless the folder is your own configuration home: your home directory, or a directory whose .claude you have set as CLAUDE_CONFIG_DIR. Before v2.1.207, an untracked .claude/settings.local.json approved servers in a folder you had never trusted. A disabledMcpjsonServers entry in any settings file still rejects the server.
Inside a Claude Code session, check server status with:
/mcp
The /mcp panel shows the tool count next to each connected server and flags servers that advertise the tools capability but expose no tools. A remote server whose configuration has an empty url shows as not configured in /mcp, in claude mcp list, and in the /plugin manager, and Claude Code does not attempt to connect to it. A plugin can include a placeholder entry like this for a connector you configure later, so Claude Code does not report it as an error or a setup issue. The server's detail view in /mcp reads No URL configured for this server; set the entry's url to connect it. Before v2.1.208, Claude Code reported an empty url as a configuration issue with a prompt to reconnect.
If your request needs tools from a server that is still connecting in the background, Claude waits for that server before continuing. With tool search enabled, which is the default, the wait happens inside the ToolSearch call. In configurations without tool search, such as Google Cloud's Agent Platform, a custom ANTHROPIC_BASE_URL, or ENABLE_TOOL_SEARCH=false, Claude uses the WaitForMcpServers tool instead.
Some server names are reserved for Claude Code's built-in servers: workspace, claude-in-chrome, computer-use, Claude Preview, and Claude Browser. If your configuration defines a server with a reserved name, Claude Code skips it at load time and shows a warning asking you to rename it. claude mcp add rejects a reserved name with an error. Claude Preview and Claude Browser both name the built-in server that the Claude Code desktop app's preview pane uses. Before v2.1.205, Claude Browser was not reserved, so a user-configured server could register under that name.
Step 7: Run Your First Agent Task
Now that your MCP server is configured, start a Claude Code session and give it a task that uses your custom tools.
claude
Inside the session, try a task like:
Use my-first-server to list available tools and then run the hello-world tool.
Claude will discover the tools from your server and execute them. You should see output from your server's tools in the conversation.
For a more practical example, if you have a database server connected, you could ask:
Query the database for the 10 most recent users and summarize their activity.
Step 8: Build a Custom Agent with the Agent SDK
The Agent SDK lets you build fully custom agents powered by Claude Code's tools and capabilities, with full control over orchestration, tool access, and permissions. While the SDK itself is a programmatic interface, you can achieve similar results using Claude Code's built-in agent team capabilities.
Spawn Subagents
You can spawn multiple Claude Code agents that work on different parts of a task simultaneously. A lead agent coordinates the work, assigns subtasks, and merges results. To run several full sessions in parallel and watch them from one screen, use background agents.
Inside a Claude Code session, you can ask:
Spawn two subagents: one to write tests for the auth module, and another to refactor the database layer. Have them report back to me when done.
Claude Code will orchestrate the subagents, each running in its own context, and merge their results.
Pipe and Script with the CLI
Claude Code is composable and follows the Unix philosophy. You can pipe logs into it, run it in CI, or chain it with other tools:
# Analyze recent log output
tail -200 app.log | claude -p "Slack me if you see any anomalies"

# Automate translations in CI
claude -p "translate new strings into French and raise a PR for review"

# Bulk operations across files
git diff main --name-only | claude -p "review these changed files for security issues"
Automate Workflows
Create skills to package repeatable workflows your team can share, like /review-pr or /deploy-staging. Hooks let you run shell commands before or after Claude Code actions, like auto-formatting after every file edit or running lint before a commit.
Step 9: Connect to External Tools via MCP
Once your MCP server is connected, you can ask Claude to interact with external systems. Here are some examples from the documentation:
- "Add the feature described in JIRA issue ENG-4521 and create a PR on GitHub."
- "Check Sentry and Statsig to check the usage of the feature described in ENG-4521."
- "Find emails of 10 random users who used feature ENG-4521, based on our PostgreSQL database."
- "Update our standard email template based on the new Figma designs that were posted in Slack."
- "Create Gmail drafts inviting these 10 users to a feedback session about the new feature."
An MCP server can also act as a channel that pushes messages into your session, so Claude reacts to Telegram messages, Discord chats, or webhook events while you are away.
Verifying It Works
To confirm your agent is functioning correctly:
- Run
claude mcp listand verify your server appears with a connected status (not pending or rejected). - Inside a Claude Code session, run
/mcpand check that your server shows the expected number of tools. - Ask Claude to use a specific tool from your server and verify it executes without errors.
- Check that Claude's response includes the output from your tool, not a generic error message.
- If your server supports dynamic tool updates, modify your server code to add a new tool, and verify Claude discovers it without restarting the session. Claude Code supports MCP
list_changednotifications, allowing MCP servers to dynamically update their available tools, prompts, and resources without requiring you to disconnect and reconnect. When an MCP server sends alist_changednotification, Claude Code automatically refreshes the available capabilities from that server.
Common Problems
Installation Fails with Syntax Error
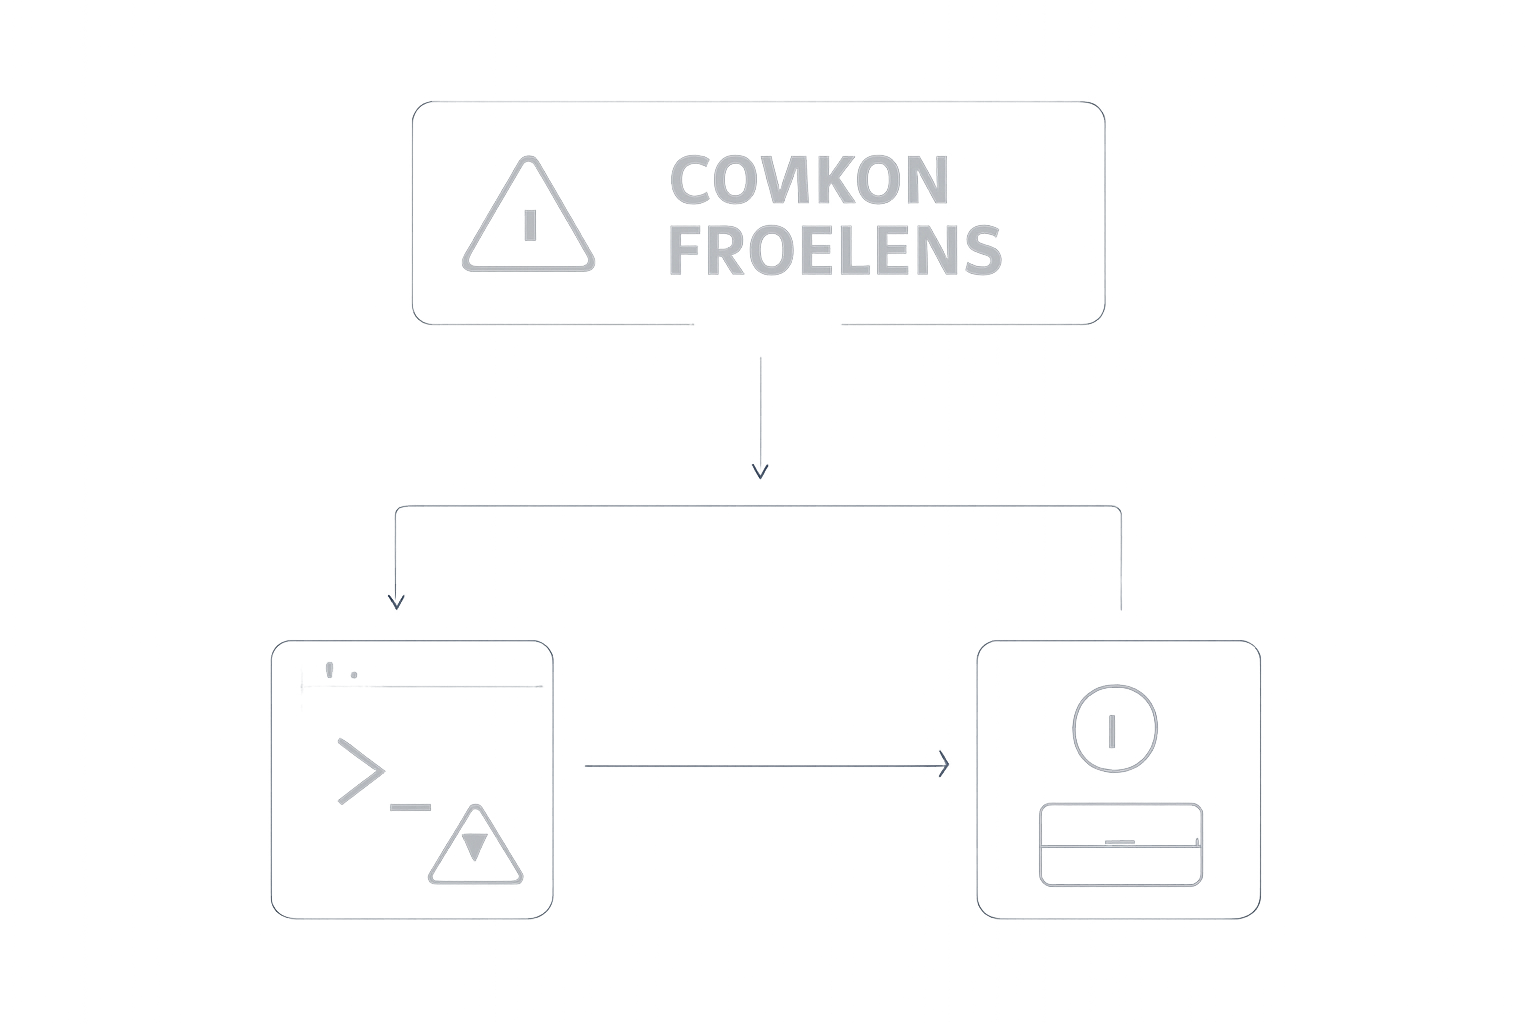
If you see syntax error near unexpected token ' during installation, you are likely in the wrong shell. Check your prompt: PS C:\ means PowerShell, C:\ without PS means CMD. Use the correct install command for your shell.
MCP Server Shows as Pending Approval
If your server appears as ⏸ Pending approval, you need to run claude interactively in the project directory and accept the workspace trust dialog. Project-scoped servers from .mcp.json require explicit approval. As of v2.1.196, approvals committed to the project's .claude/settings.json are ignored in an untrusted folder.
MCP Server Fails to Connect
If an HTTP or SSE server disconnects mid-session, Claude Code automatically reconnects with exponential backoff: up to five attempts, starting at a one-second delay and doubling each time. The server appears as pending in /mcp while reconnection is in progress. After five failed attempts the server is marked as failed and you can retry manually from /mcp. Stdio servers are local processes and are not reconnected automatically.
The same backoff applies when an HTTP or SSE server fails its initial connection at startup. As of v2.1.121, Claude Code retries the initial connection up to three times on transient errors such as a 5xx response, a connection refused, or a timeout, then marks the server as failed if it still cannot connect. Authentication and not-found errors are not retried because they require a configuration change to resolve.
When a configured server fails to connect, Claude Code tells Claude which server failed and its connection error, including in ToolSearch results that find no matching tool, so Claude reports the connection failure in its response. Requires tool search, which is enabled by default. In configurations without tool search, such as a custom ANTHROPIC_BASE_URL, ENABLE_TOOL_SEARCH=false, or a model that does not support tool search, and on Amazon Bedrock, Google Cloud's Agent Platform, and Microsoft Foundry, Claude Code does not report failed server connections to Claude. Before v2.1.205, Claude Code did not pass connection errors to Claude, and Claude could respond as if the failed server's tools were never configured.
MCP Tool Output Too Large
Claude Code displays a warning when MCP tool output exceeds 10,000 tokens and limits output to 25,000 tokens by default. To raise the limit, set the MAX_MCP_OUTPUT_TOKENS environment variable (for example, MAX_MCP_OUTPUT_TOKENS=50000); the warning threshold is fixed.
Tool Call Times Out
A tool call to an MCP server that sends no response and no progress notification for the idle window aborts with an error instead of waiting for the wall-clock limit. The idle timeout requires Claude Code v2.1.187 or later. It applies to every server type except IDE servers and SDK in-process servers. The idle window defaults to five minutes for HTTP, SSE, WebSocket, and claude.ai connector servers, and to 30 minutes for stdio servers. Before v2.1.203, stdio servers were exempt from the idle timeout. Set the CLAUDE_CODE_MCP_TOOL_IDLE_TIMEOUT environment variable in milliseconds to change the idle window, or set it to 0 to disable the check.
Set a per-server tool execution timeout by adding a timeout field in milliseconds to that server's .mcp.json entry, for example "timeout": 600000 for ten minutes. This overrides the MCP_TOOL_TIMEOUT environment variable for that server only. The per-server timeout is a hard wall-clock limit per tool call, and progress notifications from the server do not extend it. Values below 1000 are ignored and fall through to MCP_TOOL_TIMEOUT, or to its default of about 28 hours when that variable is unset.
For an HTTP, SSE, or claude.ai connector server there is also a second, per-request timer that covers each request through to the server's first response byte. That timer is 60 seconds unless you set the per-server timeout or MCP_TOOL_TIMEOUT; setting either to 60 seconds or higher raises the per-request timer to that value, a lower value does not shorten it, and the 28-hour default of an unset MCP_TOOL_TIMEOUT never feeds it. Stdio and WebSocket servers have no per-request timer. Before v2.1.162, values below 1000 were floored to one second instead.
Plugin Not Found
If /plugin install mcp-server-dev@claude-plugins-official reports that the plugin is not found, your local copy is outdated. Refresh it with /plugin marketplace update claude-plugins-official and retry the install.
Reserved Server Name
If you try to add a server with a reserved name (workspace, claude-in-chrome, computer-use, Claude Preview, or Claude Browser), claude mcp add rejects it with an error. Choose a different name.
JSON Configuration Error
A JSON entry that has a url but no type is a configuration error. Claude Code skips that server and reports MCP server "<name>" has a "url" but no "type"; add "type": "http" (or "sse" / "ws") to this entry. Before v2.1.202, this was reported as command: expected string, received undefined.
Next Steps
-
Build a Custom MCP Server: Use the
mcp-server-devplugin to build a server that connects to your team's specific tools, such as a project management system or a monitoring dashboard. The plugin scaffolds a remote HTTP or local stdio server based on your use case. -
Create Skills for Repeatable Workflows: Package common tasks like code review, deployment, or dependency updates into skills that your team can share. Skills use the same MCP infrastructure and can include custom tools.
-
Set Up Scheduled Tasks: Use Routines or Desktop scheduled tasks to run Claude on a schedule for morning PR reviews, overnight CI failure analysis, weekly dependency audits, or syncing docs after PRs merge. Routines run on Anthropic-managed infrastructure, so they keep running even when your computer is off.
-
Explore the Agent SDK for Custom Orchestration: For fully custom workflows, the Agent SDK lets you build your own agents powered by Claude Code's tools and capabilities, with full control over orchestration, tool access, and permissions. Review the official Agent SDK documentation for programmatic agent construction.
The #1 Claude Newsletter
The most important claude updates, guides, and fixes — one weekly email.
No spam, unsubscribe anytime. Privacy policy
Related Tutorials
Keep exploring Claude
Claude resources
Latest AI answers
Skip the manual work
Ready-made AI workflows and automation templates — import and run instead of building from scratch.