Build an MCP Server from Scratch in TypeScript: A Step-by-Step Tutorial

Prerequisites
- ✓ Node.js 18+
- ✓ npm or yarn
- ✓ Claude Code installed
- ✓ Claude subscription or Anthropic Console account
- ✓ Basic TypeScript and Node.js knowledge
This tutorial walks you through building a complete Model Context Protocol (MCP) server from scratch using TypeScript. You will create a server that exposes tools for managing a simple in-memory task list, connect it to Claude Code, and verify it works end to end. The entire process takes about 45 minutes, including setup, coding, and testing.
Prerequisites
- Node.js 18 or later installed on your machine
- npm or yarn package manager
- A Claude Code installation (CLI, VS Code extension, or Desktop app). See the official documentation for install commands:
curl -fsSL https://claude.ai/install.sh | bashon macOS/Linux, orirm https://claude.ai/install.ps1 | iexon Windows PowerShell. - A Claude subscription or Anthropic Console account for using Claude Code
- Basic familiarity with TypeScript and Node.js
- Git for Windows (recommended on native Windows) so Claude Code can use the Bash tool. If Git for Windows is not installed, Claude Code uses PowerShell as the shell tool instead.
Step 1: Set Up the Project Directory and Initialize TypeScript
Create a new directory for your MCP server project and initialize it with npm. This step sets up the foundation for your TypeScript project.
mkdir my-mcp-server
cd my-mcp-server
npm init -y
This creates a package.json file with default values. Now install the required dependencies. The MCP SDK provides the types and utilities for building an MCP server. The TypeScript compiler and types for Node.js are also needed.
npm install @modelcontextprotocol/sdk
npm install --save-dev typescript @types/node
Initialize TypeScript configuration:
npx tsc --init
This creates a tsconfig.json file. Open it and ensure the following settings are present (adjust if needed):
{
  "compilerOptions": {
    "target": "ES2020",
    "module": "ESNext",
    "moduleResolution": "node",
    "esModuleInterop": true,
    "strict": true,
    "outDir": "./dist",
    "rootDir": "./src",
    "declaration": true,
    "sourceMap": true
  },
  "include": ["src/**/*"],
  "exclude": ["node_modules", "dist"]
}
Create the source directory:
mkdir src
Your project structure should now look like:
my-mcp-server/
├── node_modules/
├── src/
├── package.json
├── tsconfig.json
Step 2: Create the MCP Server Entry Point
Create a file src/index.ts that will serve as the entry point for your MCP server. This file imports the MCP SDK and sets up the server with basic metadata.
import { Server } from "@modelcontextprotocol/sdk/server/index.js";
import { StdioServerTransport } from "@modelcontextprotocol/sdk/server/stdio.js";
import {
  CallToolRequestSchema,
  ListToolsRequestSchema,
} from "@modelcontextprotocol/sdk/types.js";

// Define the server with a name and version
const server = new Server(
  {
    name: "task-manager-server",
    version: "1.0.0",
  },
  {
    capabilities: {
      tools: {},
    },
  }
);

// Handle the list tools request
server.setRequestHandler(ListToolsRequestSchema, async () => {
  return {
    tools: [
      {
        name: "add_task",
        description: "Add a new task to the task list",
        inputSchema: {
          type: "object",
          properties: {
            title: {
              type: "string",
              description: "The title of the task",
            },
            description: {
              type: "string",
              description: "Optional description of the task",
            },
          },
          required: ["title"],
        },
      },
      {
        name: "list_tasks",
        description: "List all tasks",
        inputSchema: {
          type: "object",
          properties: {},
        },
      },
      {
        name: "complete_task",
        description: "Mark a task as completed",
        inputSchema: {
          type: "object",
          properties: {
            taskId: {
              type: "number",
              description: "The ID of the task to complete",
            },
          },
          required: ["taskId"],
        },
      },
    ],
  };
});

// Start the server
async function main() {
  const transport = new StdioServerTransport();
  await server.connect(transport);
  console.error("Task Manager MCP server running on stdio");
}

main().catch((error) => {
  console.error("Server error:", error);
  process.exit(1);
});
This code does several things:
- Imports the
Serverclass, theStdioServerTransport(which communicates over standard input/output), and request schemas for listing tools and calling tools. - Creates a new server instance with a name and version, and declares that it supports the
toolscapability. - Sets up a handler for the
ListToolsRequestSchemathat returns the list of available tools. Each tool has a name, description, and an input schema that defines its parameters. Theadd_tasktool requires atitlestring and accepts an optionaldescriptionstring. Thelist_taskstool takes no parameters. Thecomplete_tasktool requires ataskIdnumber. - Defines a
mainfunction that creates aStdioServerTransportand connects the server to it. Theconsole.errormessage is used because stdout is reserved for MCP protocol messages; stderr is safe for logging. - Calls
main()and handles any startup errors.
Step 3: Implement the In-Memory Task Store and Tool Handlers
Now add the actual business logic: an in-memory array to hold tasks and handlers for each tool. Update src/index.ts to include the task store and the CallToolRequestSchema handler.
import { Server } from "@modelcontextprotocol/sdk/server/index.js";
import { StdioServerTransport } from "@modelcontextprotocol/sdk/server/stdio.js";
import {
  CallToolRequestSchema,
  ListToolsRequestSchema,
} from "@modelcontextprotocol/sdk/types.js";

// In-memory task store
interface Task {
  id: number;
  title: string;
  description: string;
  completed: boolean;
}

let tasks: Task[] = [];
let nextId = 1;

const server = new Server(
  {
    name: "task-manager-server",
    version: "1.0.0",
  },
  {
    capabilities: {
      tools: {},
    },
  }
);

server.setRequestHandler(ListToolsRequestSchema, async () => {
  return {
    tools: [
      {
        name: "add_task",
        description: "Add a new task to the task list",
        inputSchema: {
          type: "object",
          properties: {
            title: {
              type: "string",
              description: "The title of the task",
            },
            description: {
              type: "string",
              description: "Optional description of the task",
            },
          },
          required: ["title"],
        },
      },
      {
        name: "list_tasks",
        description: "List all tasks",
        inputSchema: {
          type: "object",
          properties: {},
        },
      },
      {
        name: "complete_task",
        description: "Mark a task as completed",
        inputSchema: {
          type: "object",
          properties: {
            taskId: {
              type: "number",
              description: "The ID of the task to complete",
            },
          },
          required: ["taskId"],
        },
      },
    ],
  };
});

server.setRequestHandler(CallToolRequestSchema, async (request) => {
  const { name, arguments: args } = request.params;

  switch (name) {
    case "add_task": {
      const title = String(args?.title || "");
      const description = String(args?.description || "");
      const task: Task = {
        id: nextId++,
        title,
        description,
        completed: false,
      };
      tasks.push(task);
      return {
        content: [
          {
            type: "text",
            text: `Task added: ${task.id} - ${task.title}`,
          },
        ],
      };
    }

    case "list_tasks": {
      if (tasks.length === 0) {
        return {
          content: [
            {
              type: "text",
              text: "No tasks found.",
            },
          ],
        };
      }
      const taskList = tasks
        .map(
          (t) =>
            `${t.id}: ${t.title}${t.completed ? " [completed]" : ""}`
        )
        .join("\n");
      return {
        content: [
          {
            type: "text",
            text: taskList,
          },
        ],
      };
    }

    case "complete_task": {
      const taskId = Number(args?.taskId);
      const task = tasks.find((t) => t.id === taskId);
      if (!task) {
        throw new Error(`Task with ID ${taskId} not found`);
      }
      task.completed = true;
      return {
        content: [
          {
            type: "text",
            text: `Task ${taskId} marked as completed.`,
          },
        ],
      };
    }

    default:
      throw new Error(`Unknown tool: ${name}`);
  }
});

async function main() {
  const transport = new StdioServerTransport();
  await server.connect(transport);
  console.error("Task Manager MCP server running on stdio");
}

main().catch((error) => {
  console.error("Server error:", error);
  process.exit(1);
});
Key points about this implementation:
- The
Taskinterface defines the shape of a task object withid,title,description, andcompletedfields. tasksis an array that holds all tasks in memory.nextIdis a counter for generating unique task IDs.- The
CallToolRequestSchemahandler uses aswitchstatement on the tool name to route to the appropriate logic. - For
add_task, it extractstitleanddescriptionfrom the arguments, creates a new task object, pushes it to the array, and returns a success message. - For
list_tasks, it checks if the array is empty and returns a message accordingly, otherwise it formats the task list as a string with each task on a new line, showing completion status. - For
complete_task, it finds the task by ID, throws an error if not found, otherwise setscompletedtotrueand returns a confirmation. - The default case throws an error for unknown tool names, which Claude Code will surface to the user.
Step 4: Compile the TypeScript Code
Compile the TypeScript source to JavaScript. This step produces the runnable JavaScript files in the dist directory.
npx tsc
Expected output: No output means success. The dist directory should now contain index.js and index.js.map (source map).
Verify the output:
ls dist/
You should see:
index.js index.js.map
If you get TypeScript compilation errors, check that your tsconfig.json settings match the ones provided in Step 1 and that all imports are correct.
Step 5: Configure Claude Code to Use Your MCP Server
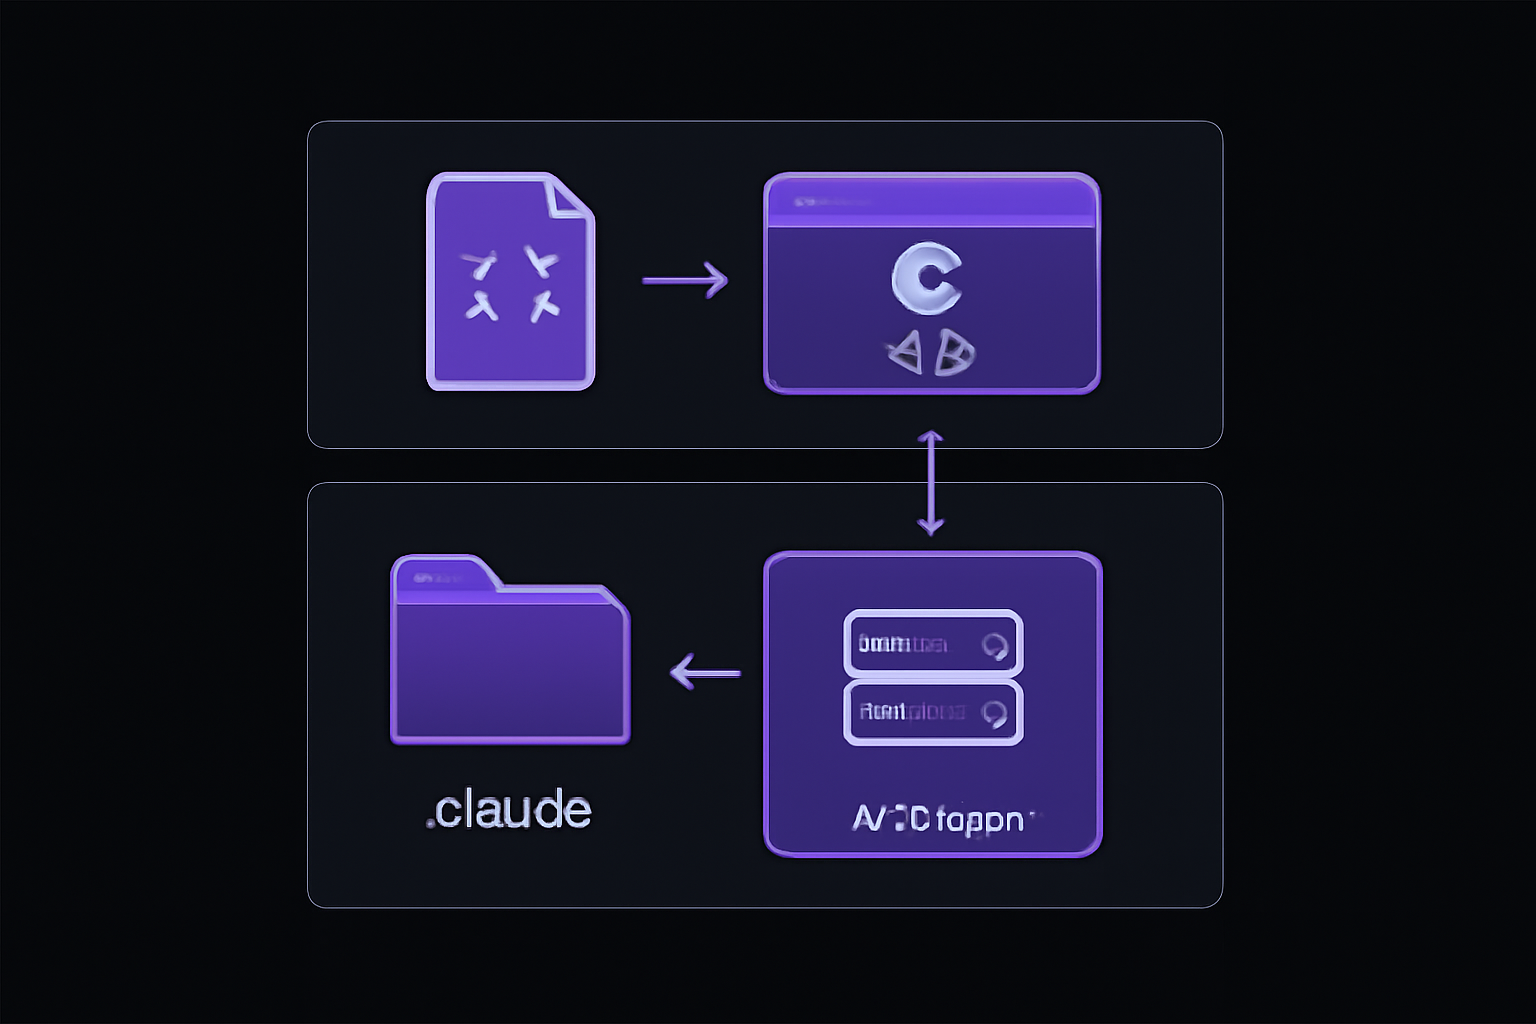
Claude Code needs to know about your MCP server so it can connect to it and use its tools. This is done through a configuration file. The official documentation explains that MCP servers are defined in JSON settings files at various scopes: user-level (~/.claude/settings.json), project-level (.claude/settings.json), or local project-level (.claude/settings.local.json). For this tutorial, you will use the project-level configuration so it can be shared with your team (the file can be committed to the repository).
Create the .claude directory in your project root:
mkdir .claude
Create a file .claude/settings.json with the following content:
{
  "mcpServers": {
    "task-manager": {
      "command": "node",
      "args": [
        "${CLAUDE_PROJECT_DIR}/dist/index.js"
      ]
    }
  }
}
Explanation of the configuration:
mcpServersis the top-level key that holds a map of server names to their configurations.task-manageris the name you give to this server. Claude Code will use this name to refer to the server in logs and error messages.commandis the executable to run. Here it isnode, which is a real executable (a.exeon Windows). The official documentation emphasizes that for exec form (whenargsis present), the command must resolve to a real executable, not a shell script or.cmd/.batshim. Usingnodeplus the script path works on every platform.argsis an array of arguments passed to the command. The${CLAUDE_PROJECT_DIR}placeholder is substituted by Claude Code with the absolute path of your project directory. This ensures the server script is found regardless of where Claude Code is invoked from.
If you are on Windows and do not have Git for Windows installed, Claude Code will use PowerShell as the shell tool. In that case, you may need to adjust the command. The official documentation notes that on Windows, exec form requires command to resolve to a real executable such as a .exe. The node command works because node.exe is a real binary. If you encounter issues, you can use shell form by omitting args and using a shell command string instead:
{
  "mcpServers": {
    "task-manager": {
      "command": "node \"${CLAUDE_PROJECT_DIR}/dist/index.js\""
    }
  }
}
However, the exec form with args is preferred because it avoids shell interpretation of special characters and is more portable.
Step 6: Start Claude Code and Test the Server
Now you can start Claude Code in your project directory and ask it to use your MCP server.
cd my-mcp-server
claude
On first use, you will be prompted to log in. Follow the authentication flow in your browser. Once logged in, Claude Code will start a session.
Claude Code automatically reads the .claude/settings.json file and starts the MCP server defined there. You should see output similar to:
Starting MCP server: task-manager
Task Manager MCP server running on stdio
The second line comes from the console.error in your server code. If you see this, the server is running and connected.
Now you can interact with your tools. Try the following prompts:
- "Add a task to buy groceries"
- "Add another task to finish the report with description 'Complete Q3 analysis'"
- "List all tasks"
- "Mark task 1 as completed"
- "List all tasks again"
Claude Code will call the appropriate tools on your MCP server and display the results. For example, when you say "Add a task to buy groceries", Claude Code will call the add_task tool with title: "buy groceries" and show you the response: "Task added: 1 - buy groceries".
Step 7: Add a Tool with More Complex Input (Optional Enhancement)
To demonstrate a more complex tool, add a delete_task tool that removes a task by ID. This also shows how to handle errors gracefully.
Update the ListToolsRequestSchema handler to include the new tool:
// Inside the tools array, add:
{
  name: "delete_task",
  description: "Delete a task by its ID",
  inputSchema: {
    type: "object",
    properties: {
      taskId: {
        type: "number",
        description: "The ID of the task to delete",
      },
    },
    required: ["taskId"],
  },
},
And add a case in the CallToolRequestSchema handler:
case "delete_task": {
  const taskId = Number(args?.taskId);
  const index = tasks.findIndex((t) => t.id === taskId);
  if (index === -1) {
    throw new Error(`Task with ID ${taskId} not found`);
  }
  tasks.splice(index, 1);
  return {
    content: [
      {
        type: "text",
        text: `Task ${taskId} deleted.`,
      },
    ],
  };
}
Recompile the TypeScript:
npx tsc
Restart Claude Code (exit the session with /exit and run claude again). Now you can say "Delete task 1" and the tool will remove it.
Verifying It Works
To confirm your MCP server is functioning correctly, perform these checks:
-
Server starts without errors: When Claude Code starts, check for the "Task Manager MCP server running on stdio" message in the output. If you see it, the server connected successfully.
-
Tools are discoverable: Ask Claude Code "What tools do you have available?" or simply start using task-related commands. Claude Code should list
add_task,list_tasks,complete_task, anddelete_task(if you added it) as available tools. -
End-to-end workflow: Execute a complete workflow:
- Add a task: "Add a task called 'Test MCP server'"
- List tasks: "List all tasks" -> should show "1: Test MCP server"
- Complete the task: "Complete task 1" -> should confirm completion
- List tasks again: "List all tasks" -> should show "1: Test MCP server [completed]"
-
Error handling: Try to complete a non-existent task: "Complete task 999". Claude Code should report an error like "Task with ID 999 not found".
-
Check MCP server logs: Claude Code logs MCP server activity. You can view these logs by running Claude Code with the
--verboseflag:
claude --verbose
Look for lines containing [mcp] or the server name task-manager. These logs show every tool call and response.
Common Problems
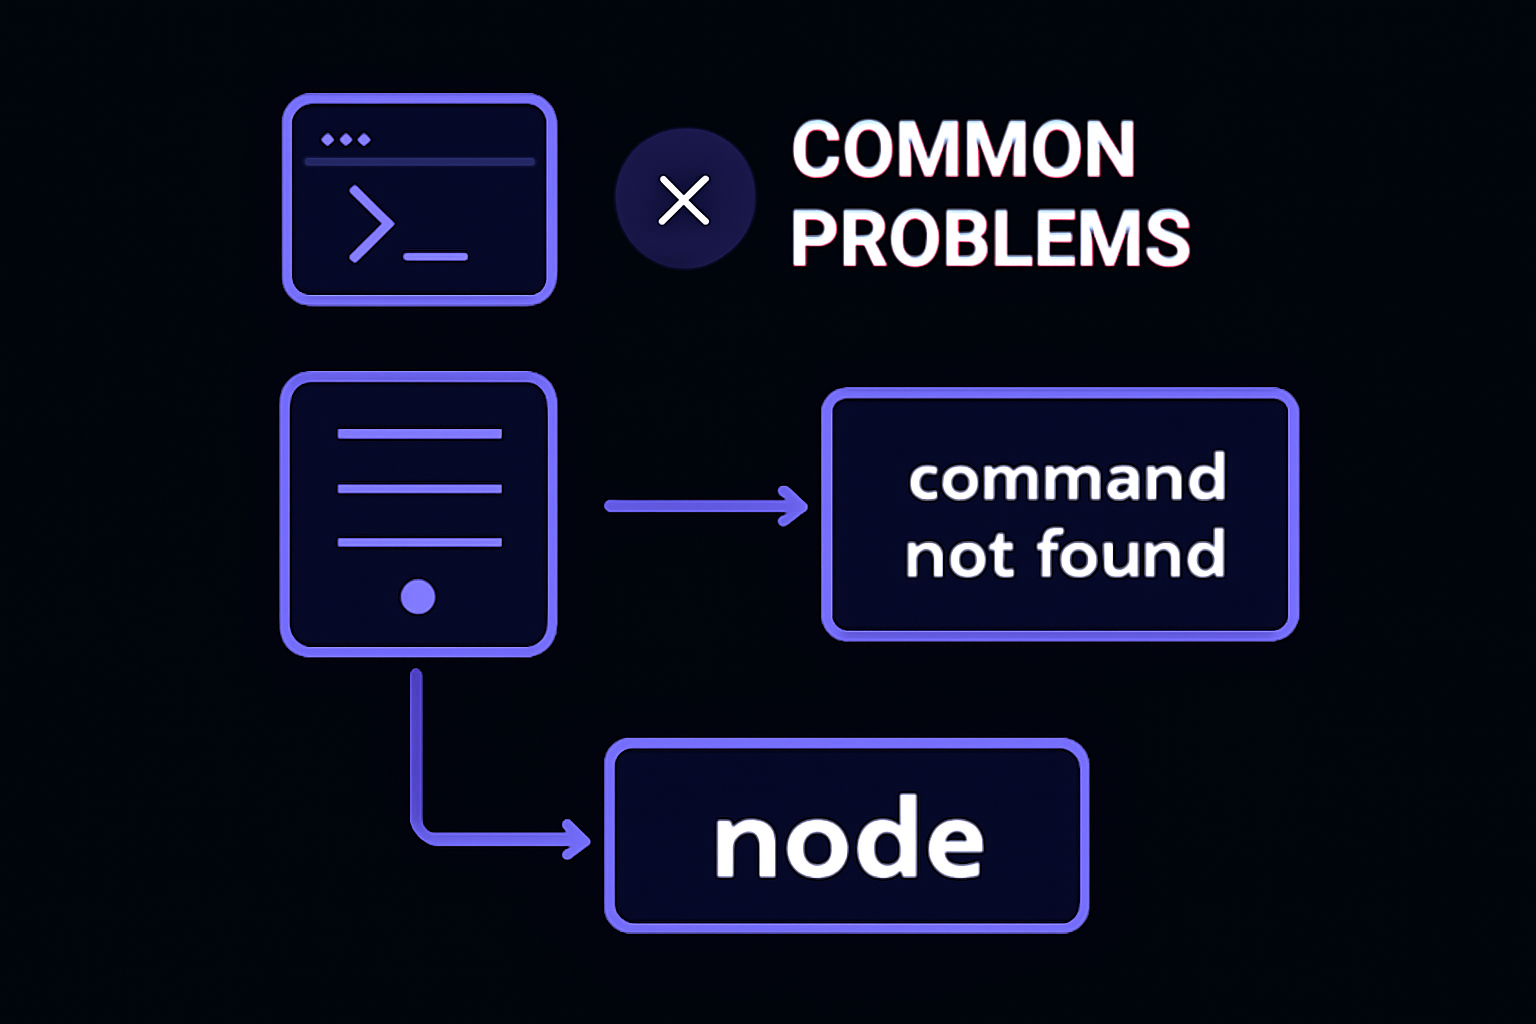
Server fails to start with "command not found" or similar
Cause: The command in .claude/settings.json is not a real executable. This is common on Windows when using shell scripts or .cmd/.bat shims.
Fix: Use the exec form with node as the command and the script path as an argument, as shown in Step 5. The official documentation states: "On Windows, exec form requires command to resolve to a real executable such as a .exe. The .cmd and .bat shims that npm, npx, eslint, and other tools install in node_modules/.bin are not executables and can't be spawned without a shell. To run them in exec form, invoke the underlying script with node directly."
Server starts but tools are not discovered
Cause: The server may have crashed after startup, or the ListToolsRequestSchema handler is not returning the correct format.
Fix: Check the server output in verbose mode (claude --verbose). Look for errors after the "running on stdio" message. Ensure your ListToolsRequestSchema handler returns an object with a tools array, and each tool has the required fields: name, description, and inputSchema.
TypeScript compilation errors
Cause: Missing types or incorrect import paths.
Fix: Ensure you installed @types/node and that your tsconfig.json includes "esModuleInterop": true and "moduleResolution": "node". The import paths in the SDK use .js extensions (e.g., from "@modelcontextprotocol/sdk/server/index.js"), which is correct for ESM modules. If you get errors about missing modules, try reinstalling the SDK: npm install @modelcontextprotocol/sdk.
MCP server times out
Cause: The default timeout for MCP tool calls is 600 seconds (10 minutes) according to the official documentation. However, UserPromptSubmit lowers the default to 30 seconds. If your tool handler takes longer than expected, it may time out.
Fix: For long-running operations, consider making the tool handler async and returning early with a status, or increase the timeout in the server configuration. The official documentation notes that the timeout field can be set on hook handlers, but for MCP servers, the timeout is controlled by the client (Claude Code). If you consistently hit timeouts, break your operation into smaller steps.
Changes to server code not reflected
Cause: Claude Code caches the MCP server process. If you modify your server code, the running instance still uses the old code.
Fix: Restart Claude Code completely. Exit the session with /exit and run claude again. Alternatively, you can use the /reload command in some versions of Claude Code to reload MCP servers without restarting the entire session.
"Task with ID X not found" error when it should exist
Cause: The in-memory task store is not persisted. Each time Claude Code starts a new session, the tasks array is empty.
Fix: This is expected behavior for this tutorial. The in-memory store is suitable for demonstration purposes. For production use, you would connect to a database or file-based storage. See Next Steps for ideas on adding persistence.
Next Steps
Now that you have a working MCP server, here are concrete ways to extend it:
-
Add persistence: Replace the in-memory array with a database. Use SQLite with
better-sqlite3or a JSON file on disk. This makes tasks survive across Claude Code sessions. You will need to add the database package to your dependencies and modify the tool handlers to read/write from the database. -
Add more tools: Implement tools for updating task descriptions, reordering tasks, or adding due dates. Each new tool requires adding it to the
ListToolsRequestSchemahandler and implementing the logic in theCallToolRequestSchemahandler. -
Connect to external APIs: The official documentation mentions that MCP can connect to services like Google Drive, Jira, and Slack. Try building a server that reads from a public API (e.g., a weather API or GitHub API) and exposes that data as tools. This demonstrates the real power of MCP: giving Claude Code access to external data sources.
-
Use MCP hooks: The official documentation describes how hooks can be used to run shell commands before or after tool calls. You could set up a
PostToolUsehook that logs every tool call to a file, or aPreToolUsehook that validates inputs before they reach your server. Hooks are defined in the same.claude/settings.jsonfile under thehookskey. -
Package your server for distribution: Create an npm package that users can install globally and reference in their Claude Code configuration. This allows others to use your task manager server with a simple
npxcommand. Update yourpackage.jsonwith abinfield pointing to the compiled JavaScript, and publish to npm.
The #1 Claude Newsletter
The most important claude updates, guides, and fixes — one weekly email.
No spam, unsubscribe anytime. Privacy policy
Related Tutorials
Keep exploring Claude
Claude resources
Latest AI answers
Skip the manual work
Ready-made AI workflows and automation templates — import and run instead of building from scratch.