Build a RAG Pipeline with Claude and a Vector Database

Prerequisites
- ✓ Claude subscription (Pro, Max, Team, or Enterprise) or Claude Console account
- ✓ Terminal or command prompt
- ✓ Node.js 18+
- ✓ Pinecone account and API key
- ✓ OpenAI API key
- ✓ Git (recommended)
- ✓ jq (for hook scripts, optional)
You will build a Retrieval-Augmented Generation (RAG) pipeline that uses Claude Code as the orchestrator and a vector database for semantic search. The pipeline ingests documents, stores their embeddings, retrieves relevant context for user queries, and generates answers with Claude. This tutorial takes approximately 90 minutes to complete, assuming you have a basic project structure and accounts ready.
Prerequisites
- A Claude subscription (Pro, Max, Team, or Enterprise) or a Claude Console account with pre-paid credits
- A terminal or command prompt open in your project directory
- Node.js 18+ installed (for the vector database client and embedding script)
- A vector database service or local instance (the tutorial uses Pinecone as an example; alternatives include Weaviate, Qdrant, or Chroma)
- Basic familiarity with JavaScript/TypeScript and command-line operations
- Git installed (recommended for version control)
jqinstalled (for parsing JSON in hook scripts, if you use hooks)
Step 1: Install Claude Code
Claude Code is the CLI tool that connects your terminal to Claude. You will use it to write code, run commands, and orchestrate the RAG pipeline.
macOS, Linux, WSL (Native Install)
Run the official install script:
curl -fsSL https://claude.ai/install.sh | bash
This installs Claude Code and sets up automatic background updates. After installation, confirm it works:
claude --version
Expected output: a version number followed by (Claude Code), for example 0.2.0 (Claude Code).
Windows (PowerShell)
Open PowerShell as Administrator and run:
irm https://claude.ai/install.ps1 | iex
If you see 'irm' is not recognized as an internal or external command, you are in CMD, not PowerShell. Switch to PowerShell (your prompt should show PS C:\).
Windows (CMD)
curl -fsSL https://claude.ai/install.cmd -o install.cmd && install.cmd && del install.cmd
If you see The token '&&' is not a valid statement separator, you are in PowerShell, not CMD. Switch to CMD (your prompt shows C:\ without PS).
Alternative: Homebrew (macOS)
brew install --cask claude-code
Homebrew installations do not auto-update. Run brew upgrade claude-code periodically to get the latest version.
Alternative: WinGet (Windows)
winget install Anthropic.ClaudeCode
WinGet installations also require manual updates: winget upgrade Anthropic.ClaudeCode.
Verify Installation
Run claude --version from any directory. If the command is not found, ensure the install directory is on your PATH. For the native install, the script typically adds Claude Code to ~/.local/bin or /usr/local/bin. Restart your terminal if needed.
Step 2: Log In to Your Account
Claude Code requires authentication. Start an interactive session:
claude
On first use, you will be prompted to log in. Follow the browser-based authentication flow. You can log in with:
- A Claude subscription (Pro, Max, Team, or Enterprise)
- A Claude Console account (API access with pre-paid credits). On first login, a "Claude Code" workspace is created automatically in the Console for cost tracking.
- Enterprise cloud providers: Amazon Bedrock, Google Cloud's Agent Platform, or Microsoft Foundry
- A self-hosted Claude apps gateway (if your organization runs one)
Once authenticated, your credentials are stored locally. You will not need to log in again unless you switch accounts. To switch accounts later, type /login inside a running session.
Step 3: Set Up Your Project Structure
Create a new directory for the RAG pipeline project and navigate into it:
mkdir claude-rag-pipeline
cd claude-rag-pipeline
git init
Inside this directory, create the following structure:
claude-rag-pipeline/
├── documents/          # Place your source documents here
├── scripts/            # Embedding and retrieval scripts
├── .claude/            # Claude Code configuration (optional)
├──   └── settings.json  # Hook definitions (optional)
├── package.json
└── README.md
Initialize a Node.js project:
npm init -y
Install the Pinecone client (or your chosen vector database client) and the OpenAI embedding library (for generating embeddings; you can also use Anthropic's embedding model if available):
npm install @pinecone-database/pinecone openai dotenv
Create a .env file to store your API keys:
PINECONE_API_KEY=your-pinecone-api-key
PINECONE_ENVIRONMENT=your-pinecone-environment
PINECONE_INDEX_NAME=claude-rag-index
OPENAI_API_KEY=your-openai-api-key
Add .env to .gitignore:
echo ".env" >> .gitignore
Step 4: Understand the RAG Architecture
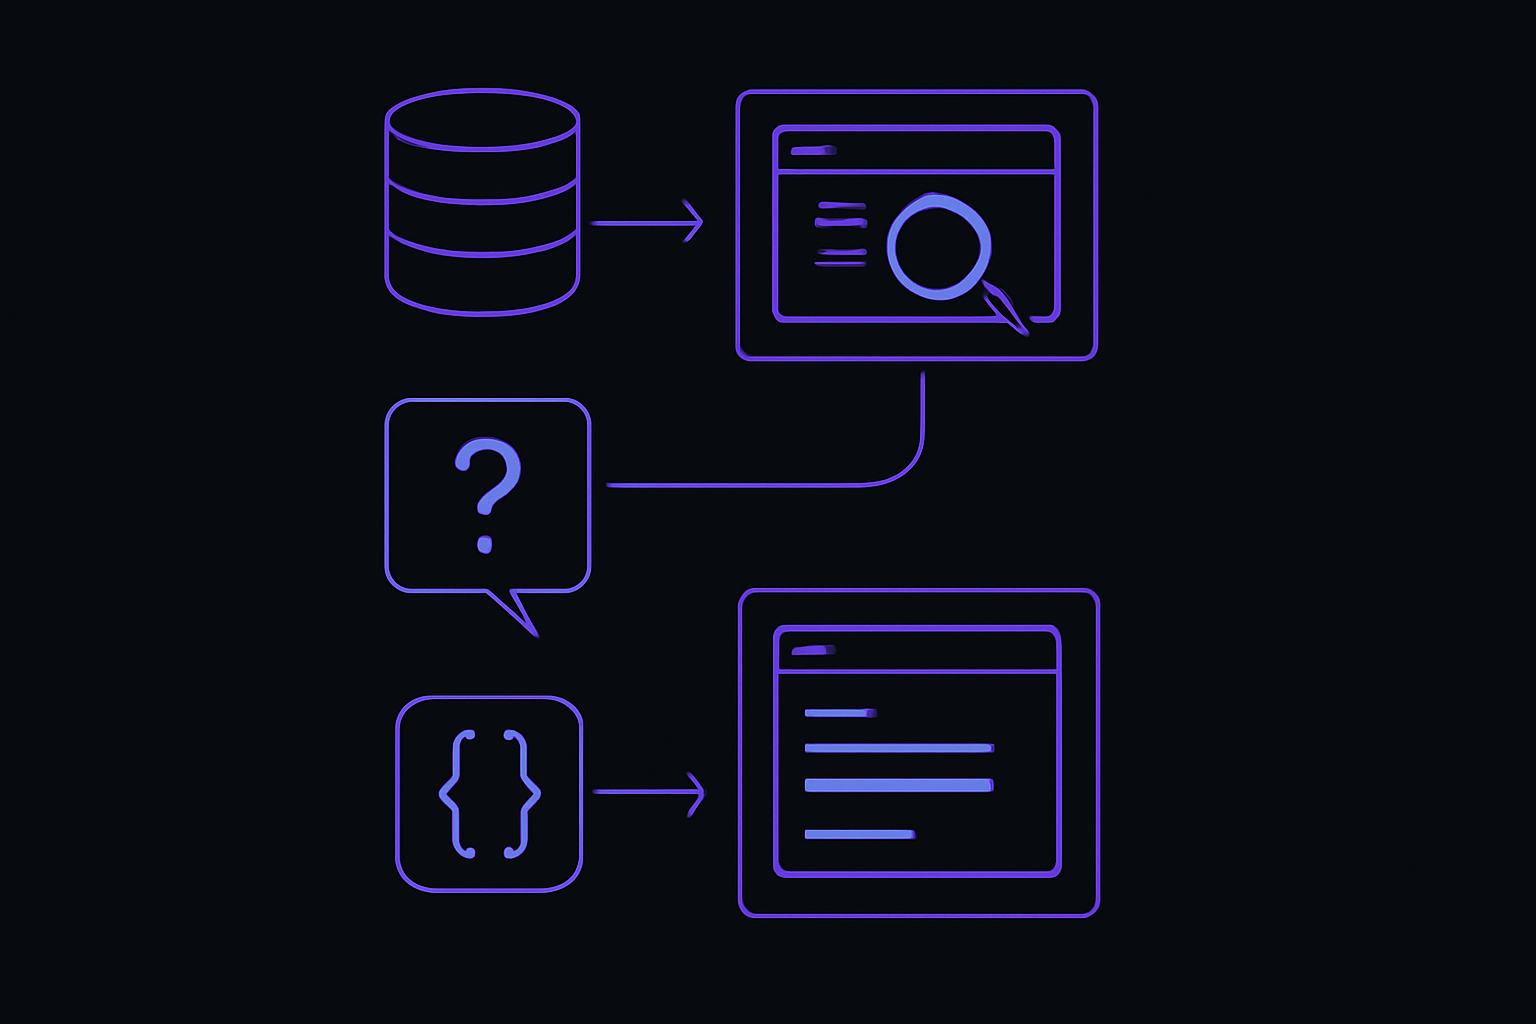
Before writing code, understand the three main stages of the RAG pipeline:
- Ingestion: Documents are split into chunks, each chunk is converted to a vector embedding, and the embeddings are stored in a vector database along with the original text.
- Retrieval: When a user asks a question, the question is converted to an embedding, and the vector database returns the most semantically similar chunks.
- Generation: The retrieved chunks are injected into a prompt to Claude, which generates a grounded answer.
Claude Code will orchestrate these steps. You can run each step as a one-off task or build a script that Claude executes.
Step 5: Write the Embedding Script
Create a file scripts/embed.js that reads documents from the documents/ folder, splits them into chunks, generates embeddings, and upserts them into Pinecone.
// scripts/embed.js
require('dotenv').config();
const fs = require('fs');
const path = require('path');
const { Pinecone } = require('@pinecone-database/pinecone');
const { OpenAI } = require('openai');

const openai = new OpenAI({ apiKey: process.env.OPENAI_API_KEY });
const pinecone = new Pinecone({
  apiKey: process.env.PINECONE_API_KEY,
  environment: process.env.PINECONE_ENVIRONMENT,
});

const INDEX_NAME = process.env.PINECONE_INDEX_NAME;
const CHUNK_SIZE = 500; // characters per chunk
const CHUNK_OVERLAP = 50; // overlap between chunks

// Split text into overlapping chunks
function chunkText(text, size, overlap) {
  const chunks = [];
  let start = 0;
  while (start < text.length) {
    const end = Math.min(start + size, text.length);
    chunks.push(text.slice(start, end));
    start += size - overlap;
  }
  return chunks;
}

// Generate embedding for a single text string
async function getEmbedding(text) {
  const response = await openai.embeddings.create({
    model: 'text-embedding-ada-002',
    input: text,
  });
  return response.data[0].embedding;
}

async function main() {
  const docsDir = path.join(__dirname, '..', 'documents');
  const files = fs.readdirSync(docsDir).filter(f => f.endsWith('.txt') || f.endsWith('.md'));

  if (files.length === 0) {
    console.error('No .txt or .md files found in documents/ directory.');
    process.exit(1);
  }

  const index = pinecone.Index(INDEX_NAME);
  let totalVectors = 0;

  for (const file of files) {
    const filePath = path.join(docsDir, file);
    const content = fs.readFileSync(filePath, 'utf-8');
    const chunks = chunkText(content, CHUNK_SIZE, CHUNK_OVERLAP);

    console.log(`Processing ${file}: ${chunks.length} chunks`);

    for (let i = 0; i < chunks.length; i++) {
      const chunk = chunks[i];
      const embedding = await getEmbedding(chunk);
      const id = `${file}-chunk-${i}`;

      await index.upsert([{
        id,
        values: embedding,
        metadata: { text: chunk, source: file, chunkIndex: i },
      }]);

      totalVectors++;
      console.log(`  Upserted chunk ${i + 1}/${chunks.length}`);
    }
  }

  console.log(`Done. Total vectors upserted: ${totalVectors}`);
}

main().catch(console.error);
This script:
- Reads all
.txtand.mdfiles from thedocuments/directory - Splits each file into overlapping chunks of 500 characters with 50-character overlap (adjust these values based on your document length and retrieval needs)
- Generates an embedding for each chunk using OpenAI's
text-embedding-ada-002model - Upserts each vector into the Pinecone index with metadata (the original text, source file, and chunk index)
Run the script with Claude Code. From your project root, start a Claude Code session:
claude
Then ask Claude to run the embedding script:
run the script scripts/embed.js
Claude will execute the command and show you the output. If you prefer to run it directly from the terminal:
node scripts/embed.js
Expected output: a series of log lines showing each file being processed, each chunk upserted, and a final summary: Done. Total vectors upserted: N.
Step 6: Write the Retrieval and Generation Script
Create scripts/query.js that takes a user question, retrieves relevant chunks from Pinecone, and generates an answer using Claude Code's built-in capabilities. Since Claude Code can execute shell commands and read files, you can build a script that Claude orchestrates.
// scripts/query.js
require('dotenv').config();
const { Pinecone } = require('@pinecone-database/pinecone');
const { OpenAI } = require('openai');

const openai = new OpenAI({ apiKey: process.env.OPENAI_API_KEY });
const pinecone = new Pinecone({
  apiKey: process.env.PINECONE_API_KEY,
  environment: process.env.PINECONE_ENVIRONMENT,
});

const INDEX_NAME = process.env.PINECONE_INDEX_NAME;

async function retrieveRelevantChunks(question, topK = 3) {
  const questionEmbedding = await openai.embeddings.create({
    model: 'text-embedding-ada-002',
    input: question,
  });

  const index = pinecone.Index(INDEX_NAME);
  const queryResponse = await index.query({
    vector: questionEmbedding.data[0].embedding,
    topK,
    includeMetadata: true,
  });

  return queryResponse.matches.map(match => ({
    text: match.metadata.text,
    score: match.score,
    source: match.metadata.source,
  }));
}

async function main() {
  const question = process.argv[2];
  if (!question) {
    console.error('Usage: node scripts/query.js "<your question>"');
    process.exit(1);
  }

  console.log(`Question: ${question}`);
  console.log('Retrieving relevant chunks...');

  const chunks = await retrieveRelevantChunks(question);

  if (chunks.length === 0) {
    console.log('No relevant chunks found.');
    process.exit(0);
  }

  console.log(`Found ${chunks.length} relevant chunks:\n`);
  chunks.forEach((chunk, i) => {
    console.log(`[${i + 1}] (score: ${chunk.score.toFixed(4)}) from ${chunk.source}`);
    console.log(chunk.text);
    console.log('---');
  });

  // Output JSON for Claude to consume
  const output = {
    question,
    context: chunks.map(c => c.text).join('\n\n'),
  };
  console.log('\n---CONTEXT_JSON_START---');
  console.log(JSON.stringify(output));
  console.log('---CONTEXT_JSON_END---');
}

main().catch(console.error);
This script:
- Takes a question as a command-line argument
- Generates an embedding for the question
- Queries Pinecone for the top 3 most similar chunks (adjust
topKas needed) - Prints the chunks with similarity scores and source information
- Outputs a JSON block that Claude Code can parse to get the context for generation
Test the retrieval script with a sample question. From your terminal:
node scripts/query.js "What is the main topic of the documents?"
Expected output: the script prints each retrieved chunk with its score and source, followed by a JSON block between ---CONTEXT_JSON_START--- and ---CONTEXT_JSON_END---.
Step 7: Orchestrate the Full RAG Pipeline with Claude Code
Now you will use Claude Code to tie everything together. Start a Claude Code session in your project directory:
cd /path/to/claude-rag-pipeline
claude
You will see the Claude Code prompt with version, current model, and working directory. Type the following prompt to run the full RAG pipeline:
Run the RAG pipeline. First, execute node scripts/query.js "What are the key features described in the documents?" and capture the JSON output between CONTEXT_JSON_START and CONTEXT_JSON_END. Then, using that context, answer the question in a concise paragraph. Cite the sources.
Claude Code will:
- Execute the shell command
node scripts/query.js "What are the key features described in the documents?" - Parse the JSON context from the output
- Generate an answer grounded in the retrieved context
- Display the answer with source citations
You can also break this into steps for more control:
Step 1: Run node scripts/query.js "What are the key features described in the documents?" and show me the full output.
Step 2: Using the context from that output, write a concise answer to the question. Cite the source file for each piece of information.
Claude Code will ask for approval before executing each step (depending on your permission mode). Press Shift+Tab to cycle through permission modes: acceptEdits auto-approves file edits, and plan lets Claude propose changes without editing.
Step 8: Automate with a Claude Code Hook (Optional)
Hooks allow you to run custom scripts automatically at specific points in Claude Code's lifecycle. For example, you could run a linting check after every file edit, or automatically re-embed documents when they change.
Create a .claude/settings.json file in your project root to define hooks:
{
  "hooks": {
    "PostToolUse": [
      {
        "matcher": "Edit|Write",
        "hooks": [
          {
            "type": "command",
            "command": "/path/to/your/project/scripts/reindex-on-edit.sh",
            "args": []
          }
        ]
      }
    ]
  }
}
This hook runs the reindex-on-edit.sh script every time Claude Code edits or writes a file. The script could re-embed the modified document into Pinecone.
Create the shell script scripts/reindex-on-edit.sh:
#!/bin/bash
# scripts/reindex-on-edit.sh
# This script is called by Claude Code hook after file edits.
# It reads the edited file path from stdin (JSON) and re-embeds it.

INPUT=$(cat)
FILE_PATH=$(echo "$INPUT" | jq -r '.tool_input.file_path // .tool_input.path // empty')

if [ -z "$FILE_PATH" ] || [ ! -f "$FILE_PATH" ]; then
  exit 0
fi

# Only re-embed if the file is in the documents directory
if [[ "$FILE_PATH" == *"documents/"* ]]; then
  echo "Re-embedding $FILE_PATH..."
  node "$(dirname "$0")/embed.js"
fi
Make the script executable:
chmod +x scripts/reindex-on-edit.sh
This hook uses jq to parse the JSON input from stdin. Install jq if you haven't already:
# macOS
brew install jq
# Ubuntu/Debian
sudo apt-get install jq
# Windows (via Chocolatey)
choco install jq
For more details on hook configuration, see the Hooks reference. The key events for a RAG pipeline are:
PostToolUse: runs after a tool call succeeds (e.g., after editing a document)FileChanged: runs when a watched file changes on disk (usematcherto specify filenames)UserPromptSubmit: runs when you submit a prompt, before Claude processes it (useful for pre-processing queries)
Step 9: Add a CLAUDE.md for Project Context
Claude Code reads a CLAUDE.md file at the project root to understand your project's conventions. Create one to give Claude context about the RAG pipeline:
# CLAUDE.md

## Project Overview
This is a RAG (Retrieval-Augmented Generation) pipeline using Claude Code and Pinecone vector database.

## Scripts
- `scripts/embed.js`: Embeds all documents in `documents/` into Pinecone. Run after adding or modifying documents.
- `scripts/query.js <question>`: Retrieves relevant chunks and outputs context JSON. Used as the retrieval step.

## Conventions
- Documents go in `documents/` folder, plain text or markdown.
- Chunk size: 500 characters, overlap: 50 characters.
- Embedding model: text-embedding-ada-002 (OpenAI).
- Vector database: Pinecone, index name from .env.

## Workflow
1. User asks a question.
2. Run `node scripts/query.js "<question>"` to retrieve context.
3. Use the context to generate a grounded answer with Claude.

## Environment Variables
See .env file for API keys. Never commit .env to version control.
Claude Code automatically loads CLAUDE.md at session start. You can also add project-specific rules in .claude/rules/*.md files, which are loaded lazily during a session.
Verifying It Works
To confirm the full pipeline functions correctly:
-
Check the vector database: Query Pinecone directly to see stored vectors. Run a quick script or use the Pinecone console to verify that vectors exist in your index.
-
Test retrieval accuracy: Ask a question that has a clear answer in your documents. Run:
node scripts/query.js "What is the capital of France?"
If your documents contain that information, the script should return chunks with high similarity scores (above 0.8). If scores are low, your documents may not contain the answer, or the chunking strategy may need adjustment.
-
Test end-to-end with Claude Code: Start a session and run the full pipeline prompt from Step 7. Verify that Claude Code:
- Executes the query script without errors
- Parses the JSON context correctly
- Generates an answer that is grounded in the retrieved context (not hallucinated)
- Cites the source files
-
Test with a question outside the document scope: Ask something unrelated. The retrieval should return low scores or no chunks, and Claude should indicate that it cannot answer from the available context.
-
Test the hook (if configured): Edit a document in the
documents/folder using Claude Code (e.g., "add a paragraph about climate change to the file documents/notes.txt"). After the edit, check that the hook script ran and re-embedded the document. You can verify by asking a question about the new content.
Common Problems
Installation fails with "syntax error near unexpected token"
This occurs when running the bash install script in a shell that doesn't support it. On Windows, ensure you are using Git Bash or WSL, not CMD or PowerShell. If you must use CMD, use the CMD-specific install command. If you must use PowerShell, use the PowerShell-specific command. The error message indicates you are in the wrong shell.
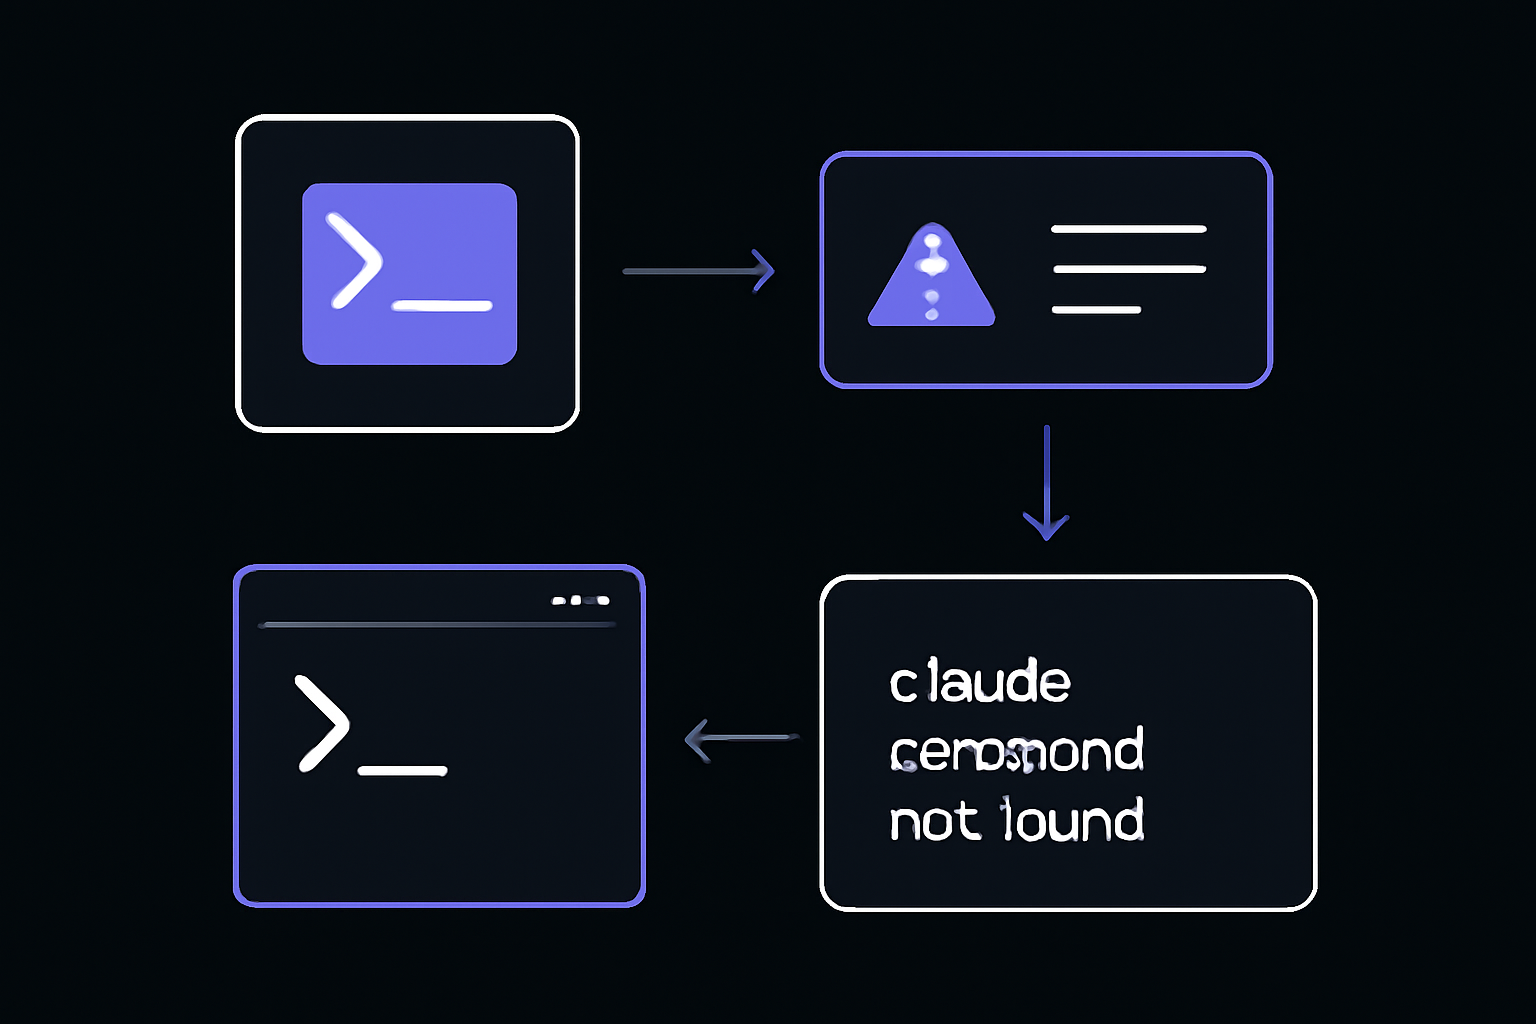
"claude: command not found" after installation
The install directory may not be on your PATH. For the native install, the script adds Claude Code to ~/.local/bin or /usr/local/bin. Restart your terminal, or add the directory to your PATH manually:
export PATH="$HOME/.local/bin:$PATH"
Add this line to your ~/.bashrc or ~/.zshrc to make it permanent.
Authentication fails or browser doesn't open
If the browser-based login doesn't trigger, you can manually authenticate by running:
claude
Then type /login at the prompt. This forces a new authentication flow. If you are behind a corporate proxy, ensure your terminal can reach https://claude.ai. For enterprise users, your admin may have configured a self-hosted gateway; use /login to open the gateway login screen.
Pinecone index not found
Ensure the index name in your .env file matches an existing Pinecone index. Create the index in the Pinecone console first. The index dimension must match the embedding model's output dimension (1536 for text-embedding-ada-002). If you get a "404 index not found" error, check the index name and environment.
Embedding script runs but no vectors are upserted
Check that:
- The
documents/directory exists and contains.txtor.mdfiles - The files are not empty
- Your Pinecone API key has write permissions
- The index has available capacity (free tier allows one index with limited storage)
Query returns low similarity scores
Low scores (below 0.7) indicate poor semantic matching. Possible fixes:
- Increase chunk size to capture more context per chunk
- Reduce chunk overlap if chunks are too similar to each other
- Use a different embedding model (e.g.,
text-embedding-3-smallfor better performance) - Ensure the question is phrased similarly to the document content
Hook script doesn't run
Community members on Discord report that hook scripts must be executable (chmod +x). Also verify:
- The
matcherpattern is correct (e.g.,"Edit|Write"matches both tools) - The
commandpath is absolute or relative to the project root jqis installed and on PATH if the script uses it- The hook configuration is in
.claude/settings.json(project-level) or~/.claude/settings.json(user-level)
Claude Code doesn't ask for approval before running commands
This depends on your permission mode. Press Shift+Tab to cycle through modes. In acceptEdits mode, file edits are auto-approved. In auto mode (available for some accounts), a background safety check runs and blocks risky actions. If you want explicit approval for every action, ensure you are in the default mode.
Next Steps
-
Add support for multiple document formats: Extend the embedding script to handle PDFs, HTML, or Word documents using libraries like
pdf-parse,cheerio, ormammoth. Modify the file filter inscripts/embed.jsto include these formats. -
Implement a feedback loop: After Claude generates an answer, ask the user to rate its helpfulness. Use this feedback to fine-tune chunk size, overlap, or the number of retrieved chunks (
topK). You can store feedback in a local JSON file or a database. -
Build a web interface: Create a simple web app using Express.js or Next.js that provides a chat interface. The backend calls Claude Code via the
-pflag for one-off queries:
claude -p "Using the context from node scripts/query.js 'user question', answer the question concisely."
-
Explore advanced hook workflows: Use hooks to automatically re-embed documents when they change (
FileChangedevent), run validation scripts before allowing edits (PreToolUse), or send notifications when the pipeline completes (SessionEnd). See the Hooks reference for the full list of events and configuration options. -
Switch to a different vector database: The same pattern works with Weaviate, Qdrant, Chroma, or pgvector. Replace the Pinecone client with the appropriate library and adjust the upsert/query syntax. The embedding and generation steps remain unchanged.
-
Use Anthropic's embedding model: If you have access to Anthropic's embedding endpoint, replace the OpenAI call with the Anthropic SDK. This keeps your entire pipeline within the Anthropic ecosystem.
The #1 Claude Newsletter
The most important claude updates, guides, and fixes — one weekly email.
No spam, unsubscribe anytime. Privacy policy
Related Tutorials
Keep exploring Claude
Claude resources
Latest AI answers
Skip the manual work
Ready-made AI workflows and automation templates — import and run instead of building from scratch.